
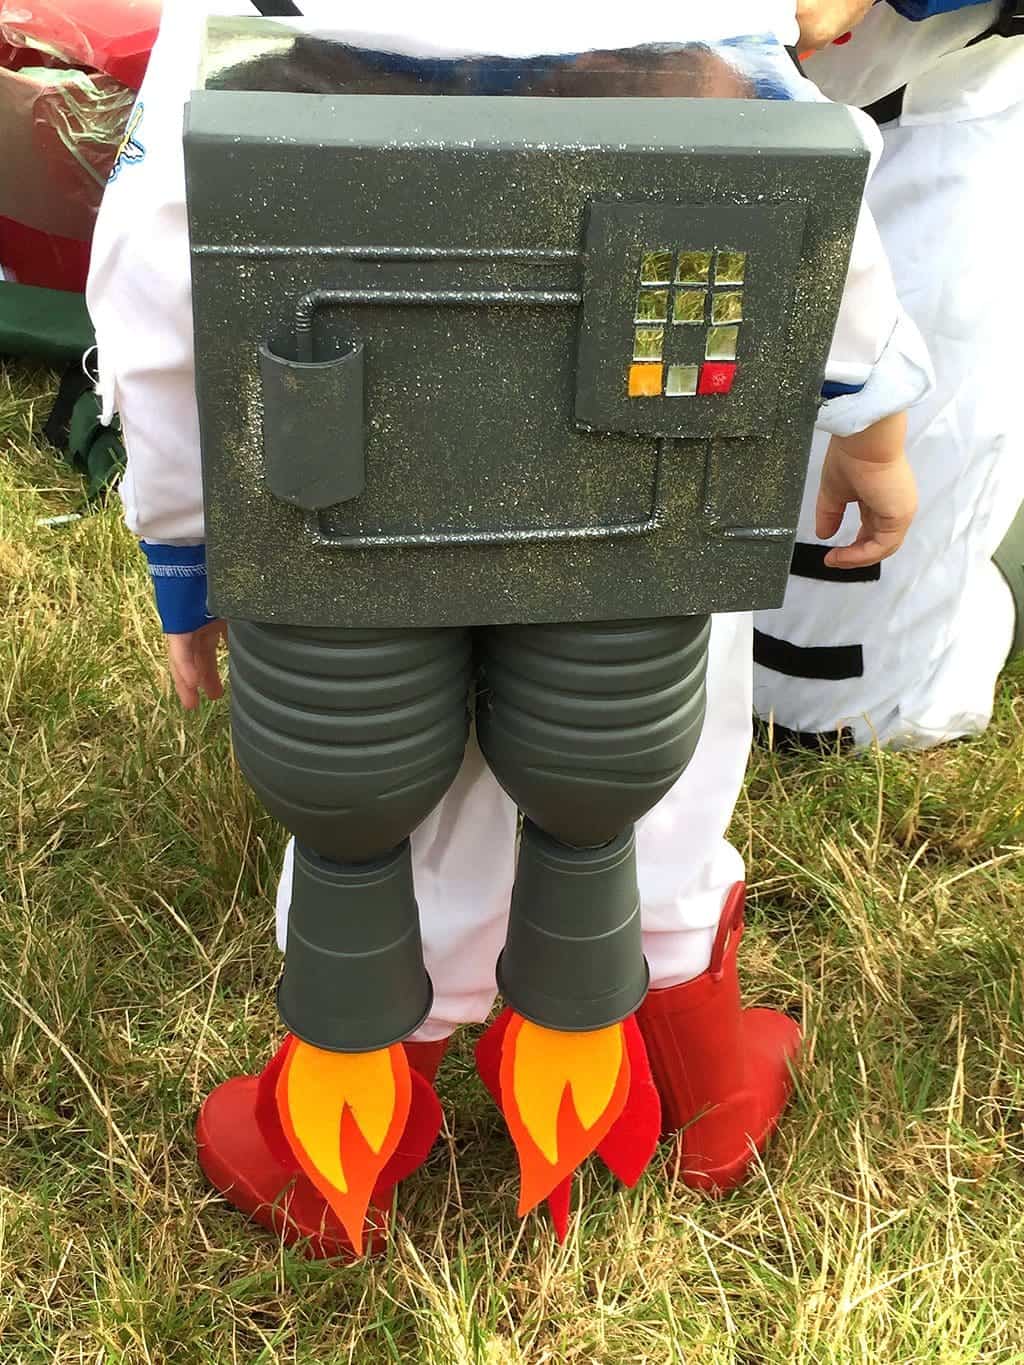
There’s a reason “space costume” gets searched thousands of times every World Book Day and Halloween — is there anything more universally brilliant than dressing up as an astronaut? And the part that turns a plain jumpsuit into a proper spaceman (or spacegirl) is the jetpack strapped to their back.
The good news: you don’t need to buy one. This homemade jetpack costume is made almost entirely from crafty items heading for the recycling — a shoebox, a couple of plastic bottles, some felt flames — and, best of all, it costs next to nothing. My twins, wore theirs to bits (more on that later!), and it’s been one of my most-loved fancy-dress makes ever since.
Here’s exactly how to make a jetpack costume at home.
Quick View of What You'll Find on This Page
Why Make Your Own Jetpack?
It’s cheap and quick to make — most of it is packaging you already have and it takes about half an hour, start to finish. Plus, it’s a winner for World Book Day, Halloween and space-themed parties — pair it with any astronaut or spaceman outfit.
Kids love the making bit too — gluing on the ‘buttons’ and flames is half the fun.
What You’ll Need
- 2 plastic bottles, the same shape and size (the “boosters”)
- 2 plastic drinking cups (the booster nozzles)
- A shoebox — plus a few bits of stiff cardboard (loo-roll inners are ideal)
- A handful of drinking straws
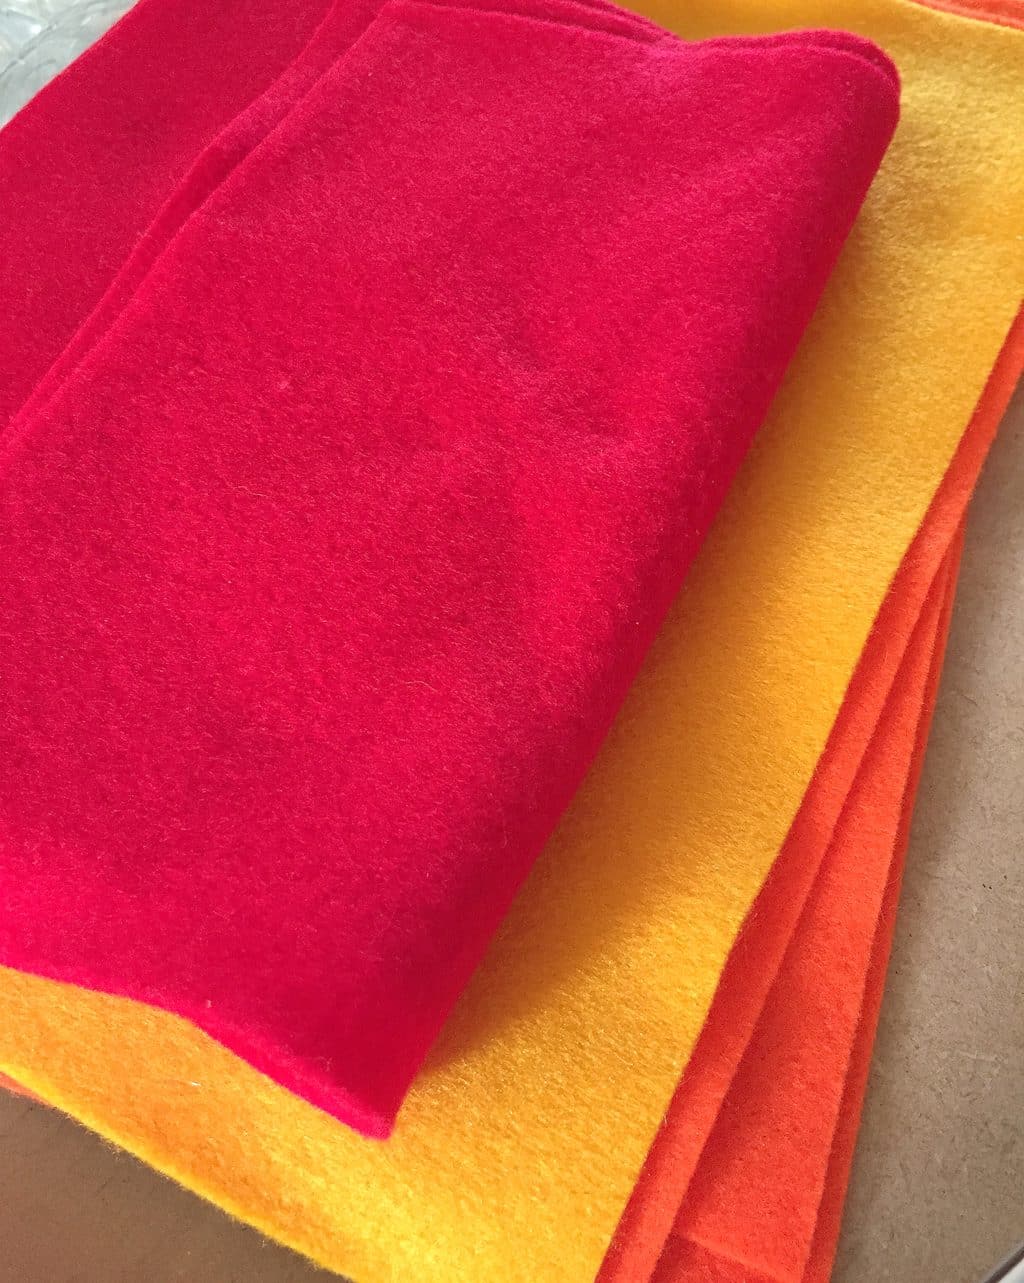
- Felt in red, yellow and orange (for the flames)
- A glue gun (my trusty desert-island craft tool)
- Grey spray paint
- Glitter — obviously
- Something for “control-panel buttons” — I used mini mirror tiles
- Thick elastic (about 10mm wide) for the shoulder straps
How to Make a Jetpack Costume, Step By Step
1. Creare the boosters.
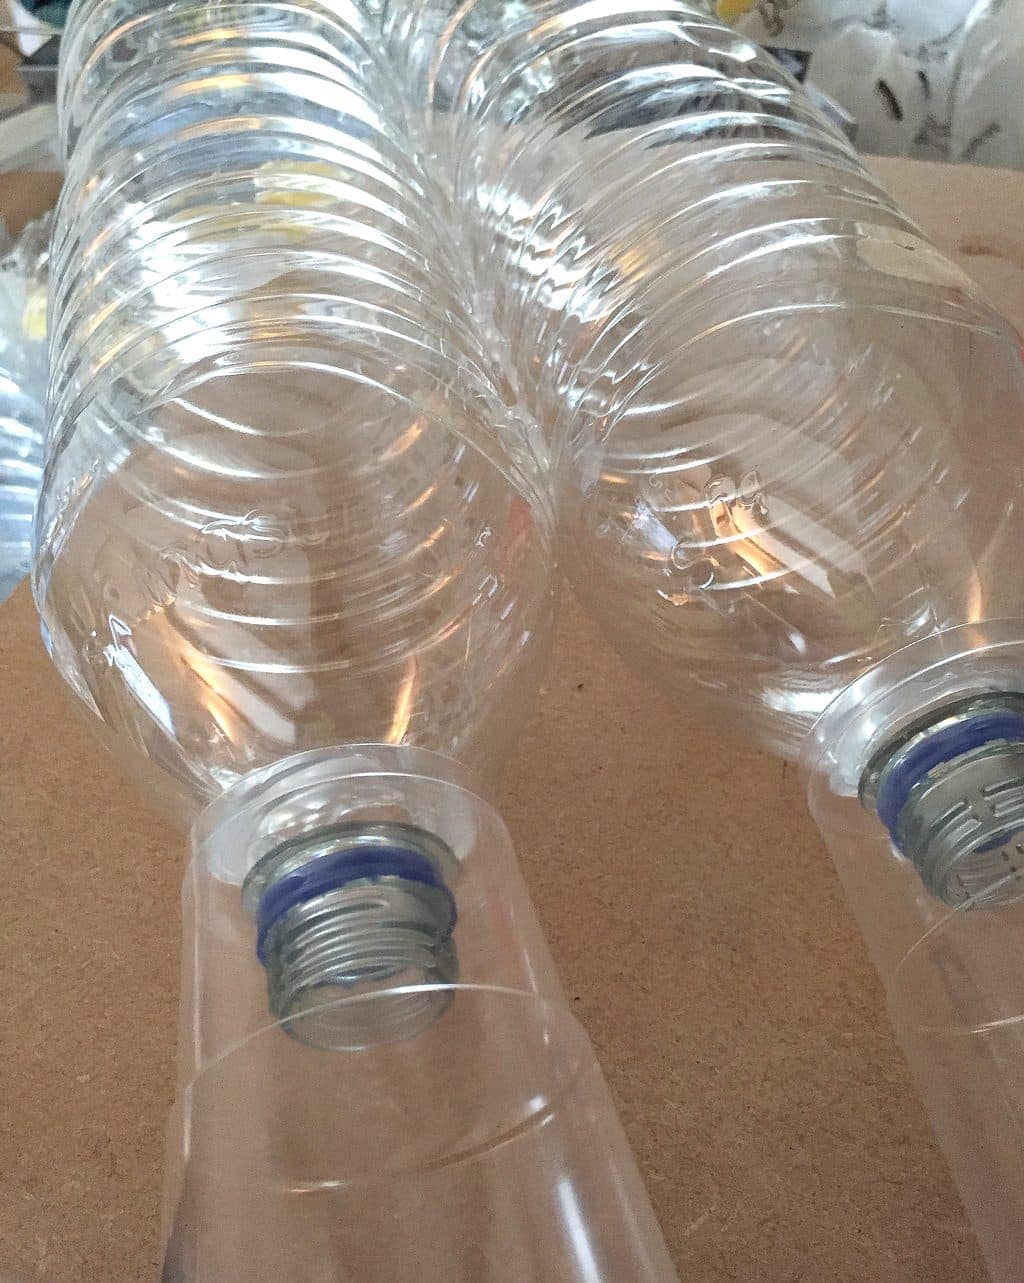
Stand your two bottles side by side and glue them together where they touch.
2. Add the nozzles.
Cut a hole in the base of each plastic cup, push the top of each bottle through, and glue around the join so they’re held firmly. These are your rocket boosters.
3. Make the body.
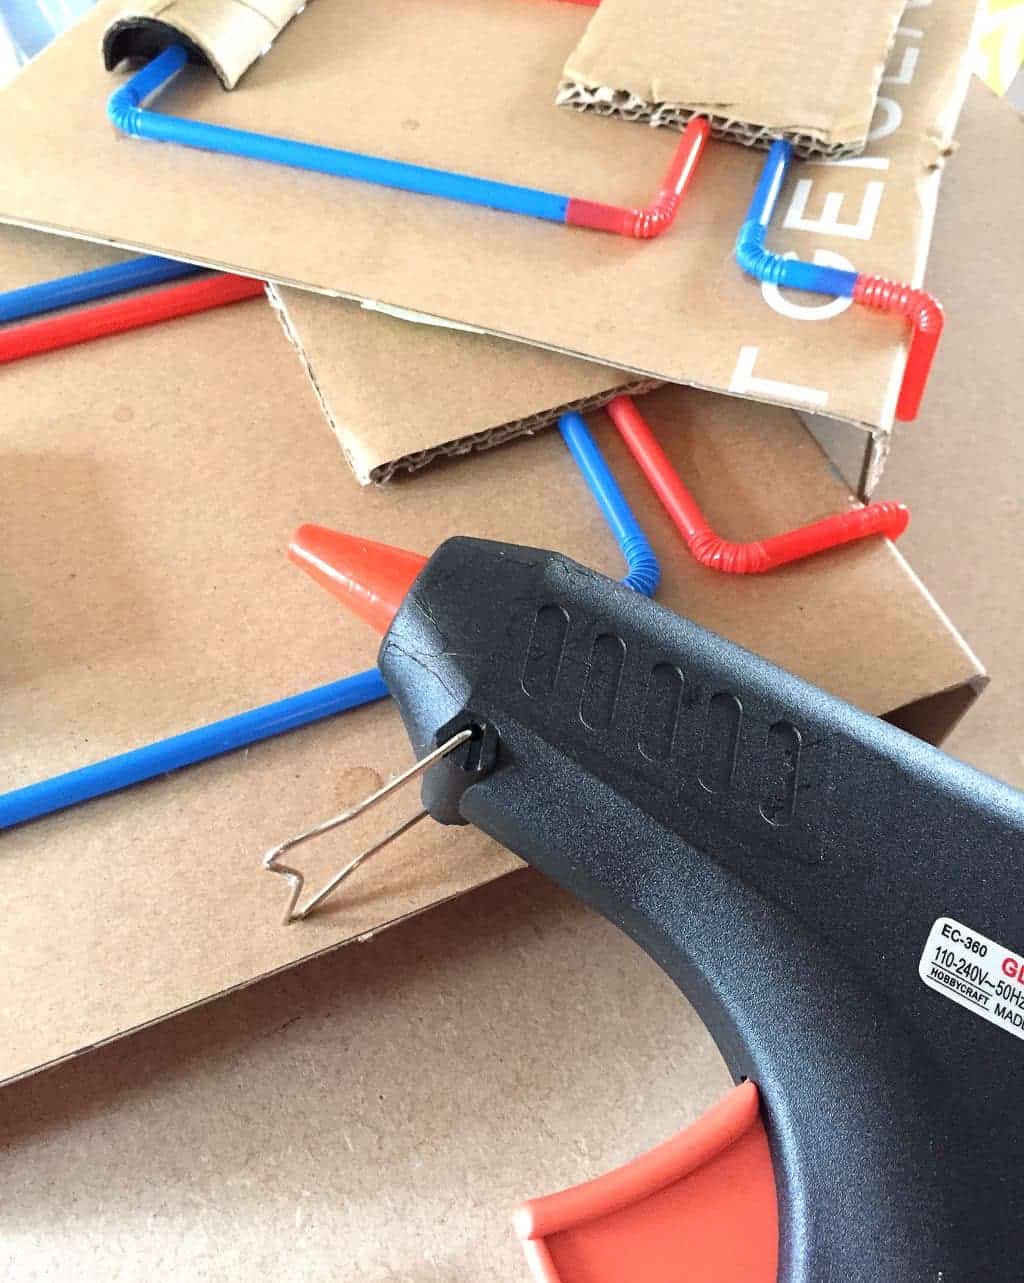
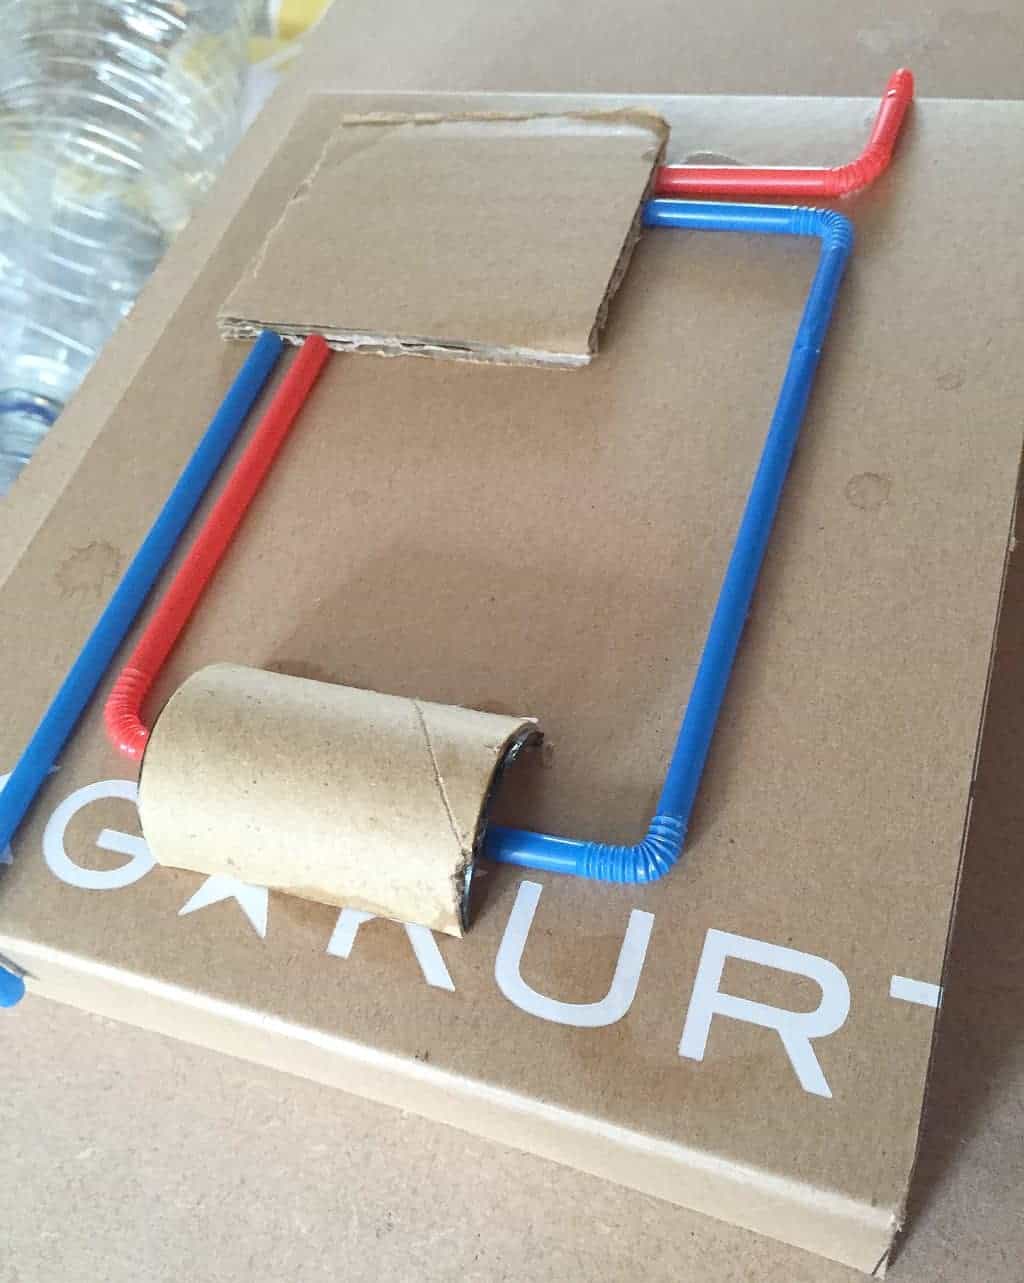
Take your shoebox and cut one of the long sides away — this open side is where the boosters will slot in. (One man’s shoebox, cut in half, actually made a jetpack for each of the boys — just check your two bottles sit side by side inside whatever box you use.)
4. Spray it.
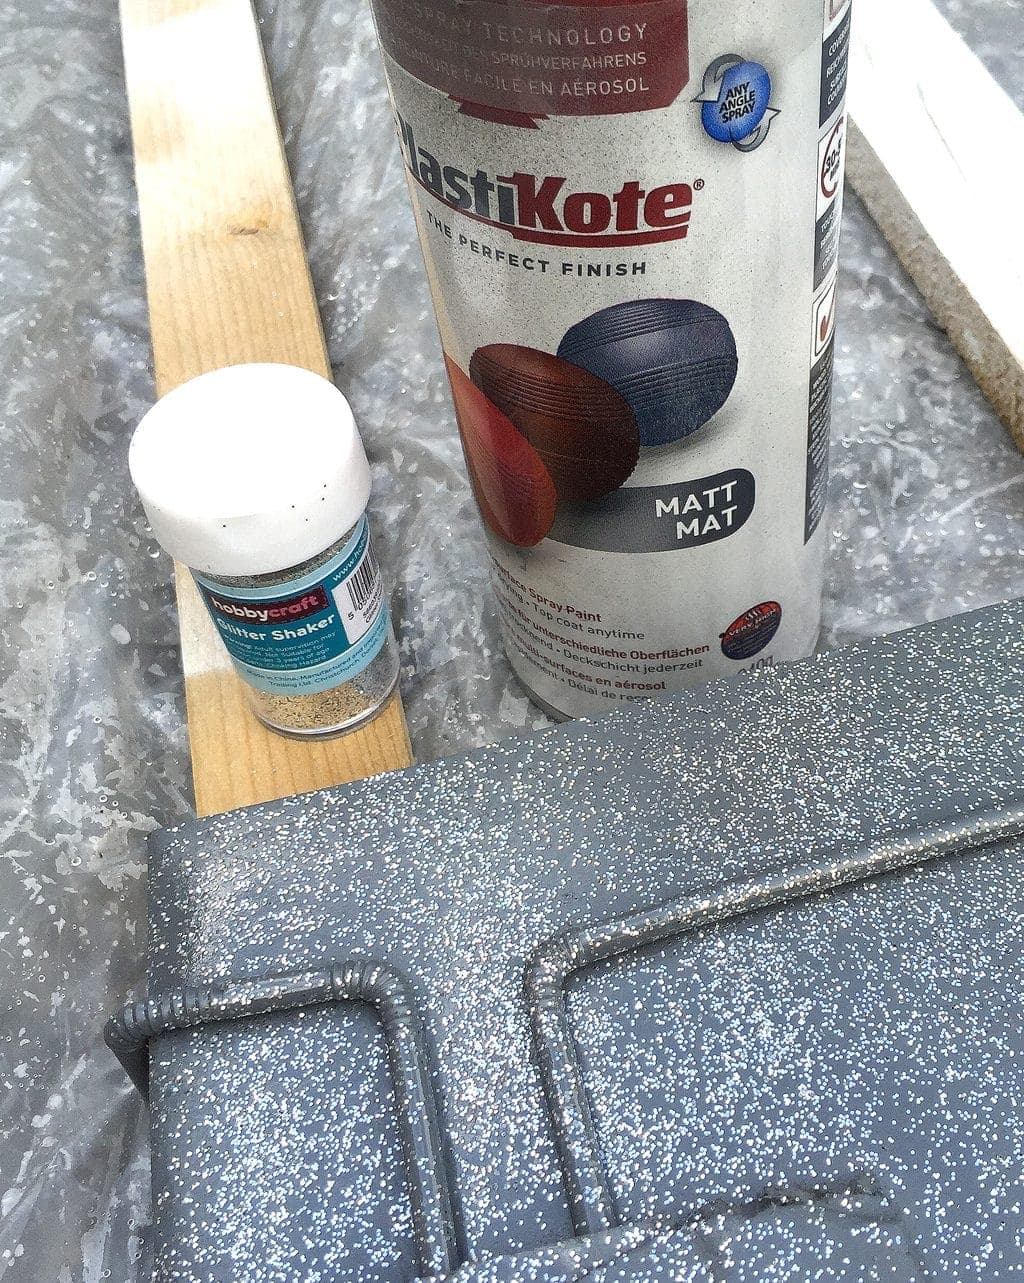
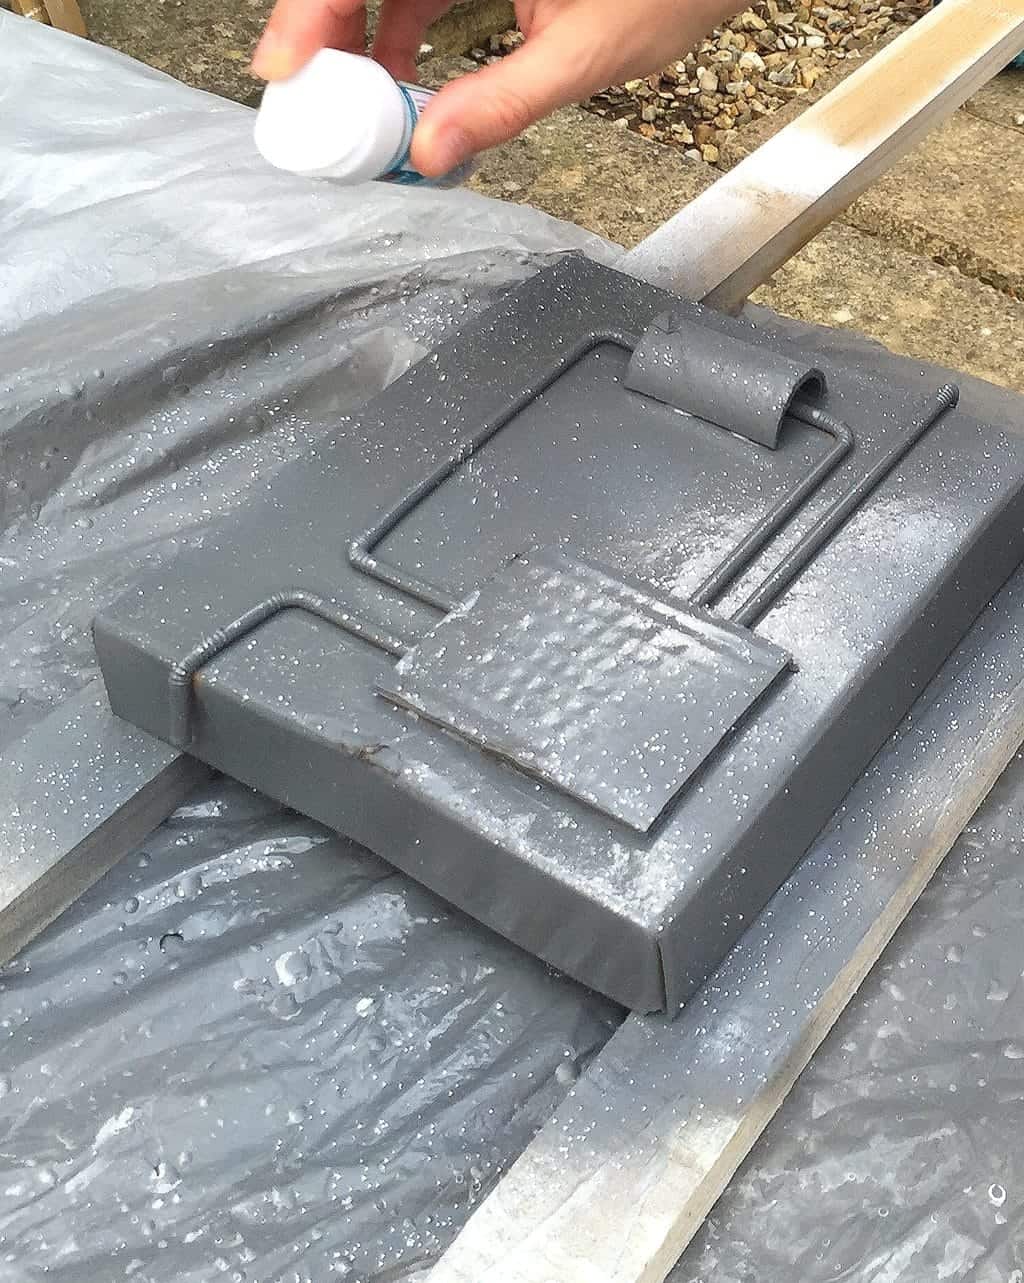
Give the box and the bottle-and-cup boosters a coat of grey spray paint and leave to dry. (Do this bit outside, and let an adult handle the spray paint.)

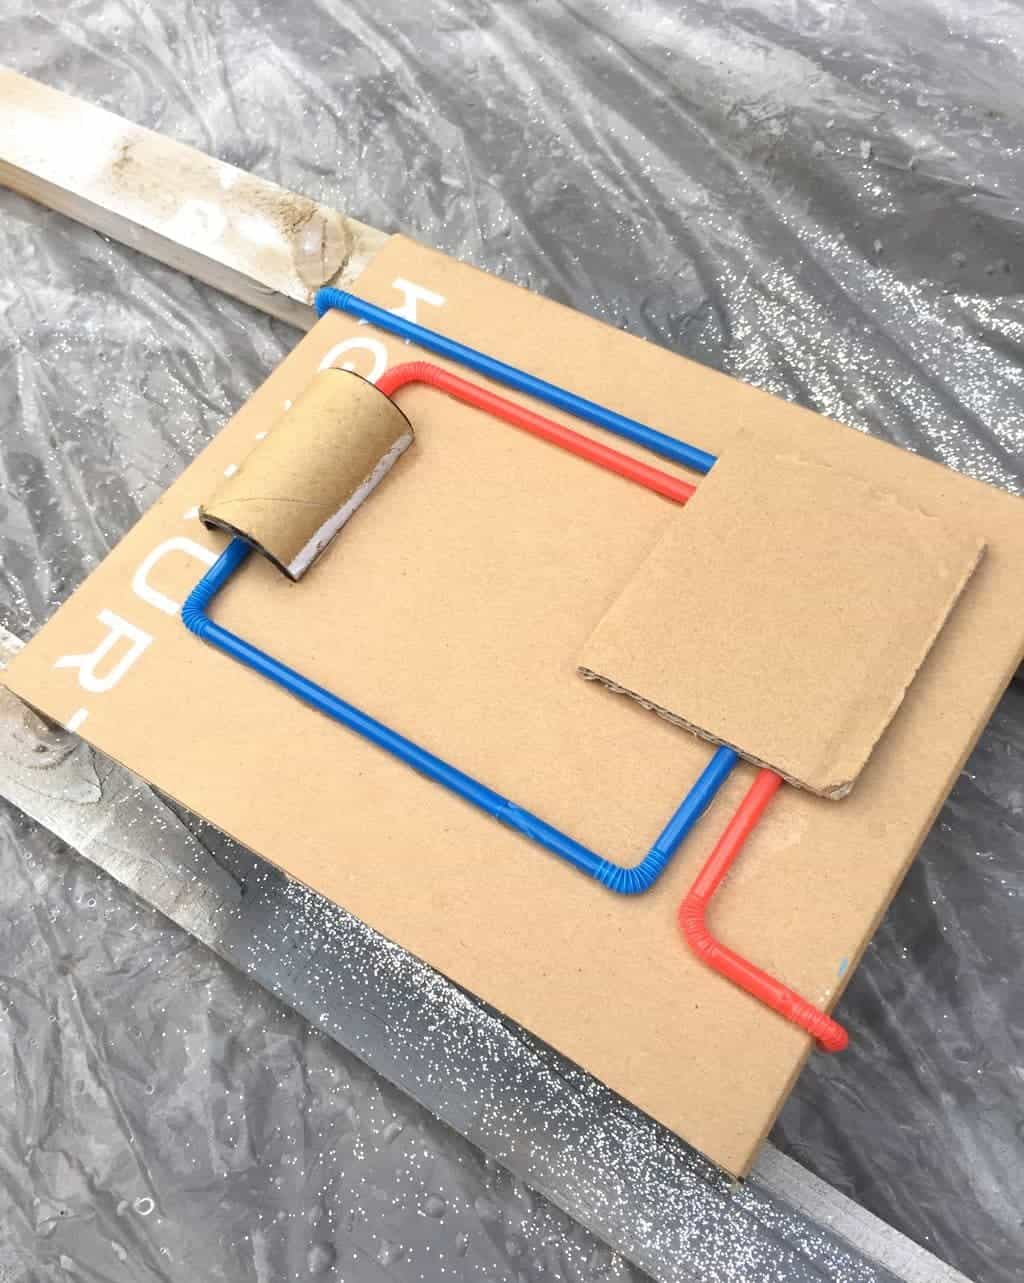
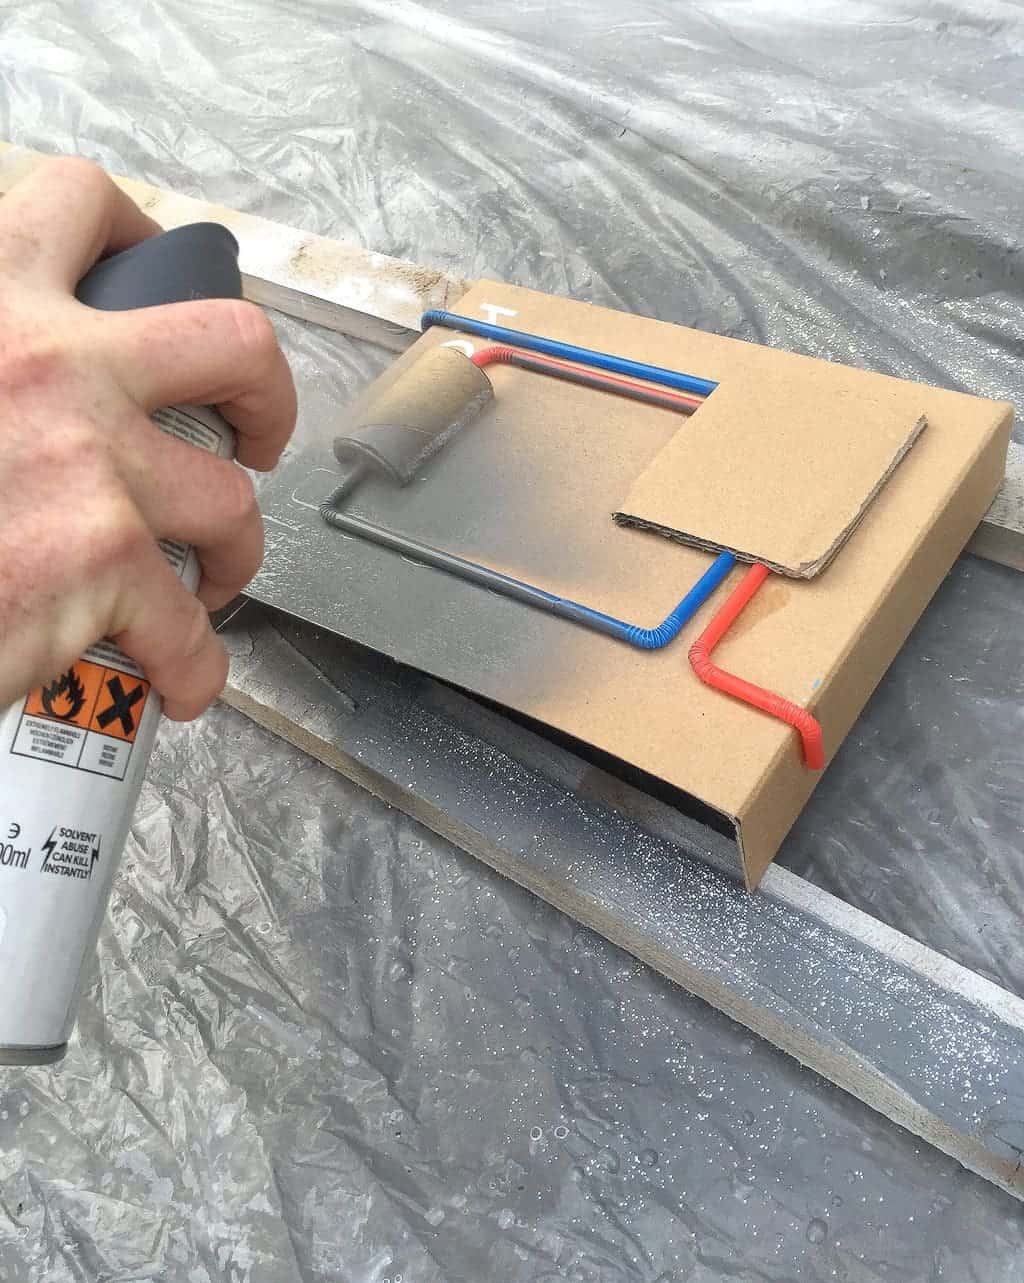
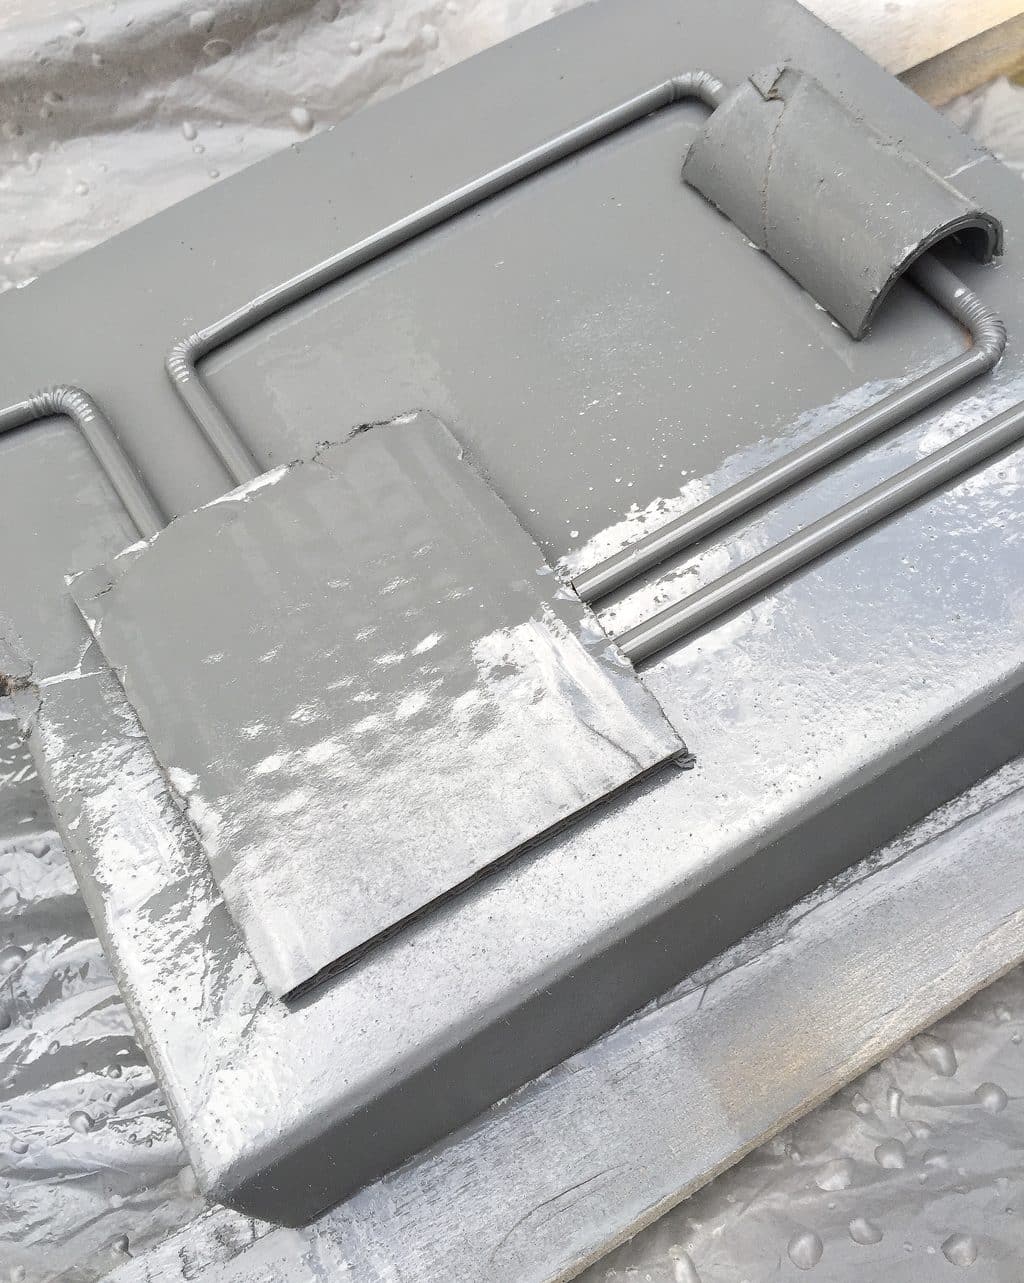
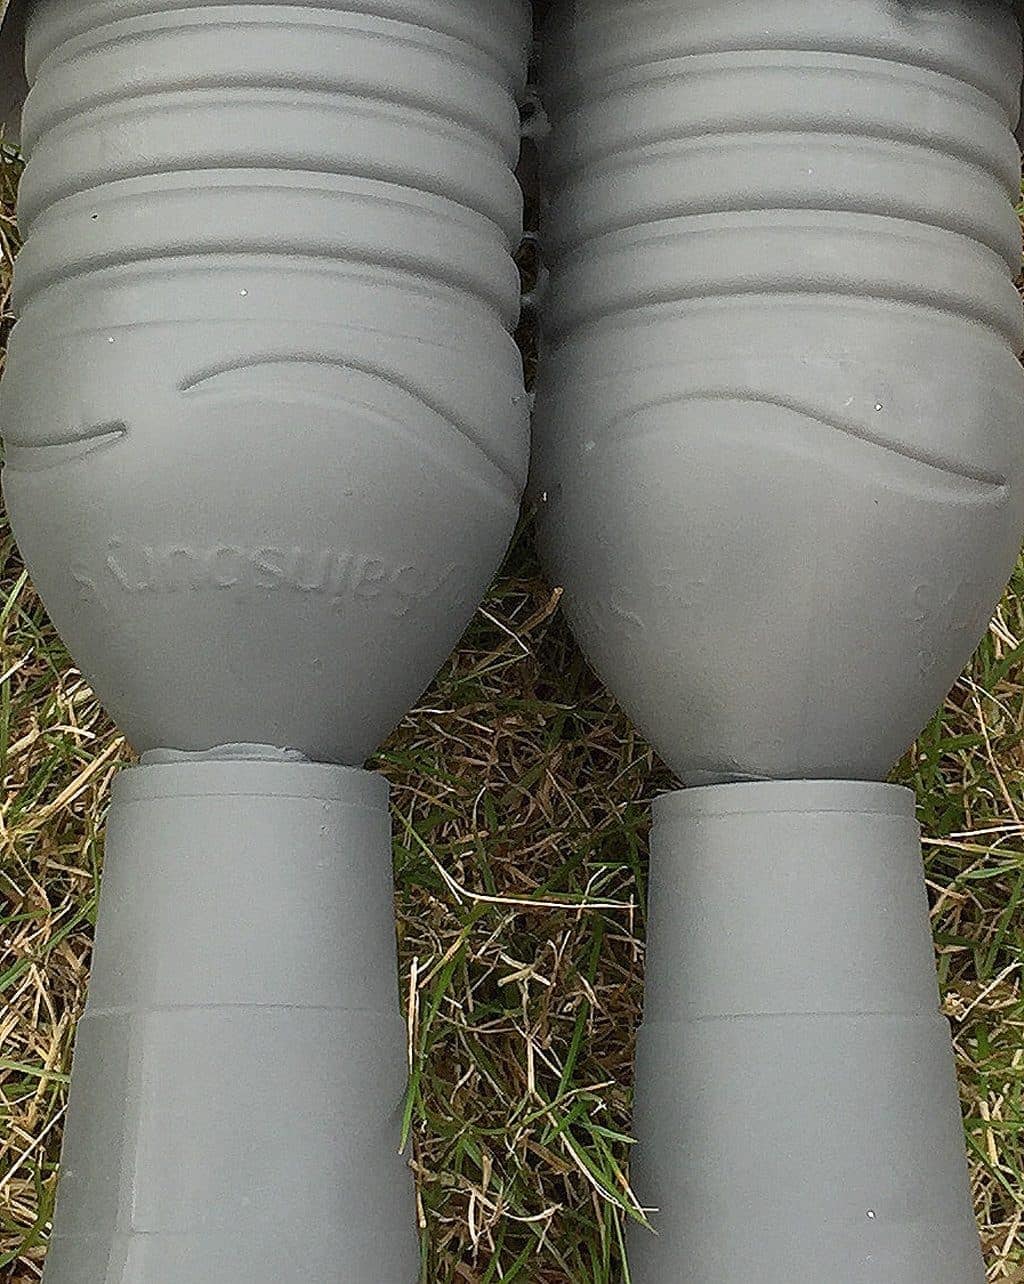
5. Get the glitter out!
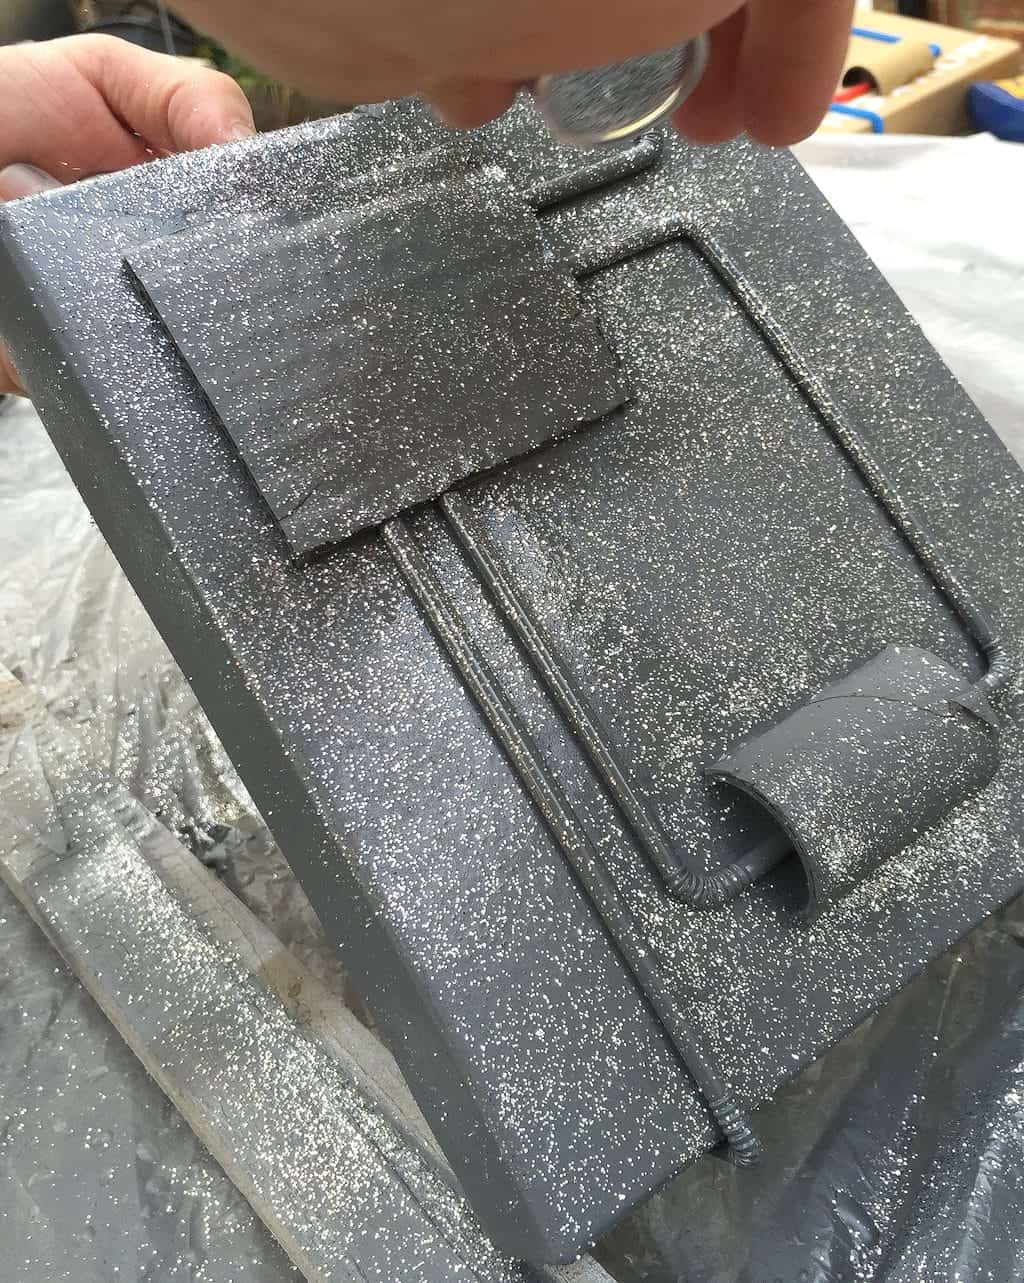
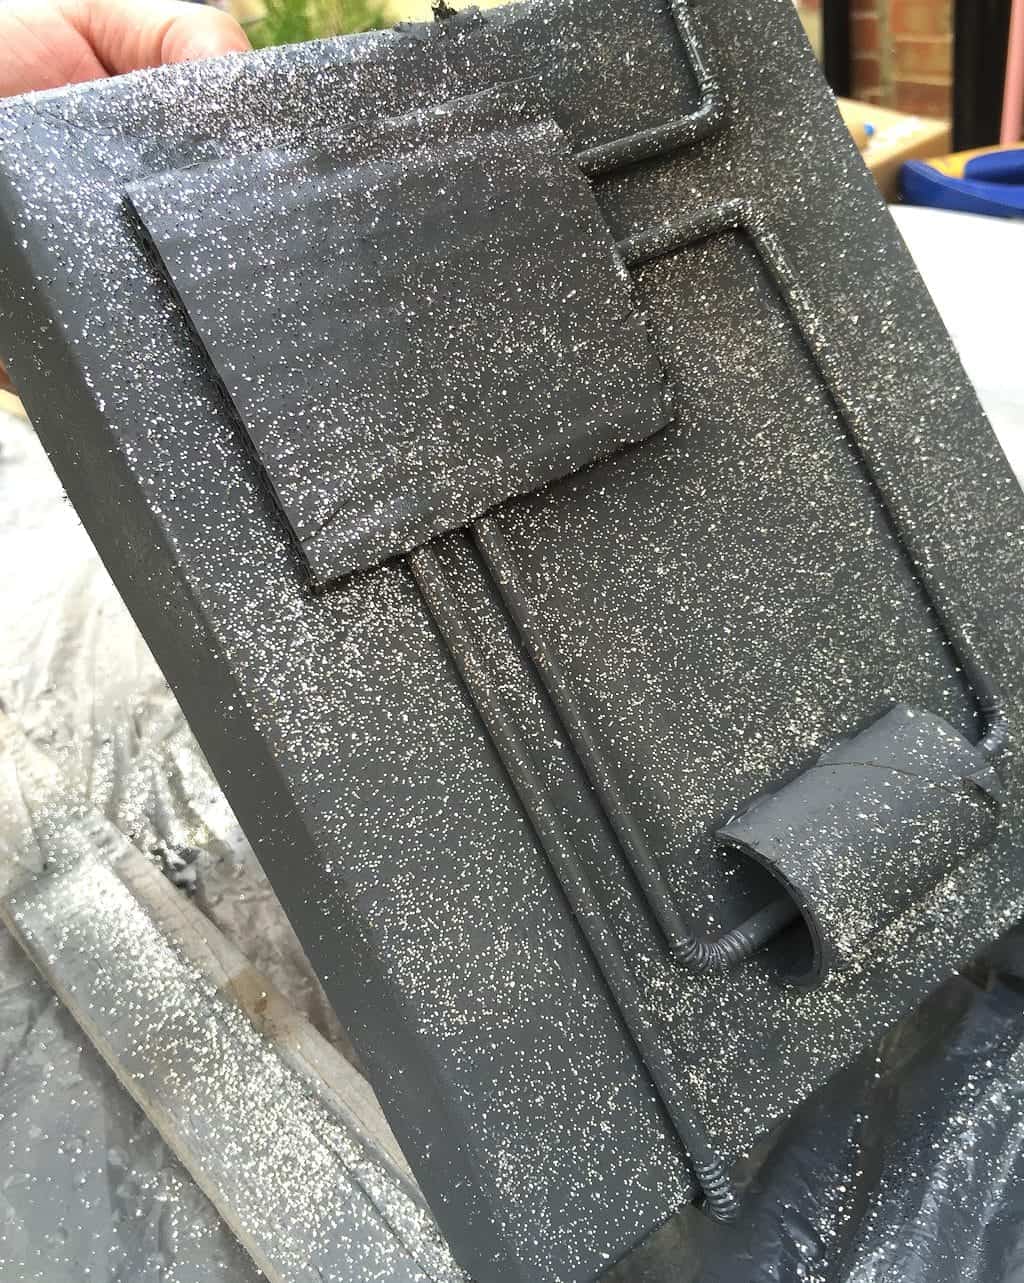
Whilst the paint is still wet, add a sprinkle of glitter because, well, space. This isn’t strictly necessary but hey. Everyone loves a bit of sparkle don’t they? A craft project wouldn’t be the same without glitter.
It stuck really well to the wet paint and gave a really good sparkly finish.
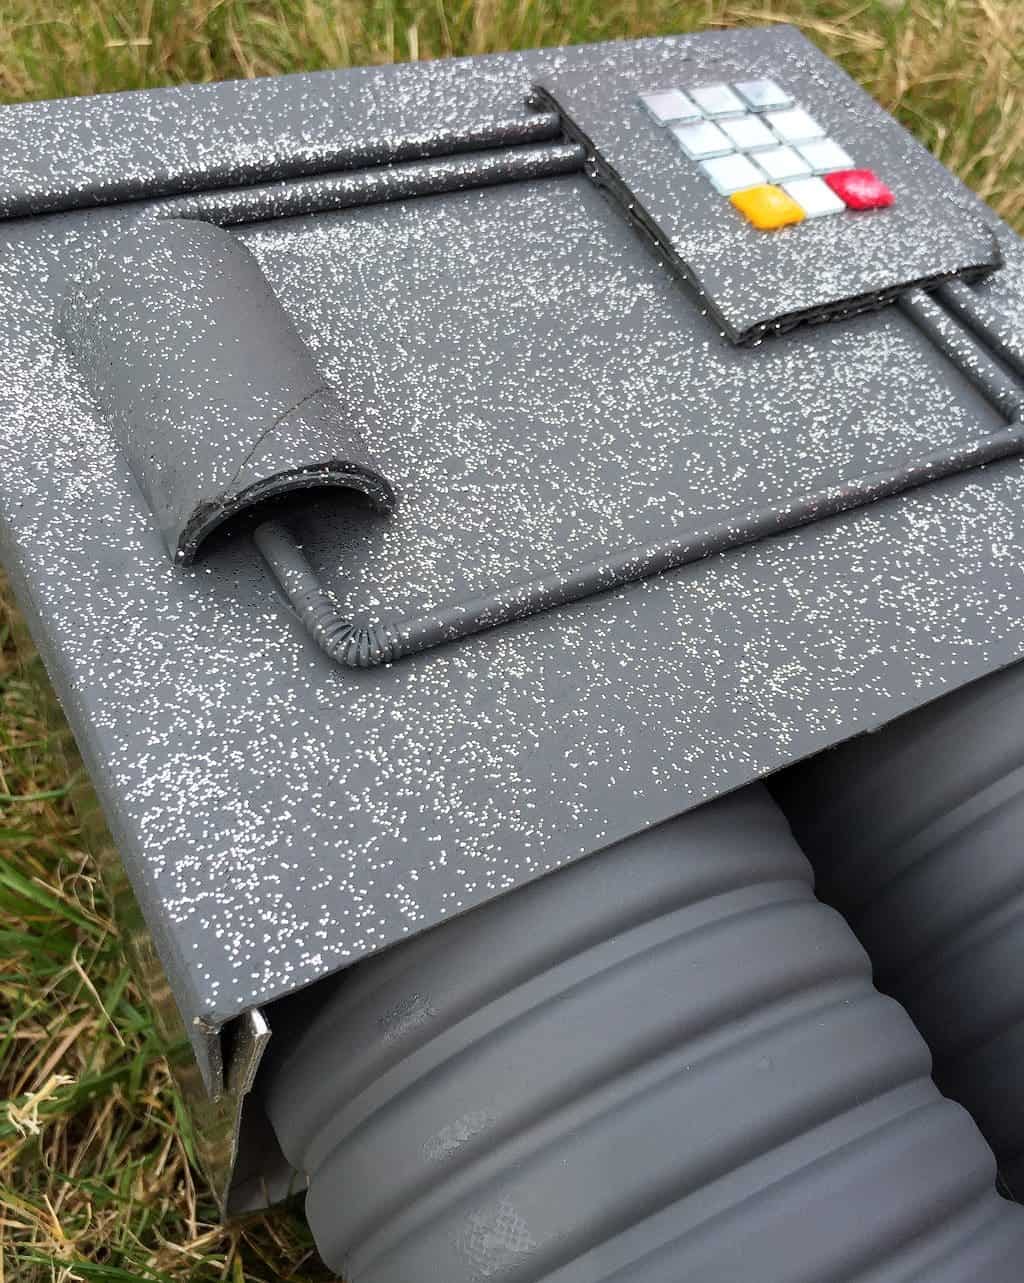
6. Build the ‘control panel’.
Glue the shoebox lid back on and decorate the top with “buttons” — I used mirror tiles and little felt squares.
7. Cut the flames.
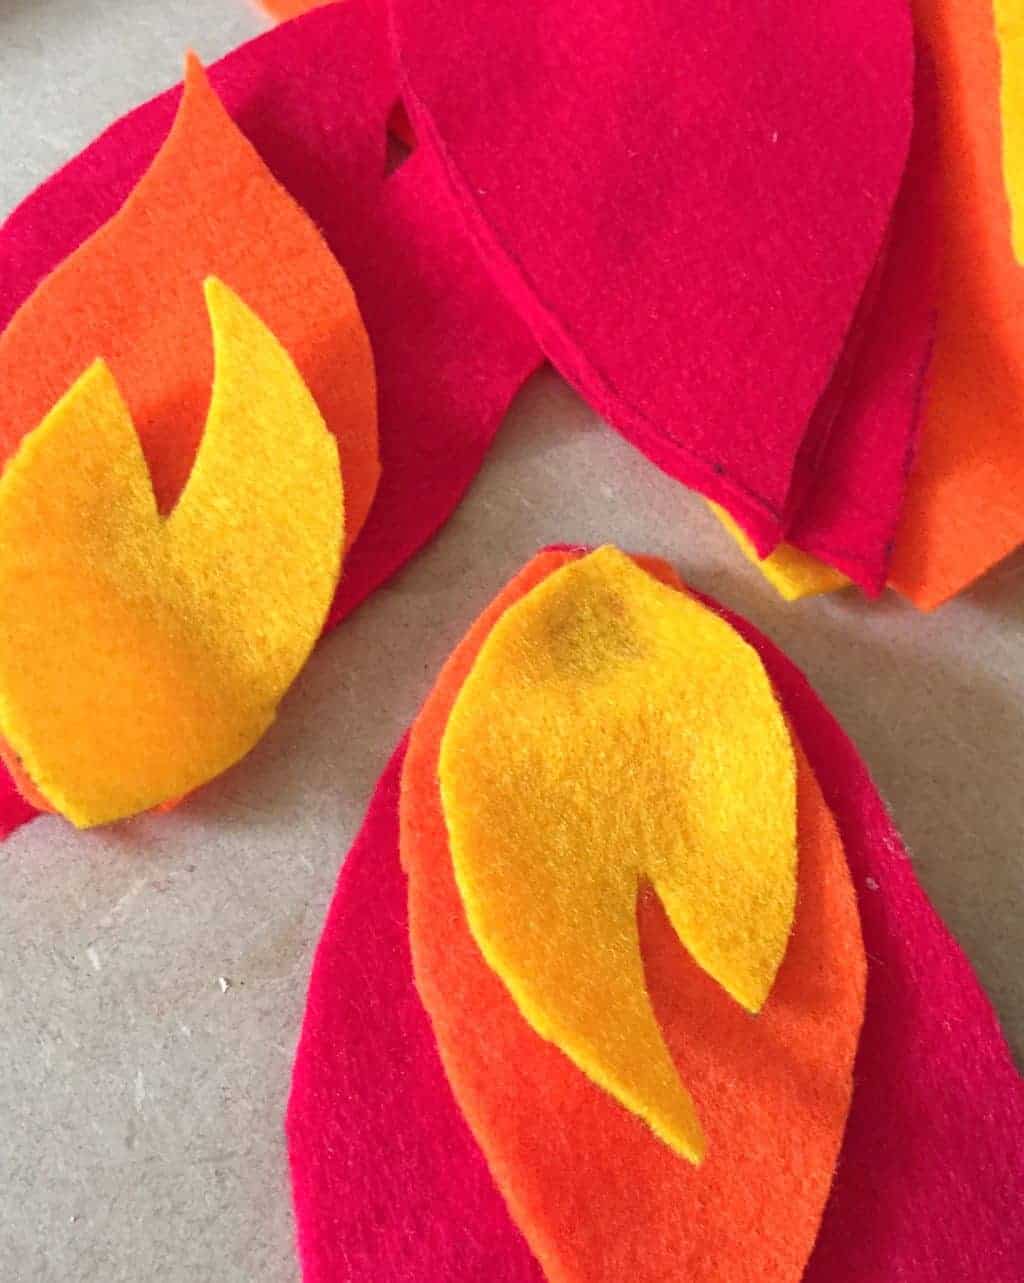
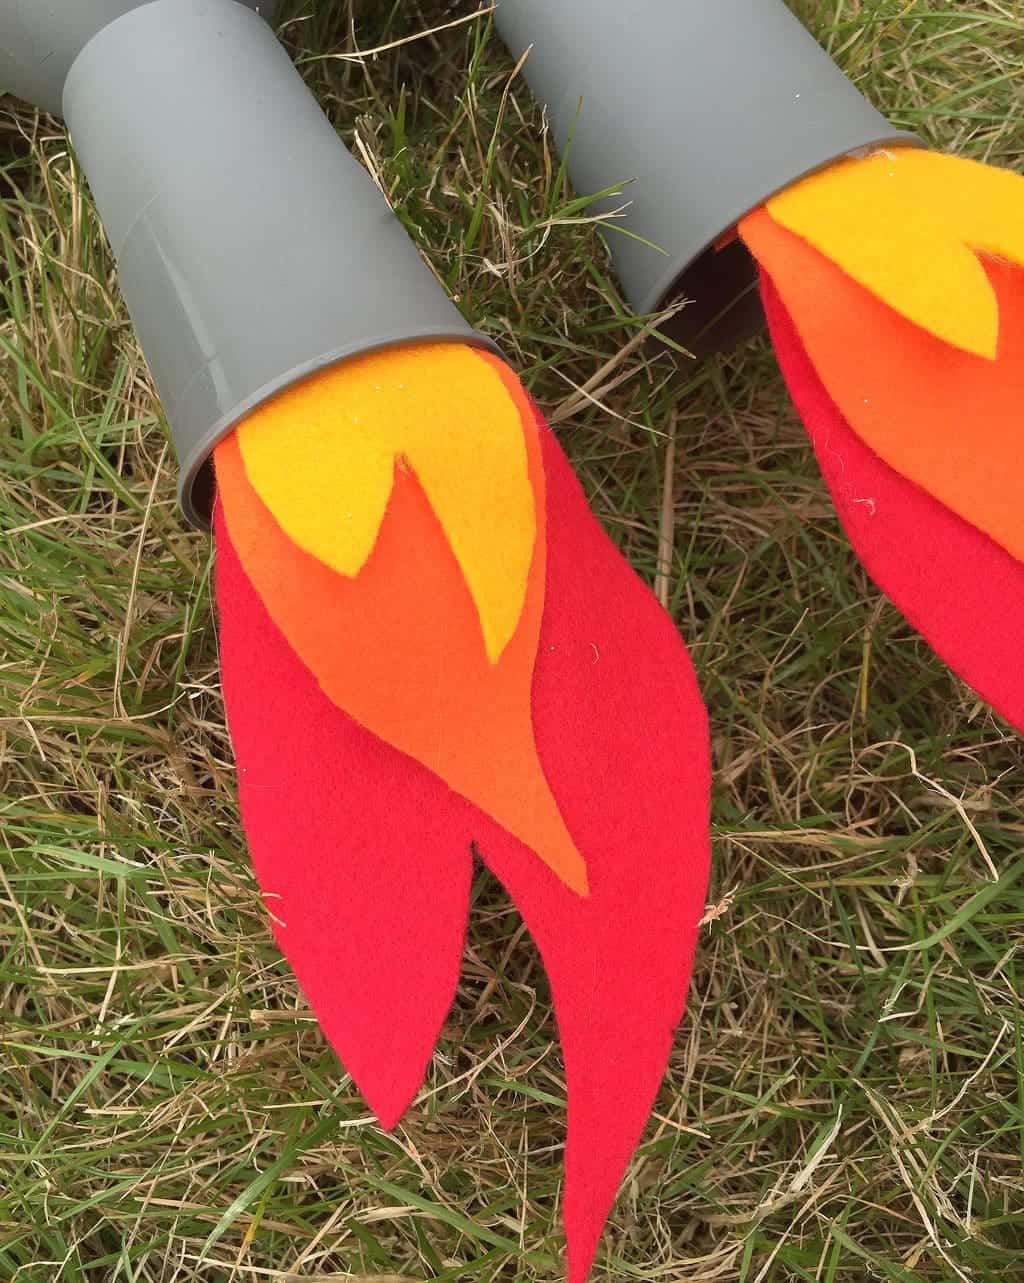
Snip flame shapes from your red, yellow and orange felt. Tape or glue them to the ends of a few drinking straws — then hang them so they dangle down from the boosters. They look brilliant.
8. Fit the boosters.
Push the bottle-and-cup boosters into the shoebox through the open side you cut earlier, and glue them in place.
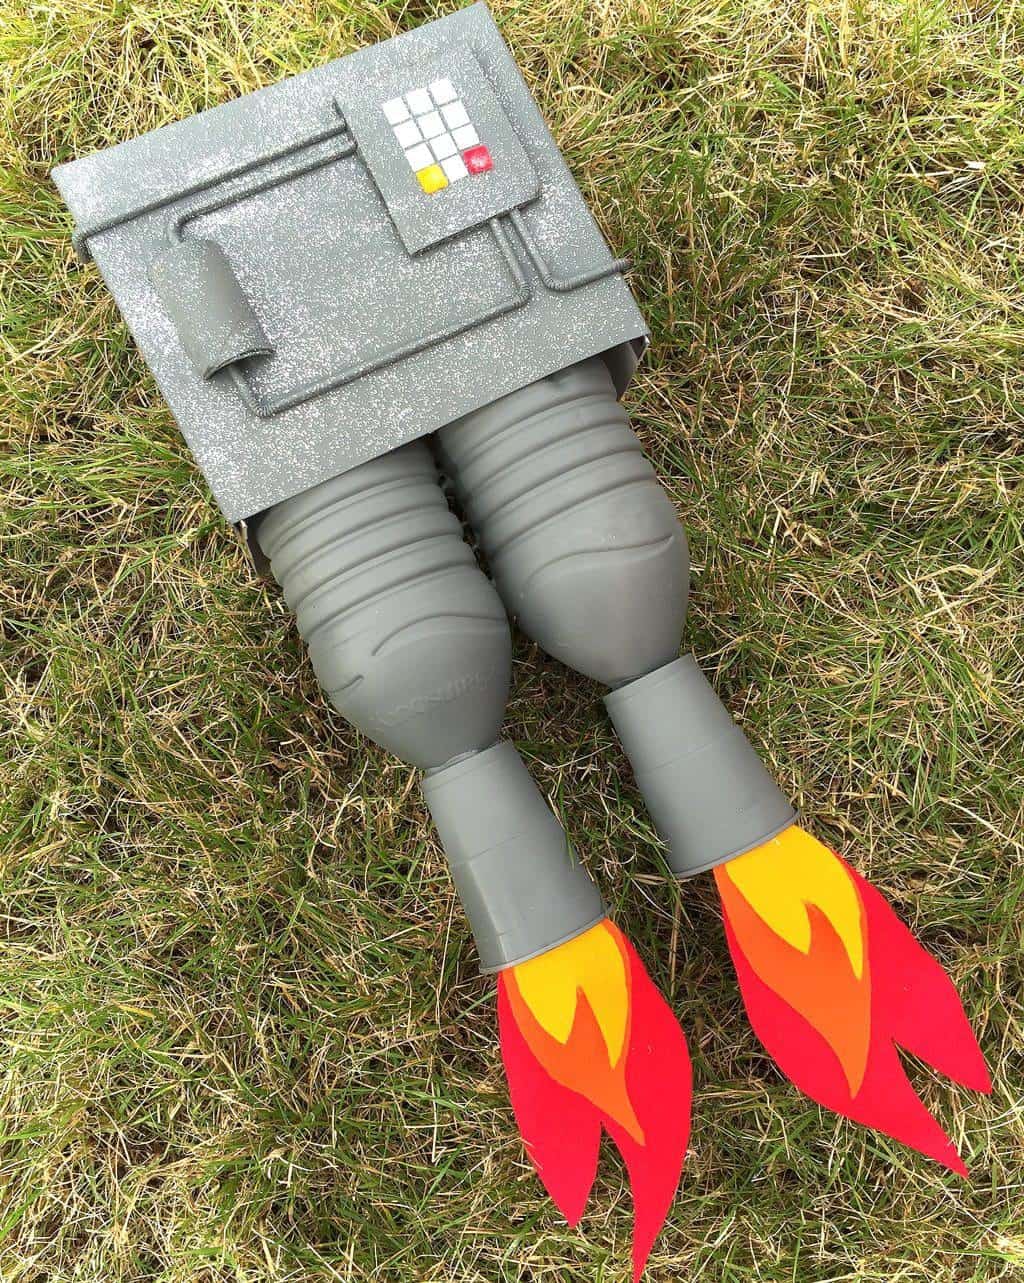
9. Add some straps. Glue two loops of thick elastic to the back of the box for shoulder straps. For extra strength, thread the elastic right through the box rather than just gluing it on.
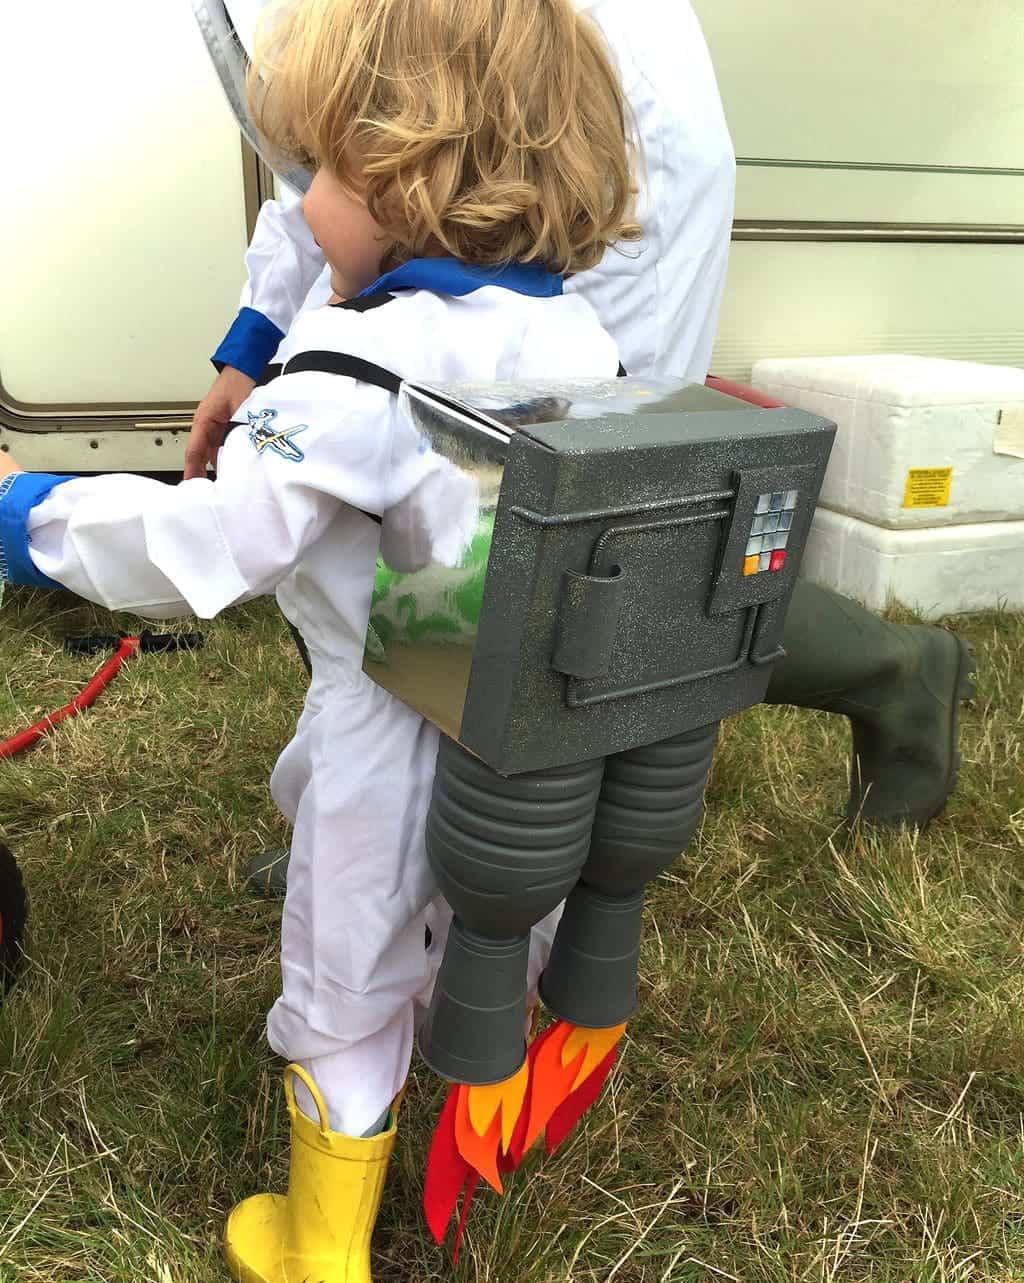
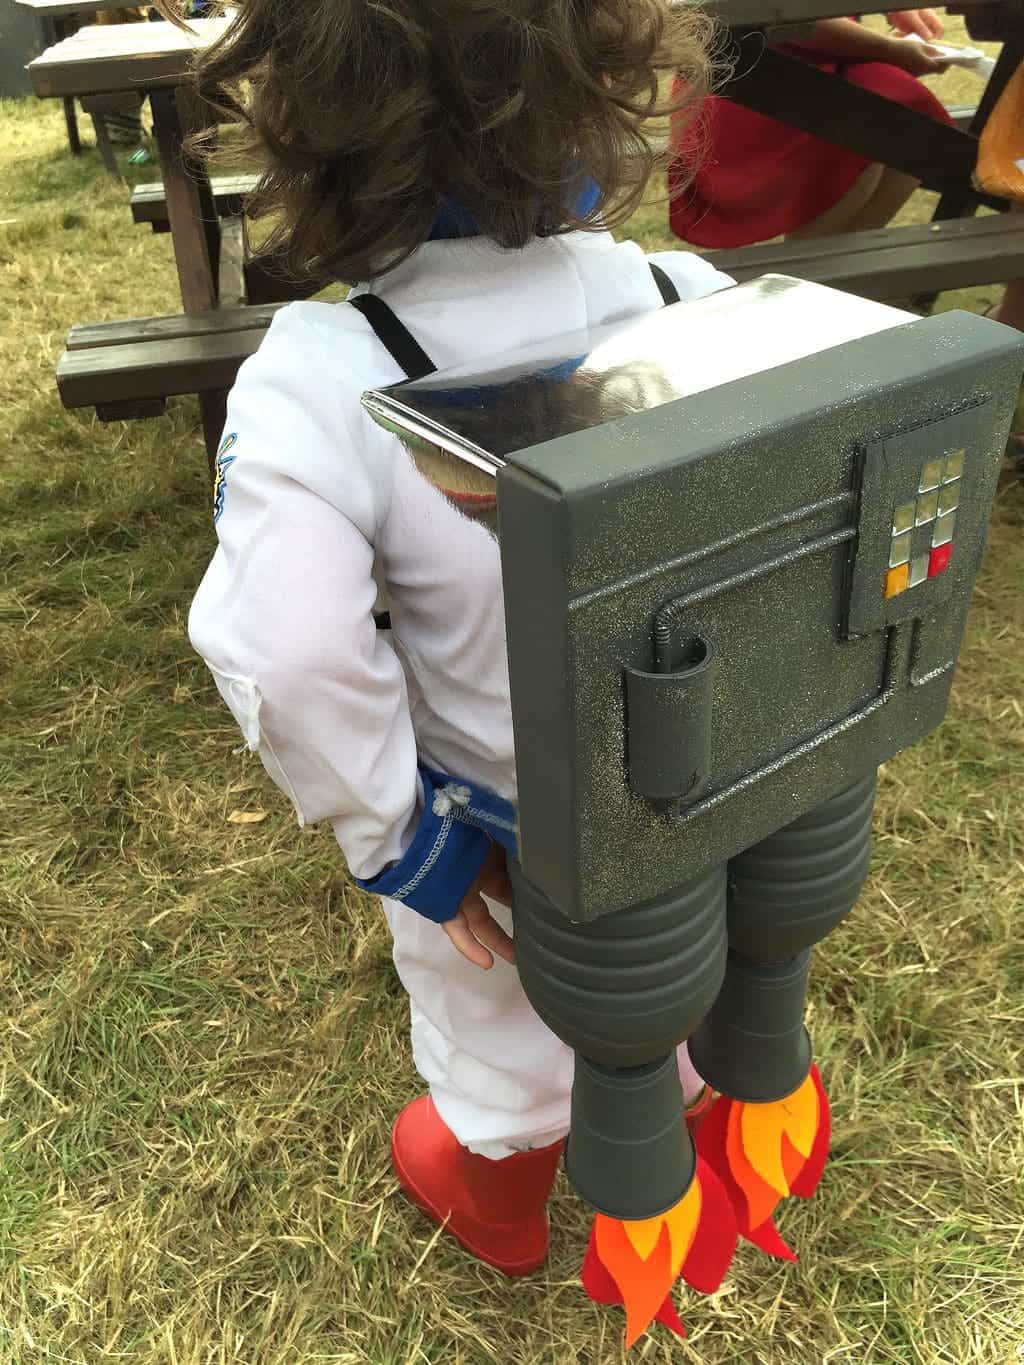
And that’s it — one homemade jetpack, ready for launch. 🚀
Make It Last (Learn From My Mistakes!)
I’ll be honest with you: the first time round, the straws fell off after about half an hour and the flames were gone within two. If you want yours to survive longer than a single mission:
- Glue-gun the straws right into the bottle necks rather than just onto the surface.
- Reinforce the flames by sandwiching each straw between two layers of felt so it can’t pull free.
- Thread the shoulder straps through the box (as above) so an excited five-year-old can’t yank them off.
What To Wear It With
As the jetpack does the heavy lifting, you can keep the rest simple.
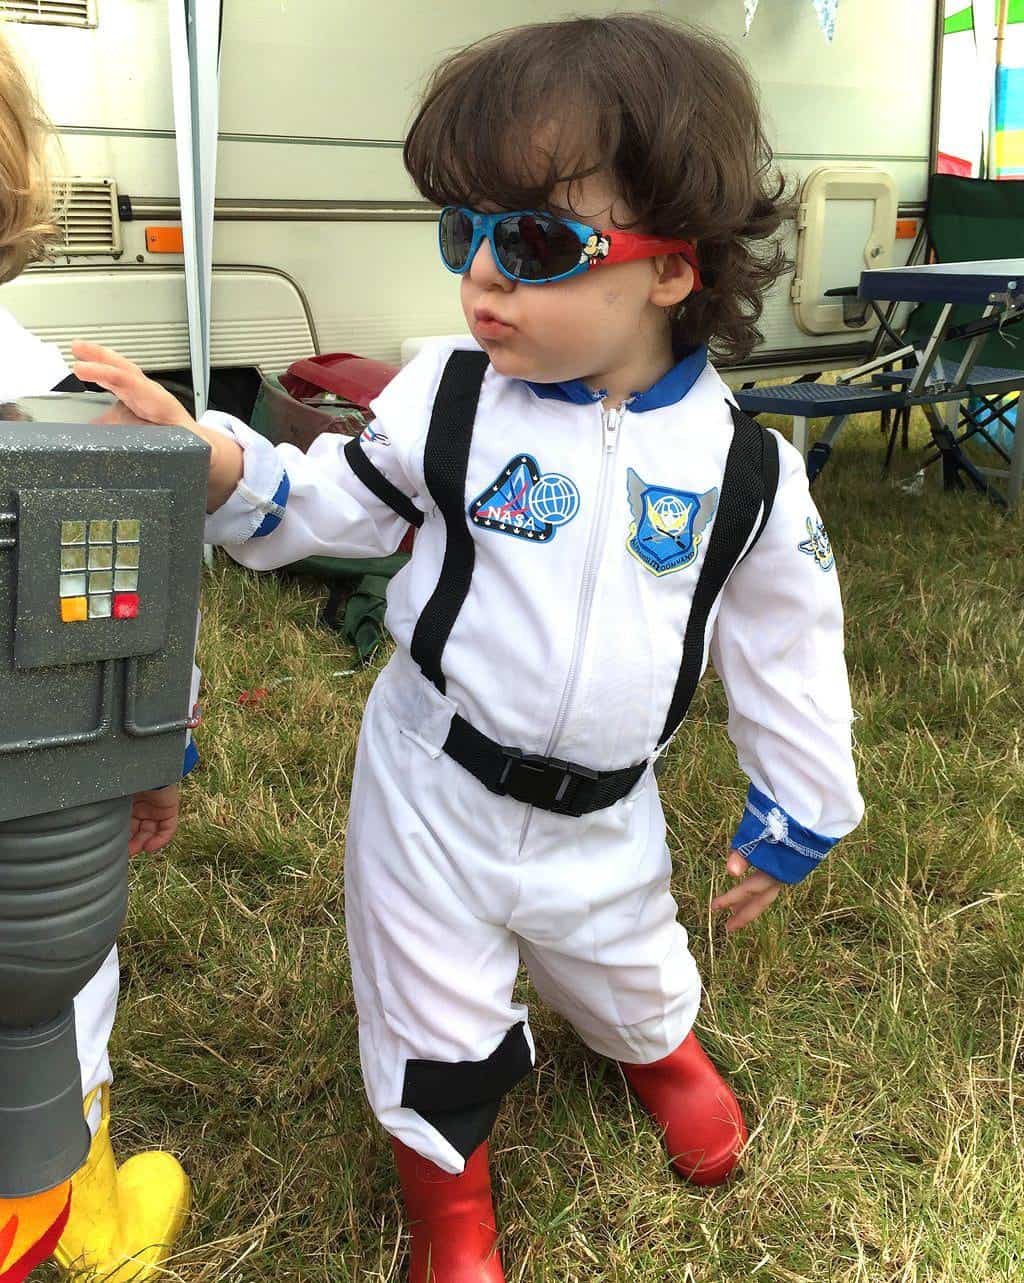
Team it with a NASA-style jumpsuit or a plain grey/silver top and joggers — we grabbed cheap astronaut outfits from Amazon and they looked fab.
It’s ideal for:
- World Book Day — think Beegu, The Way Back Home, Man on the Moon or any space-themed storybook character
- Halloween — a friendlier alternative to the spooky stuff
- Space and rocket birthday parties
- School space topic days
FAQ
How long does it take to make?
About 30 minutes, plus drying time for the spray paint.
What can I use instead of plastic bottles?
Cardboard tubes (like kitchen-roll inners) or even rolled-up card work well for the boosters if you’d rather not use bottles.
Is it good for World Book Day?
Perfect — it turns any plain outfit into an instant astronaut, and it’s a homemade costume (which schools increasingly ask for) rather than a shop-bought one
What age is it suitable for?
Any age — the making is great for primary-age children with a grown-up on glue-gun and spray-paint duty, and it fits toddlers up to grown-ups depending on the box size.
The boys were, as I said at the time, absolutely over the moon with theirs (sorry). If you make one, I’d love to see it — do tag me or pop a photo in the comments.
Pin ‘How to Make a Jetpack Costume’ For Later

Some More DIY Costume Posts You May Like
Looking for more fancy dress ideas and DIY costumes? Check out these posts below.


NB: Editor’s Note.
This blog post was originally published 13 June 2016, then updated on 14 September 2026.

Caro Davies is a former art-director turned writer and content-creator, and editor behind UK lifestyle blog The Listed Home. She writes about home-related topics, from interiors and DIY to food and craft. The Listed Home has been featured in various publications, including Ideal Home, Grazia, and Homes & Antiques magazines.

WOW this is the best homemade dress up I’ve seen in a long time. That’s very creative! Camp Bestival sounds amazing, I’d love an excuse to dress up like a spaceman!
Aaaah you should definitely come!!!! Camp Bestival is SO awesome — just as good for the adults as it is for the kids too :)
Love the theme this year. I’m gutted that we are on holiday so will miss it. This is so flipping cool. I’m gonna make this anyway x
Aaah bless you!! I’d be gutted to miss it too!!! We had to schedule our holiday around it!! LOL!! ;)
That backpack is amazing! I bet you’ll have so much fun there. I’d be the same as you and make the effort to dress up. Like you say, such an opportunity to get really creative and indulge. I hope you have an amazing time x
Aaah thanks so much lovely! Totally agree — I want my children to grown up remembering all the amazing times they had with their mama and daddy :) If dressing up and painting myself in glitter adds to that then I’m there!!! With bells and whistles on!! :)
OMG Caro this is absolutely awesome, you clever Mama you! I think Mads would literally be in heaven if I made her this- unfortunately I am the worst Mother in the world when it comes to crafts! xx
Thanks so much pet — that’s lovely of you!! And don’t worry — if we hadn’t had Shambala as a prompt last year, these would probably never seen the light of day to be honest!! I’m certainly not one of those mega-crafty mamas who’s a card carrying member of the pipe-cleaner brigade ;) xx
That is by far the deadliest space homemade space outfit I’ve ever seen. My little girl would go crazy for it. Pinning and saving for later. You never know…
Aww bless you lovely!! What a gorgeous thing to say!! Thanks so much! :)
This is a fantastic craft and idea for CB. We are coming along for a day visit on the Saturday, I will look out for this fantastic backpack!
Aaah I’ll look out for you!!! We’ll be the ones wearing fancy dress (and probably a glitter ball helmet)!!
OMG! These look amazing! The boys are going to look fab… still working not he hubby for CB not looking likely at mo….. x
WHAT??? Tell that Joseph to pull his finger out!! You MUST come!!! We’ll have a ball — think of the fun we’ll have!!!!! It’s like a mini holiday :)