Have you ever wondered how to make salt dough ornaments? You can make so many cool things but one of my favourites is crafting Easter decorations. I thought I’d share my foolproof guide. They’re so easy to make, and you can bring them out year after year.
Quick View of What You'll Find on This Page
DIY Easter Decorations
Creating DIY Easter decorations is great fun. Over the years I’ve made a DIY spring wreath using faux tulips. And created a sweet Easter bunny garland, complete with pom pom tails.
Not to mention the DIY Easter chocolate bark — studded with foam eggs and mini eggs — YUM.
But one of the simplest activities, by far, is making salt dough ornaments.
Salt dough can be moulded into all kinds of shapes — you can go freestyle or use cookie cutters. And, if it’s cooked well enough and painted, it seals the dough and will last for years and years.
Salt Dough Ornaments
You can make your salt dough ornaments as simple — or as complicated — as you like. Even the children can get involved! It’s such a fun craft and something that the whole family will enjoy. Here are some ideas to make with your salt dough.
Easter Egg Easter Decorations
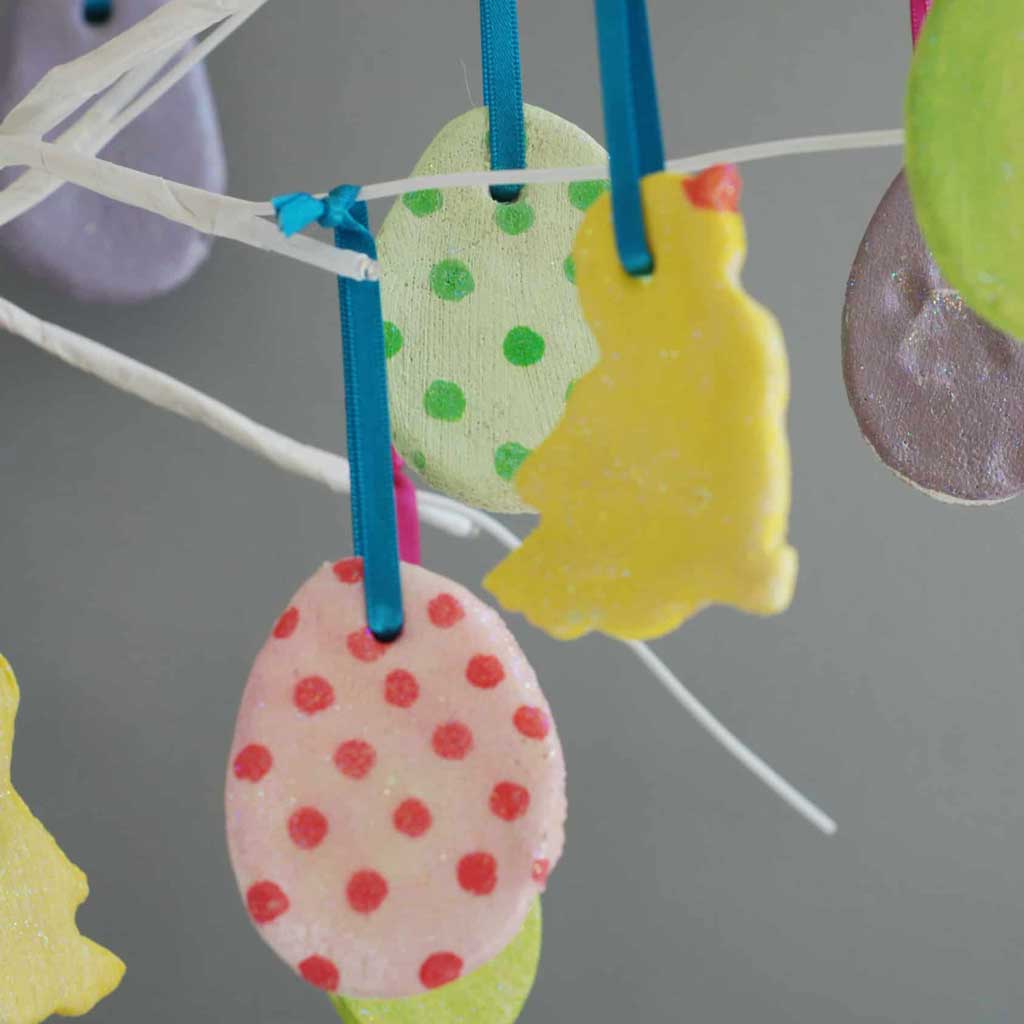
Roll out the salt dough and use egg-shaped cookie cutters to create ornaments resembling Easter eggs. You can then decorate them with paint, markers, or even glitter to make them colourful and pretty.
They make fantastic Easter tree decorations.
Bunny Salt Dough Ornaments
Use a bunny-shaped cookie cutter or mould the dough into bunny shapes by hand. Add details like eyes, a nose, and whiskers before baking. Once baked and cooled, you can paint the bunnies in various colours and add a ribbon for hanging.
Chicks
Mould small balls of dough into chick shapes, or used a cookie cutter as I have done here, adding details like beaks and wings before baking. Once cooled, paint the chicks yellow and add eyes and feet using paint or markers.
Crosses
Roll out the dough and cut it into cross shapes using a knife or cookie cutter. After baking and cooling, paint the crosses in pastel colours and add decorative touches like patterns or flowers.
You could even use dried flowers to decorate your Easter decorations.
Flowers
Create flower shapes by cutting the dough into circles and making indentations around the edges to resemble petals. Roll a little ball of dough, and press in the middle, for the flower’s center. Once baked, paint the flowers in vibrant colours and add details like stems and leaves.
Butterflies and Bee Salt Dough Ornaments
Mould the dough into butterfly and bee shapes, making sure to create distinct wings. After baking and cooling, paint your bees and butterflies in bright colours and add details like antennae and patterns on the wings.
Easter Baskets
Make little baskets out of your salt dough. Create the vessel first, then create a handle by twisting (or plaiting) strips of dough together. Once baked and cooled, paint the baskets brown then add details like handles and decorative patterns. You can even fill the baskets with tiny salt dough eggs or — even better — with foil wrapped mini eggs.
Easter Wreaths
I’ve created DIY flower wreaths before but you could also use salt dough to create a cool Easter wreath. Create a ring shape with the dough and decorate it with small Easter-themed shapes like eggs, bunnies, chicks, and flowers. After baking and cooling, paint the wreath in pastel colours and add a ribbon for hanging.
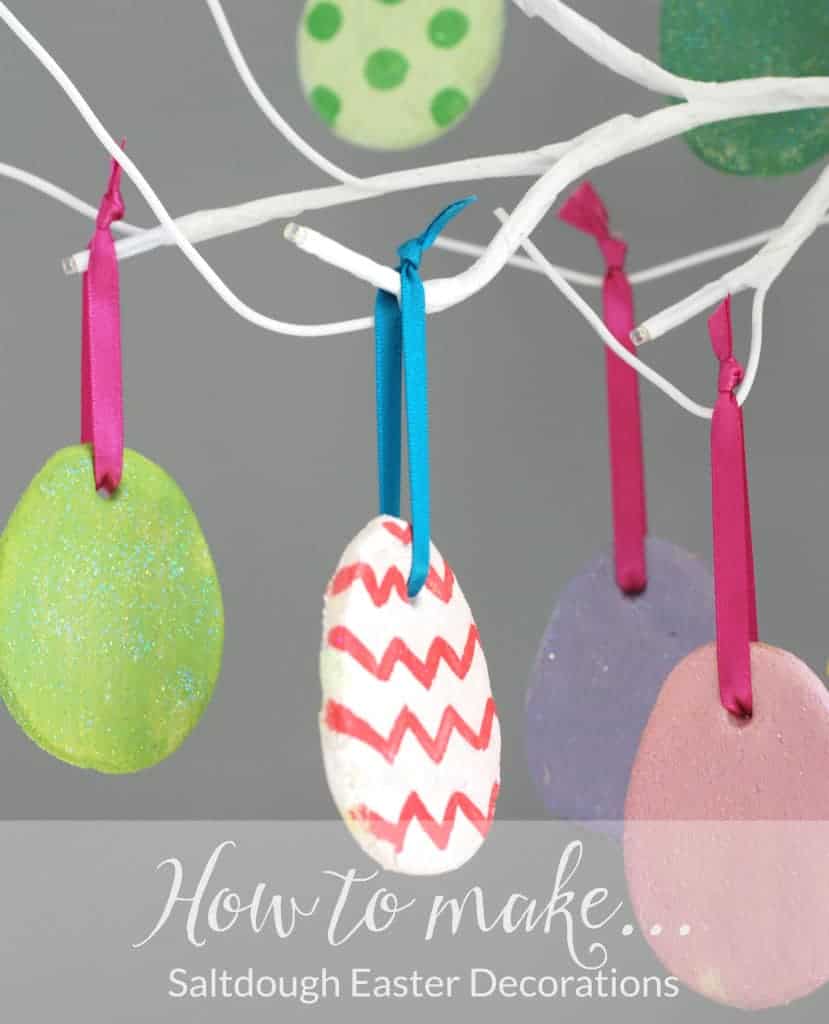
How To Make Salt Dough Ornaments for Easter
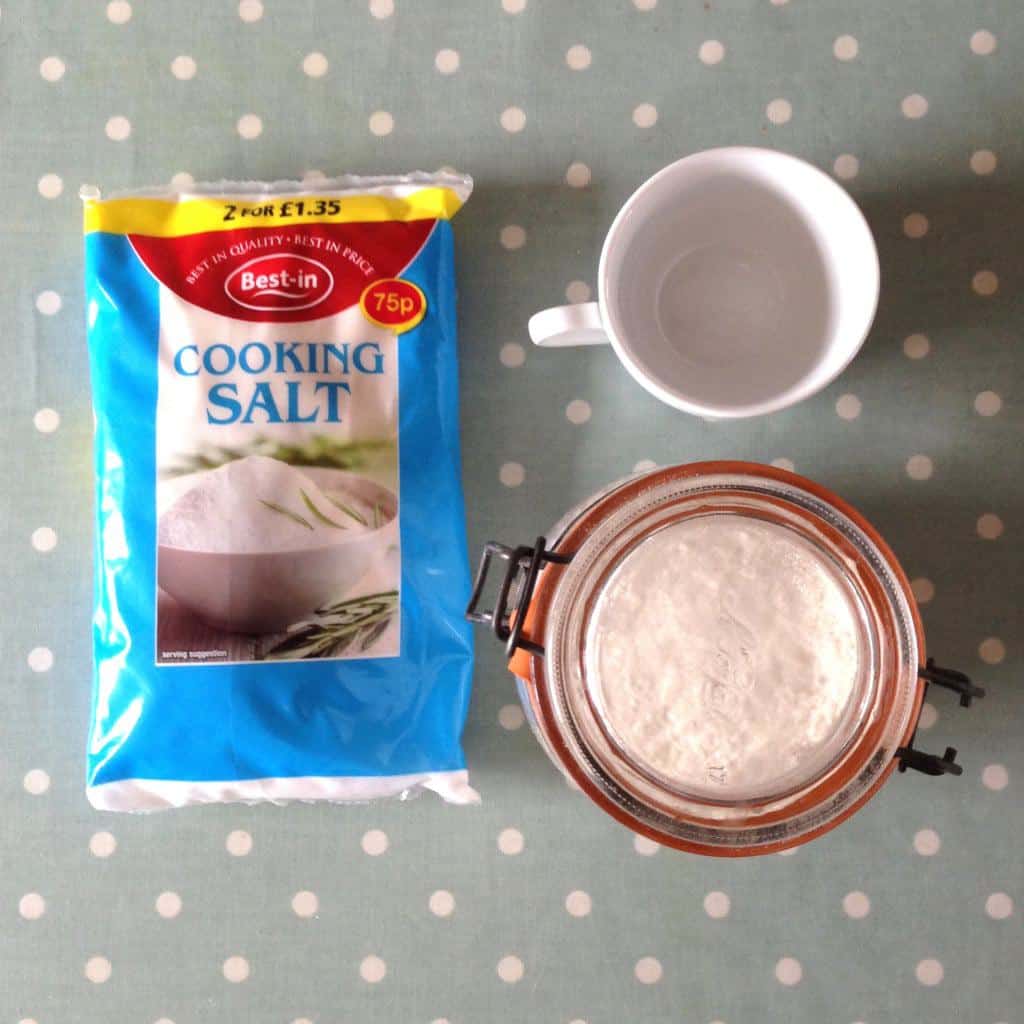
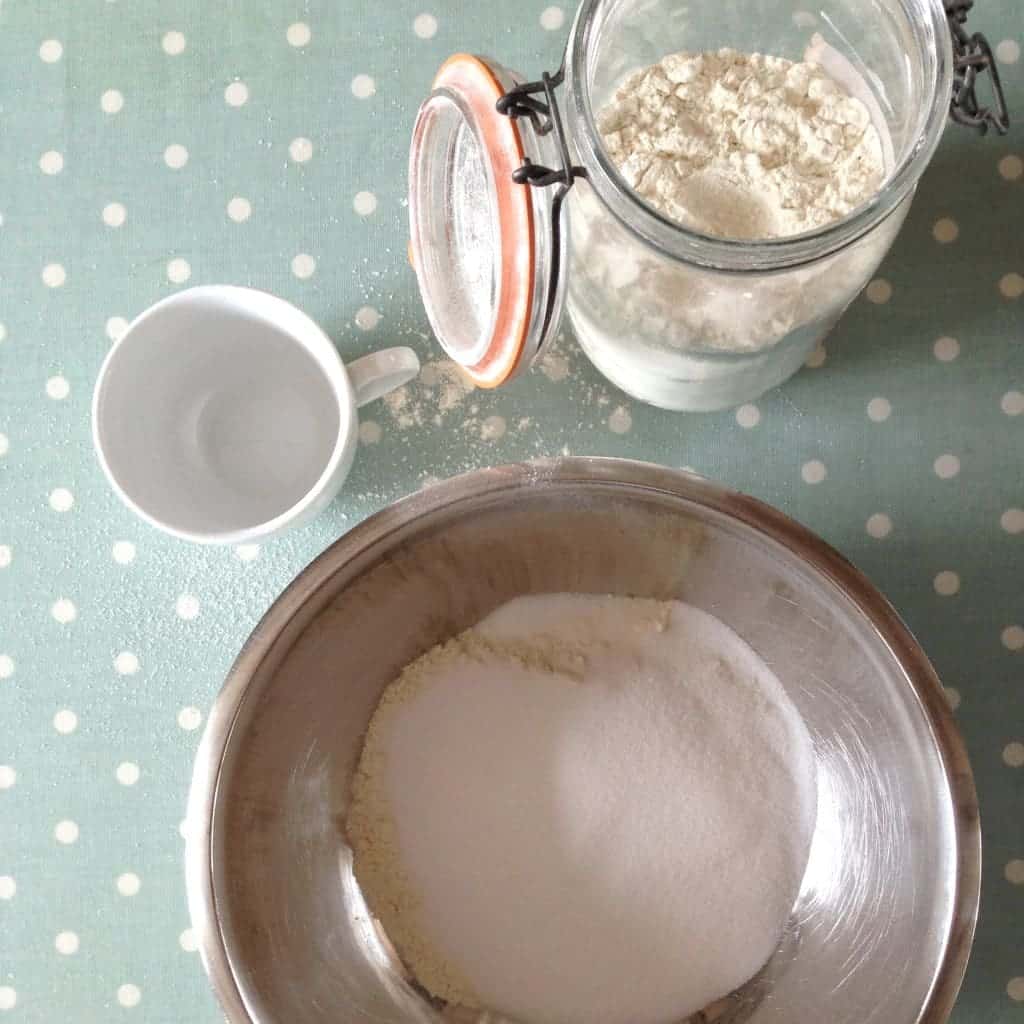
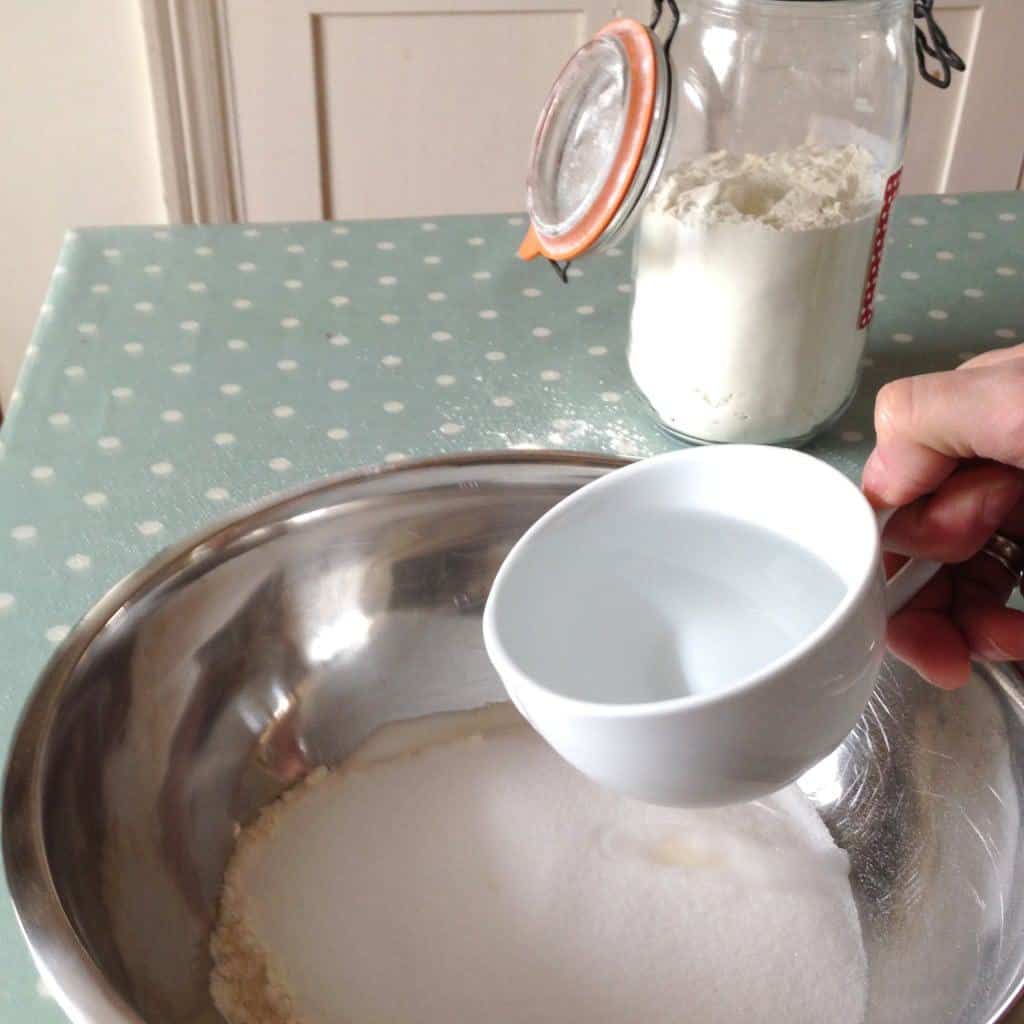
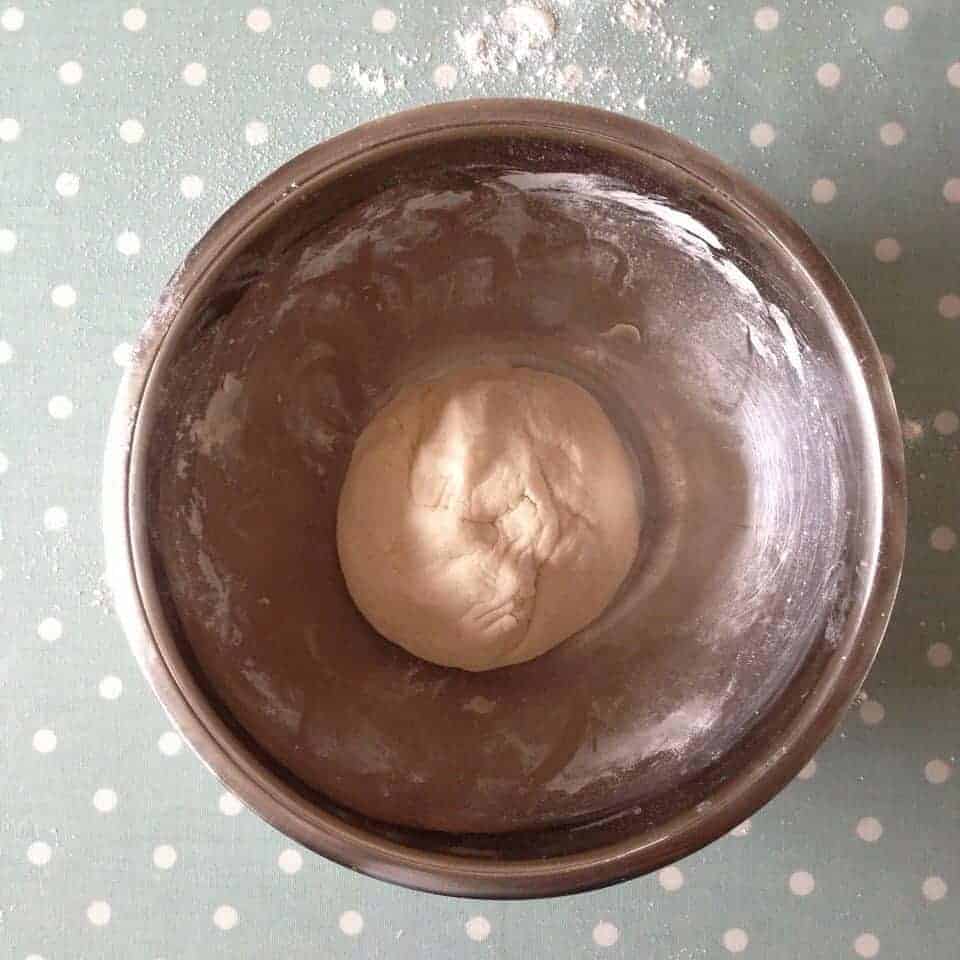
Take one cup of plain flour, one cup of salt and as much water as you need to make a pastry like dough. Some recipes suggest a whole cup but I probably used three quarters.
Just use your discretion; if the mix starts to look too sticky, just add more flour.
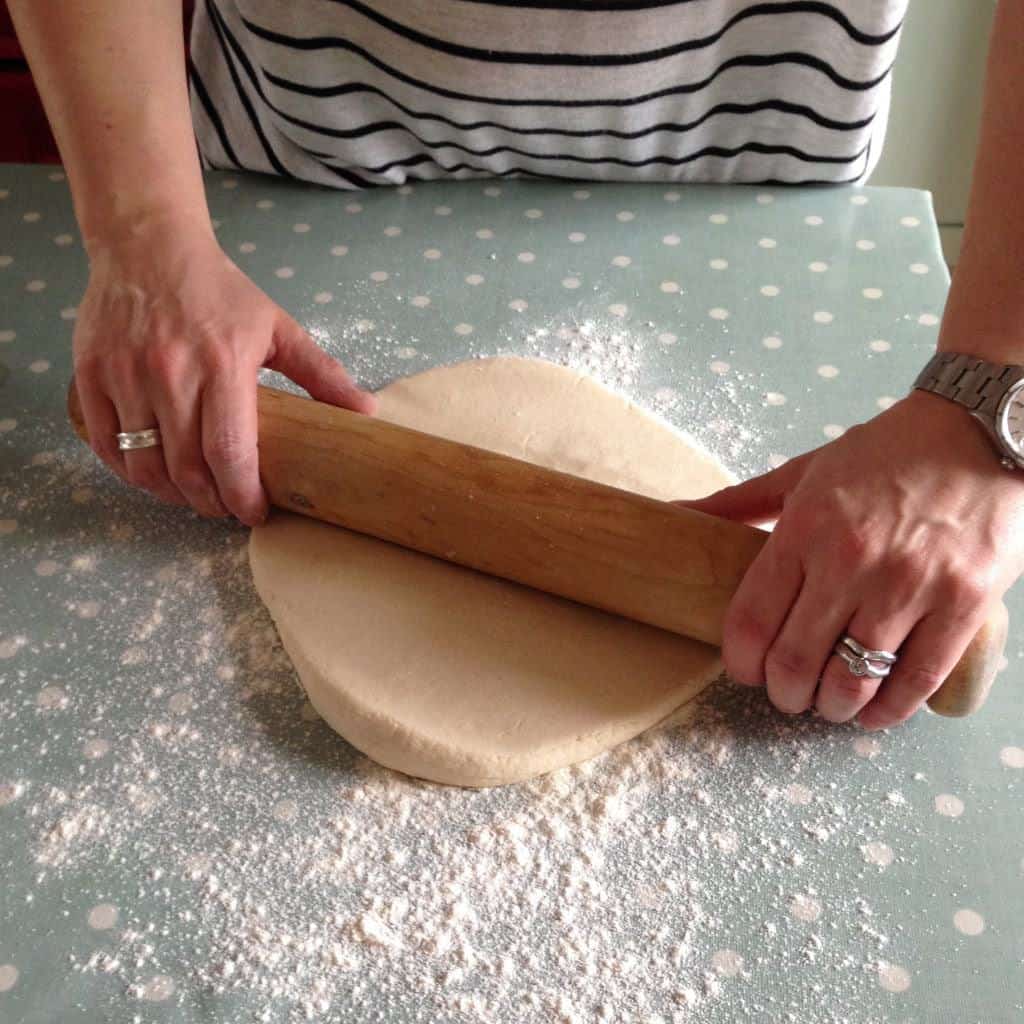
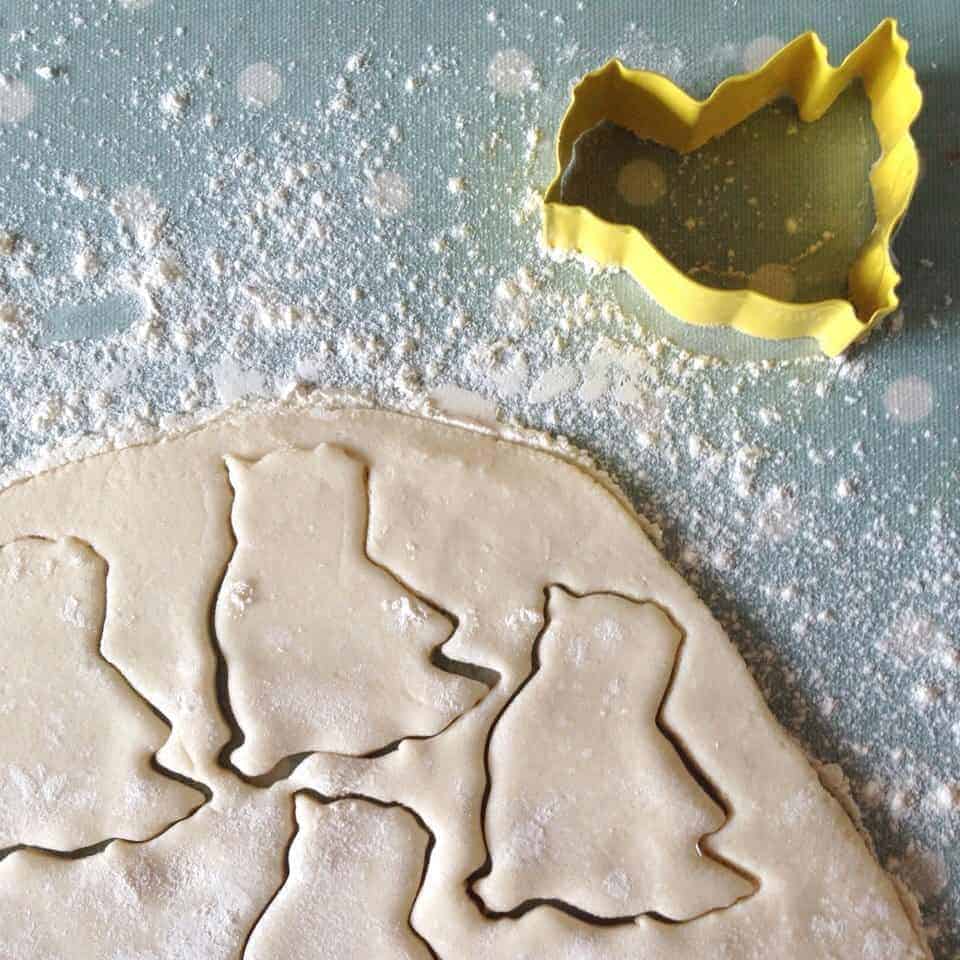
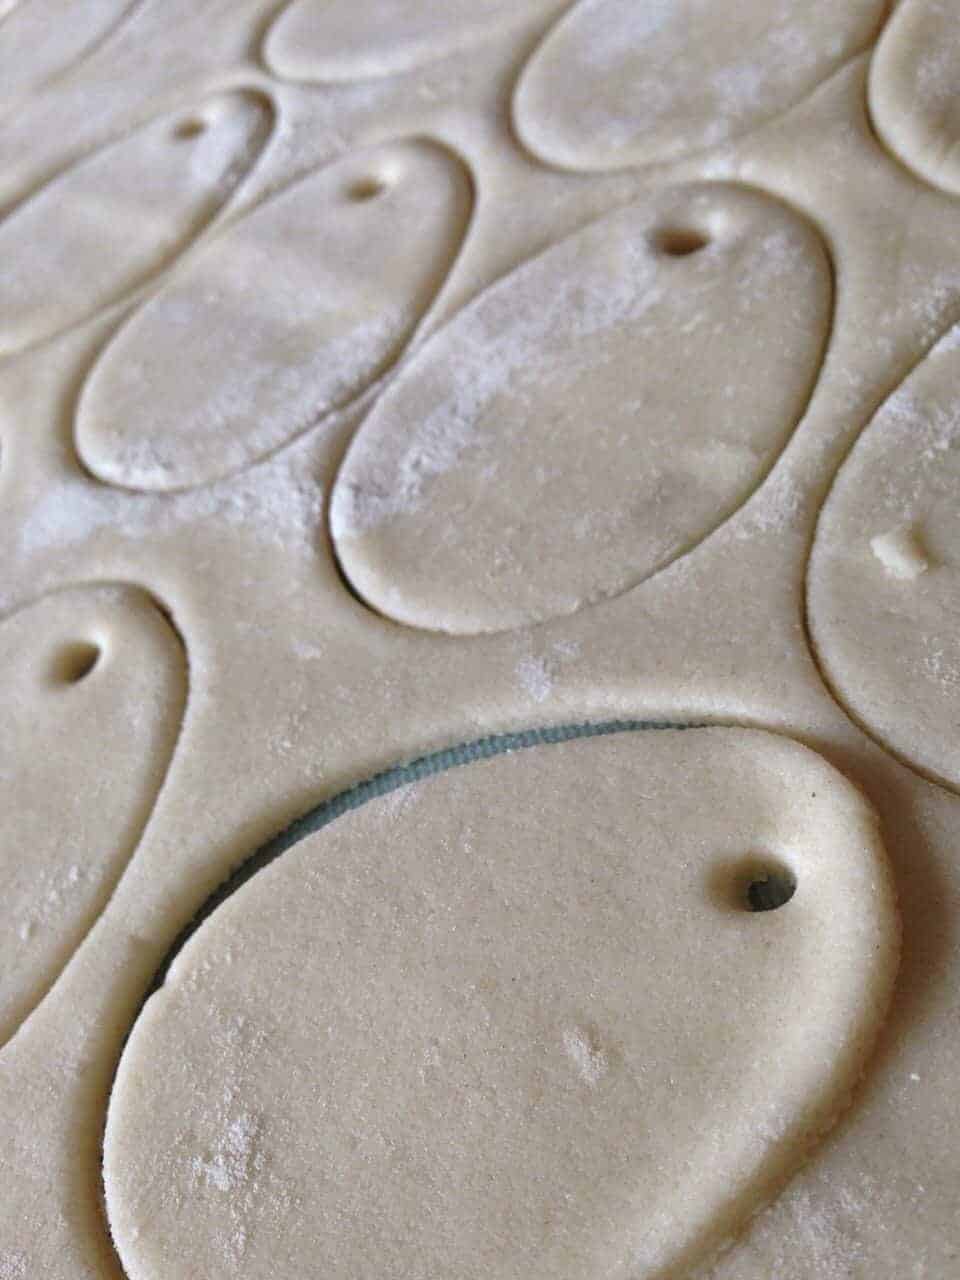
Roll out your dough and start to cut out your shapes.
I have some little egg and chick cutters but you could use bunnies, flowers whatever takes your fancy!
If you’re going to hang your decorations, remember to make a hole in each one. I used the end of a drinking straw, to make mine.
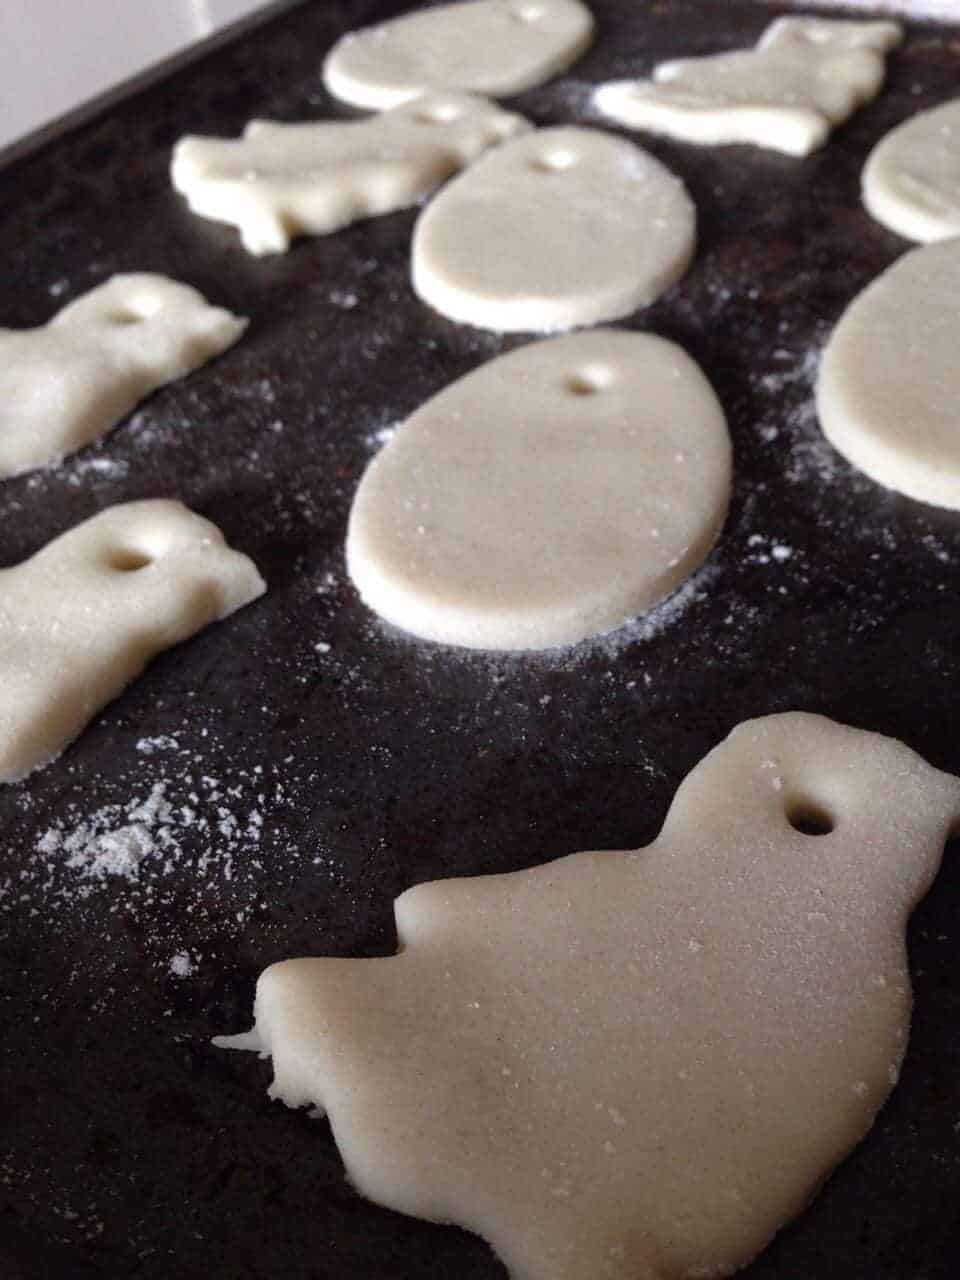
Then lay then shapes on a baking sheet and pop in the oven on a low heat. I cook ours at 100 degrees for 1 hour then turn them over and cook for another hour.
After 2 hours, I turn the oven off but leave the salt dough shapes in there, so they carry on baking with the residual heat.
Decorating Your Salt Dough Ornaments for Easter
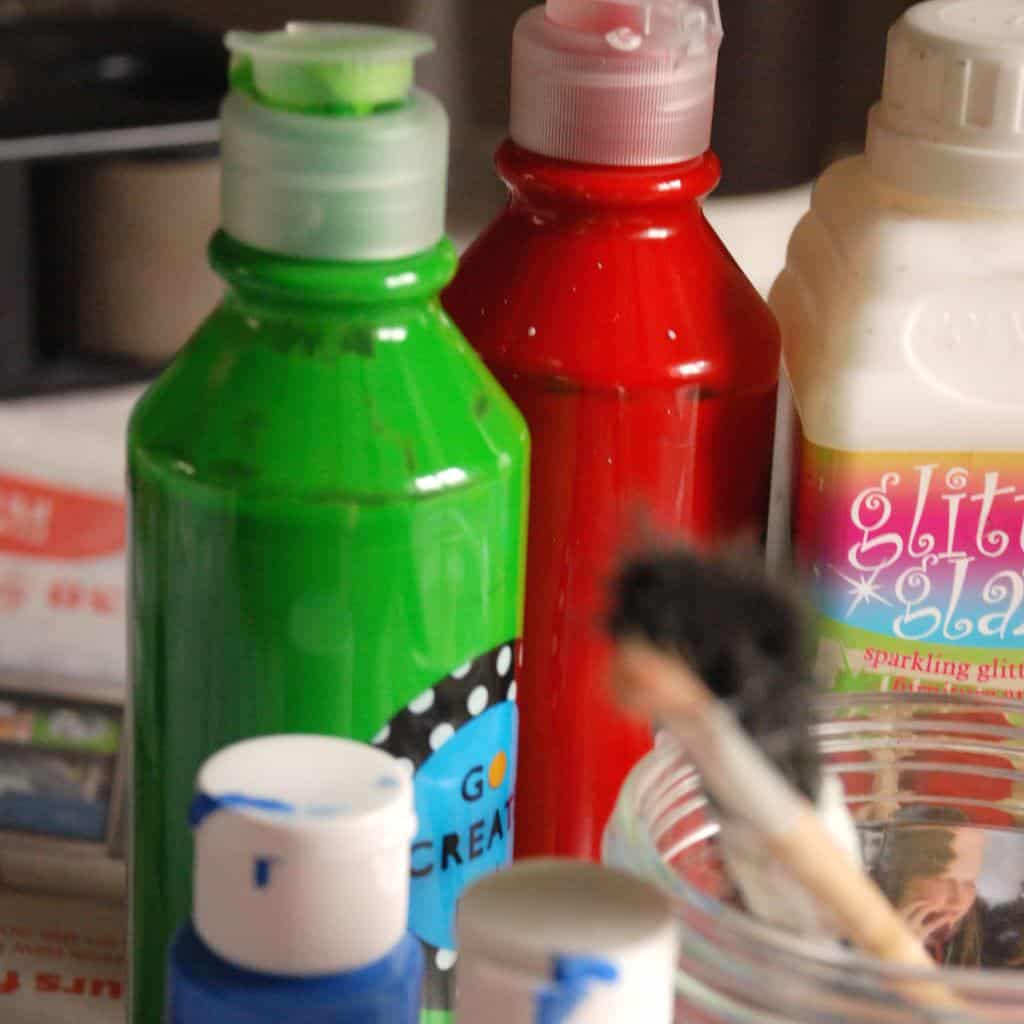
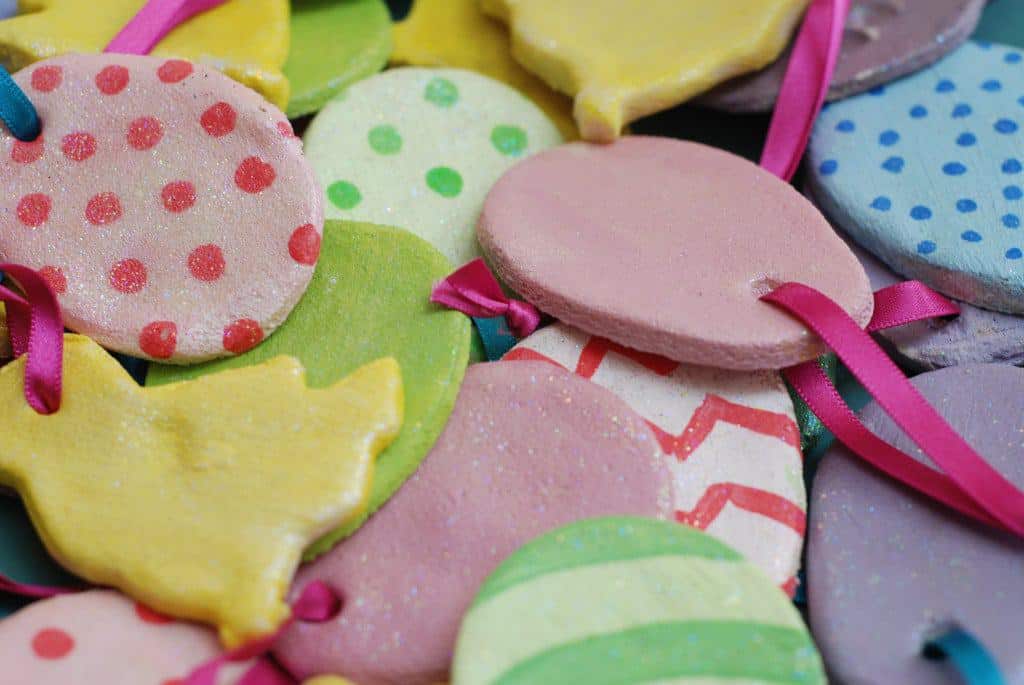
When your salt dough ornaments are totally hardened and cool, you can begin to paint the shapes. This is the fun part!
I use a mix of emulsion, acrylic and poster paints, topped off with some glitter glaze I had left over from decorating a little girl’s bedroom.
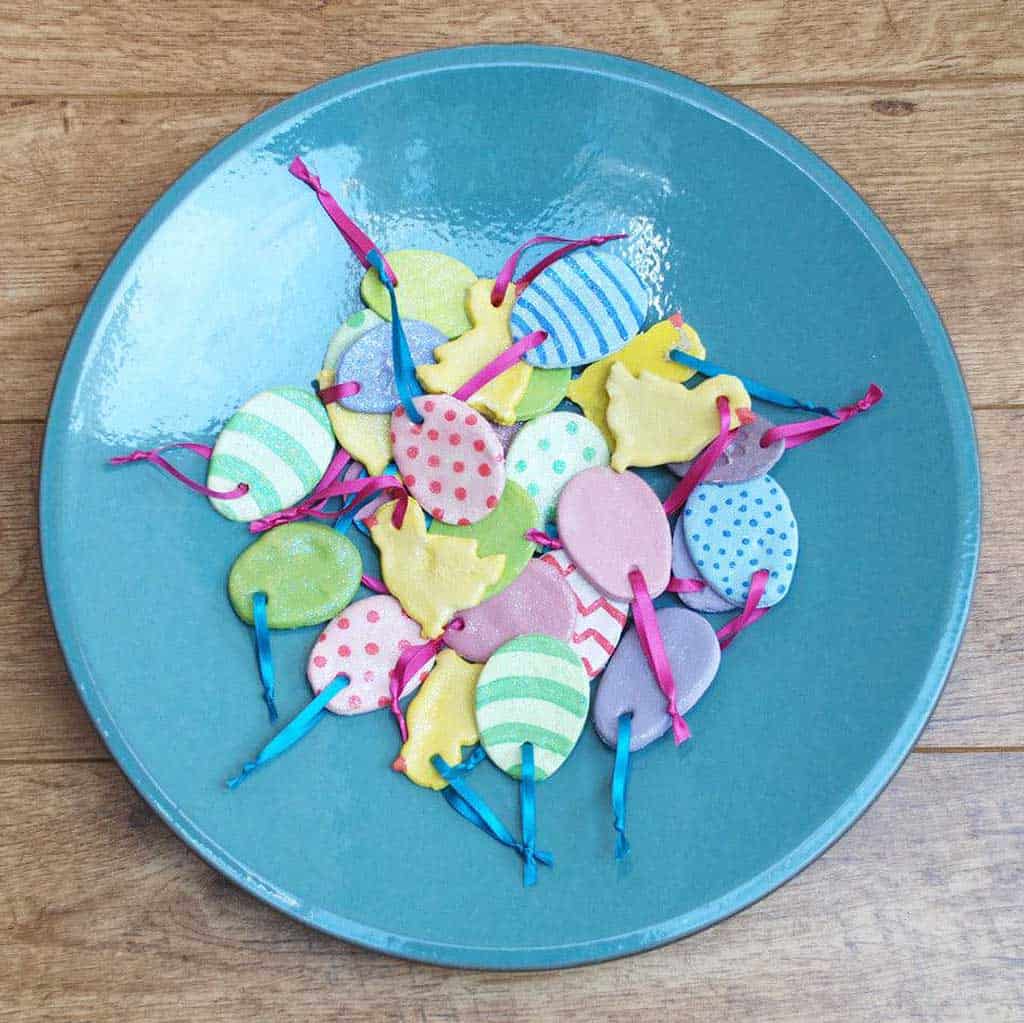
I leave some of the shapes in a plain colour and paint patterns on others to mix things up a little. Then leave them alone for a couple of hours and — when the paint has totally dried — I thread ribbon through the holes.


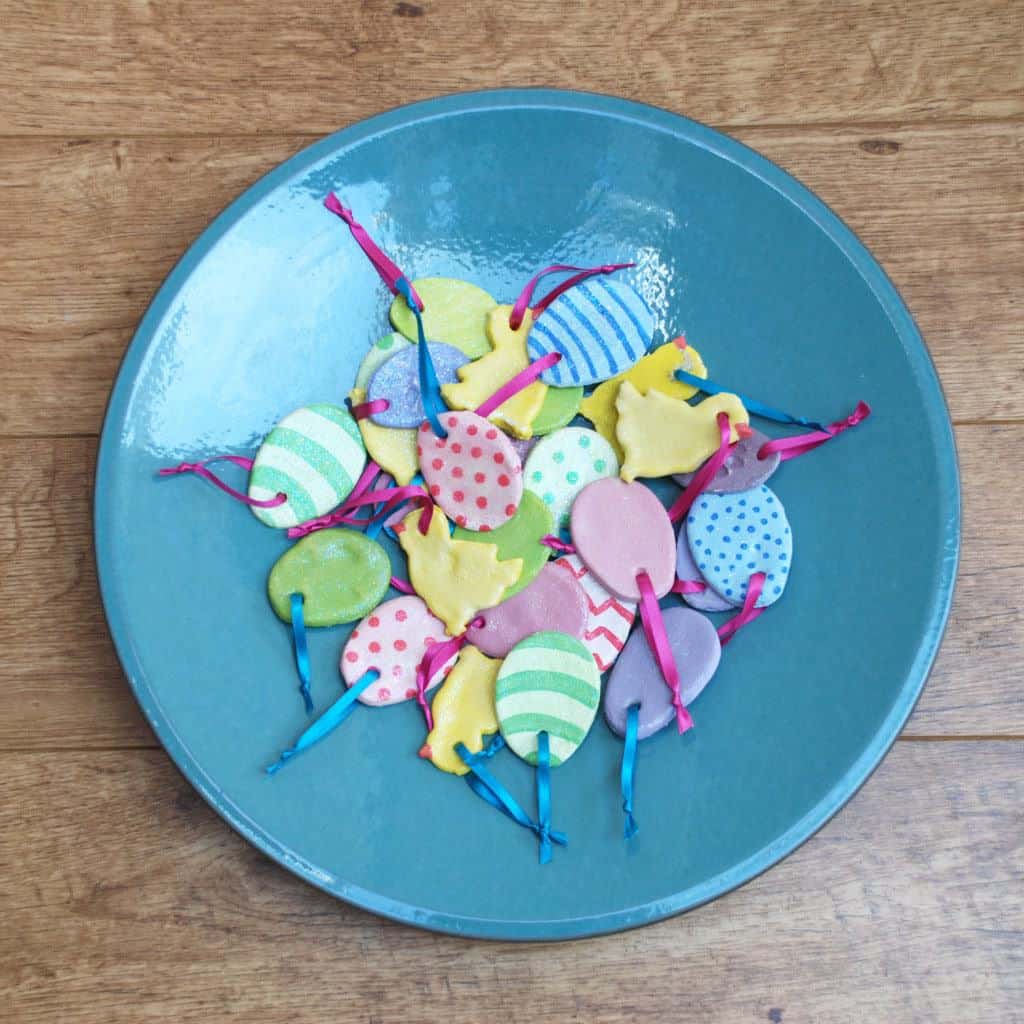
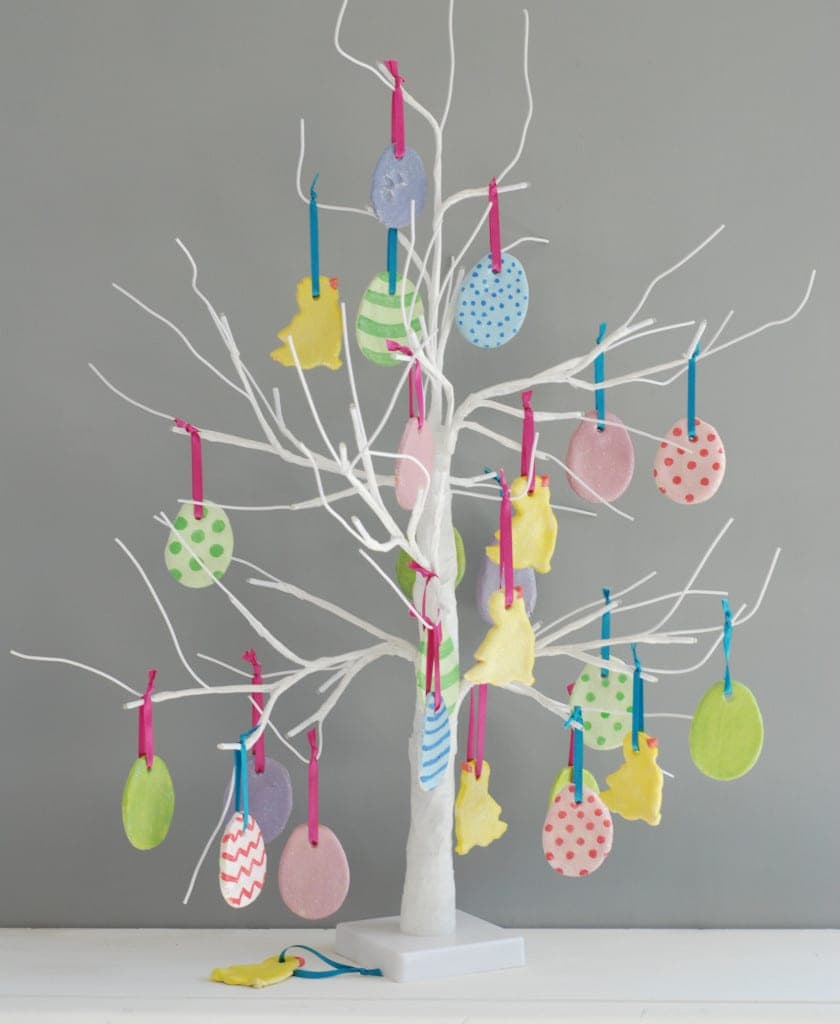
I am so pleased with how these turned out! They make fantastic Easter tree decorations.
We bought this little wire tree, especially for the Christmas decorations the boys made at the nursery. I thought it would be a lovely thing to bring out, year after year — and a great way to display the things that they’d made — but having another use for it is brilliant.
Plus it makes Easter into more of an occasion. When the boys see the little tree — and the salt dough Easter decorations being brought out — they’ll know we’ve got four days of loveliness coming up!
Do you have any Easter traditions?

Caro Davies is a former art-director turned writer and content-creator, and editor behind UK lifestyle blog The Listed Home. She writes about home-related topics, from interiors and DIY to food and craft. The Listed Home has been featured in various publications, including Ideal Home, Grazia, and Homes & Antiques magazines.

Oh this is brilliant I am pinning right now for next year as I have a white tree we decorate for what ever holiday it is and this year I just bought plastic eggs so the kids could decorate it and this would be so much more fun. What a great idea. Thank you so much for linking up to Share With Me. Hope you are having a lovely weekend. #sharewithme
Aaah that’s great! So happy to have inspired :)