Since we decorated just before Christmas last year, the majority of the walls in our home have remained bare; and most of our framed pictures have been stacked up on the floor, waiting to be rehung.
We used to have a ‘stairway photo gallery’ going up the staircase. Dozens of black framed, black and white photographs — in various shapes and sizes — containing the smiling faces of our friends and loved-ones; plus memorable places we’ve visited (or lived in) over the years.
But after taking them all down I decided that I was ready for a change.
We visited a really cool hotel last year and they had a gallery wall up a staircase.
It was really impactful. Instead of a large collection of small pictures, the pieces they’d used were really large. So I decided to do the same up our stairs.
I searched on Google for how to arrange pictures on staircase walls — and also on Pinterest for inspiration — but most of the gallery walls on there had a theme; either by colour or frame style.
There always seemed to be a common thread tying all of the pieces together, plus there were lots of tips on creating a gallery wall but, more often than not, they were very contrived and the pictures that were used were very similar in look and feel.
The pictures that we had didn’t really have much in common at all — apart from the fact that we loved them all.
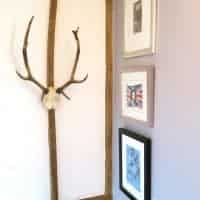
They were a bit of a mish-mash; the frames were various colours and styles plus they were all different sizes. And totally different types of content too — some graphic, some illustrated and some fine art.
We even had my grandad’s medals in a frame.
But what do you do when none of your pictures match?
I’ve seen lots of different methods for planning a gallery wall.
Some people hang the pictures and hope for the best. Some pin up newspaper templates — or squares of brown paper — in order to get a feel for the composition before they hammer in the first nail.
But as the wall flanking our staircase was quite a large space — and quite tricky to access — I decided to take the measurements and plan it out in Photoshop first, before we attempted to hang all the pieces on the wall.
Quick View of What You'll Find on This Page
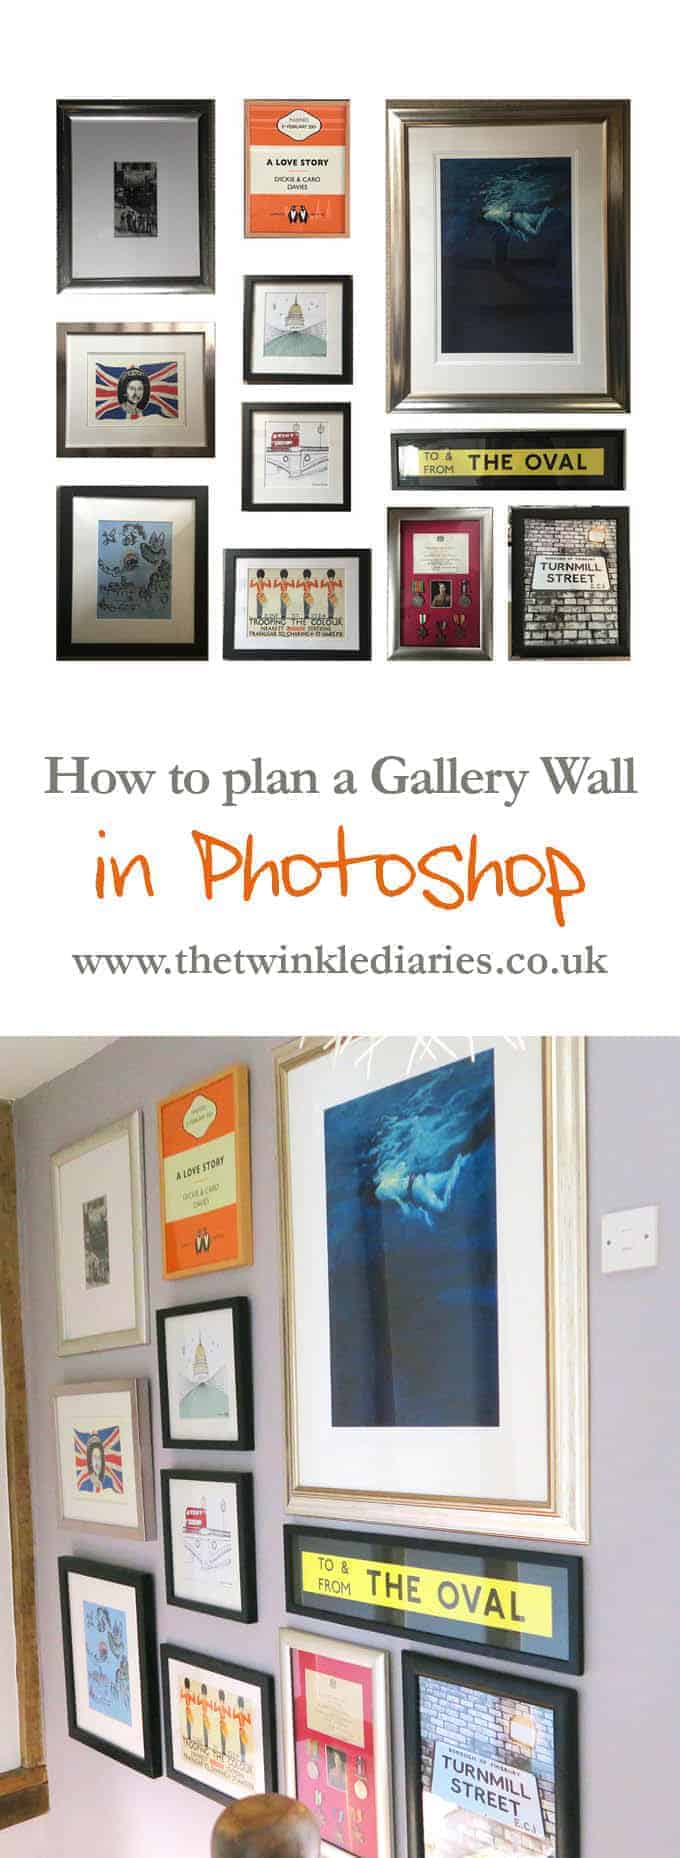
How to create a gallery wall up a staircase using Photoshop
1 — We measured the wall we wanted to hang the pictures on. I decided that I wanted to keep all my pictures within a square, rather than have them coming down to the bottom of the staircase. This made things easier to plan too.
2 — I created a grid of that exact size in Photoshop, to represent the wall.
3 — Then I measured all of the pictures I wanted to use and created corresponding rectangles, in my Photoshop document, to represent the pictures.
4 — From here I was able to move them around easily on the Photoshop ‘wall’ grid and work out a formation.
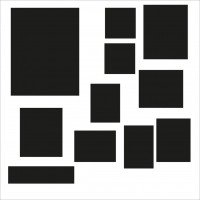

The only problem with that was —how would I know that the images worked together?
Black boxes are all well and good but do the pictures compliment each other?
5 — To figure this out, I took a photo of each picture — using my phone — and dropped them into the corresponding rectangles.
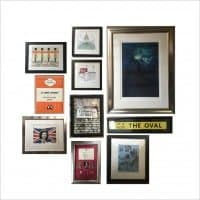
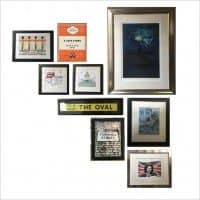
6 — This was a much easier way to see what our pictures looked like together.
And I really started to get a feel for which formation I like the best. I was able to add or take away pictures — and move them around — until I found a pattern that I really liked.
Definitely simpler than climbing a ladder and trying to work it out on the actual stairwell.

7 — Next, all I had to do was take down the measurements between the gaps.
As I’d created my Photoshop ‘wall’ and ‘pictures’ in the actual cm values, it was easy to make a note of the numbers and add them to the plan.
8 — All that we needed to do now was transfer those measurements on to the wall and make some hanging marks.
My big (man-shaped) boy got his tape measure out and turned each picture frame face-down and looked at the fixings on the back. Thankfully, they were all on picture wires, so he stretched these, vertically, as high as they would go (in the centre of each frame) then made a small mark on the wall to show where to put the nail.
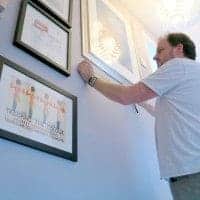
9 — Next, he hammered a nail in where he’d left a hanging mark.
10 — Finally, he hung the picture on the nail, to match the image map I’d given him.
Ta-daah! How to create a gallery wall up a staircase in ten easy steps!
Now, there are probably some of you thinking — well that’s all well and good if you actually have Photoshop — but fear not! There are other, similar, graphics packages that you could use; if you don’t have Photoshop. Canva is a free graphic design package that is a good alternative.
Being able to see the pieces of art together — and move them around easily — was brilliant. Such a simple way of organising a gallery wall up a staircase. No fuss and very little effort.
Really useful when the largest piece on the wall was almost a metre high!


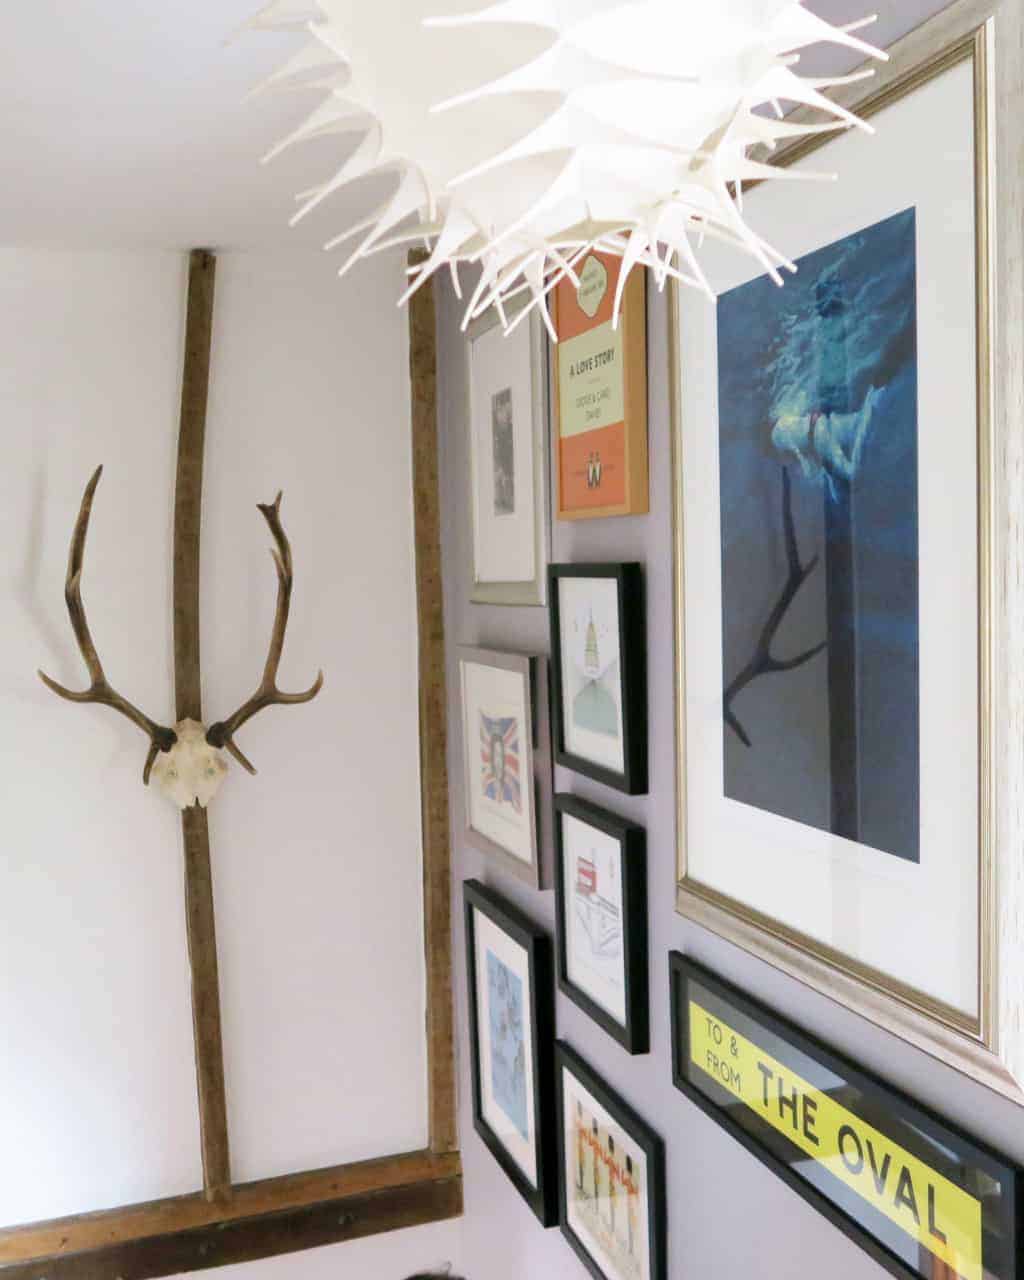


We had such an eclectic mix, it was really hard to envisage them all sitting together.
A combination of silver, black and wooden frames and the content of each frame is so different.
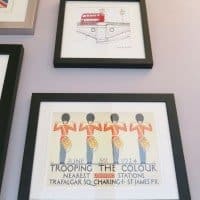
There’s a black and white photo. An original Jamie Reid print — he’s the artist that created all the artwork for The Sex Pistols.
A beautiful Chagall reproduction that my sister bought me for my 40th birthday — plus a Penguin book cover print that I made for Dickie, for our wedding anniversary one year.
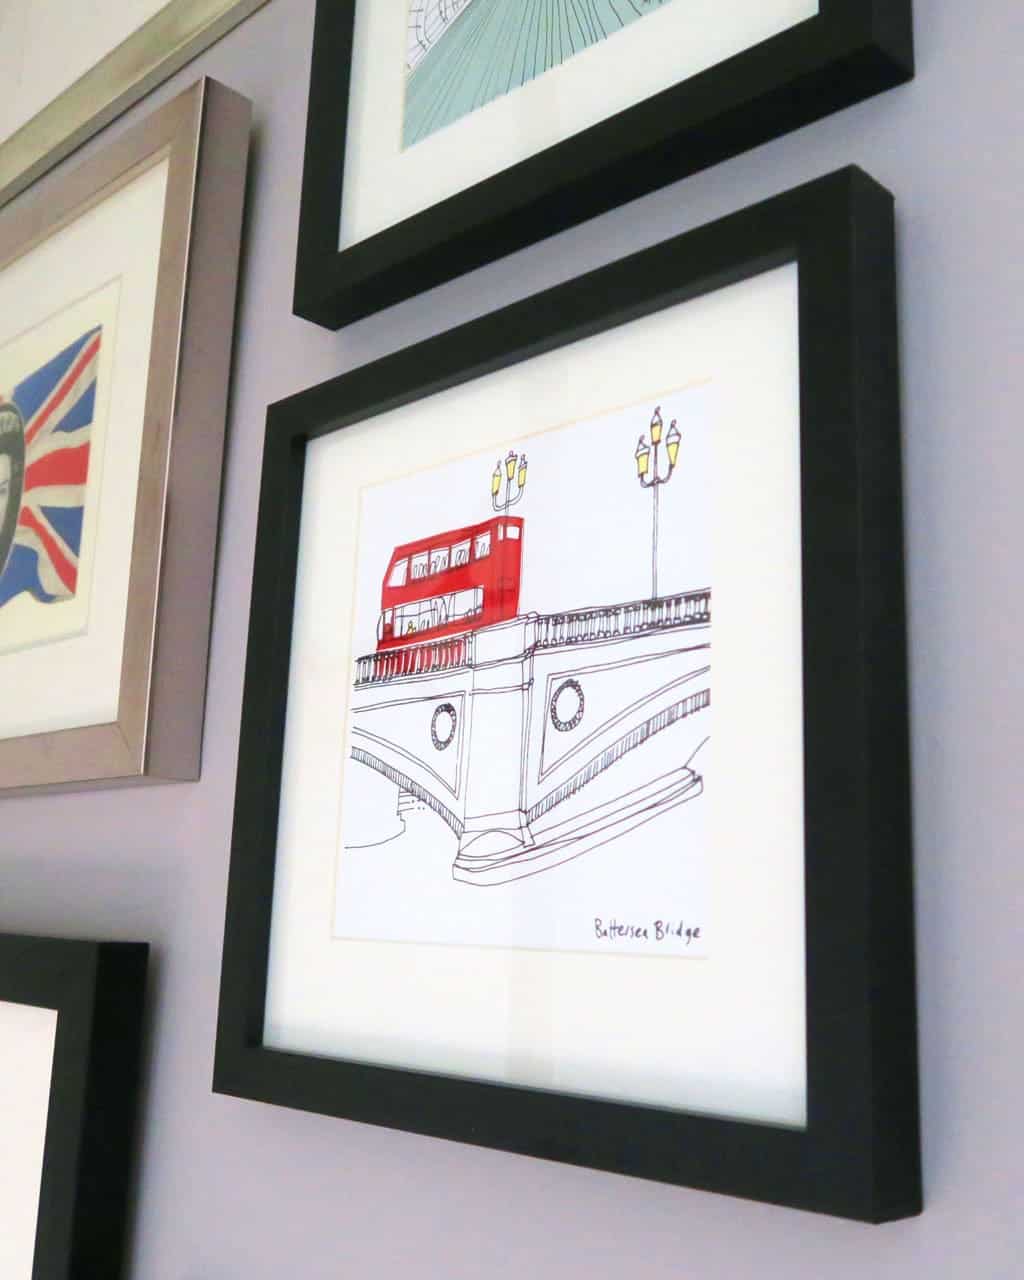
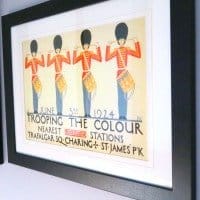
We also had three gorgeous — London inspired — illustrations from Art Group at Wayfair. Plus a print by Rolf Harris (controversial, given the fact that he’s been banged up for paedophilia but I still absolutely love it — albeit not him).
Finally a couple more memorable London themed pieces; an original bus blind and a photo of the street sign of the place we first met — plus my grandad’s medals in a frame.
Planning a gallery wall up a staircase in Photoshop is perhaps not the most conventional way to organise your art but it really worked for us!
This year I’m really excited to be working with Wayfair, as I’m part of their ‘Home Experts’ programme. I’ve already done a couple of posts — Boho Luxe Living and Pantone Greenery — pop and have a read if you missed them the first time round!
Pin ‘How to plan a gallery wall in Photoshop’ for later…

Caro Davies is a former art-director turned writer and content-creator, and editor behind UK lifestyle blog The Listed Home. She writes about home-related topics, from interiors and DIY to food and craft. The Listed Home has been featured in various publications, including Ideal Home, Grazia, and Homes & Antiques magazines.

This is so clever! I always find hanging lots of photos together an absolute nightmare. I usually make Chris do it an the gets VERY grumpy with me xx
I’d use Photoshop for everything if I could! LOL!! It’s helped me pick room colours and even choose how I was going to paint the outside of our caravan! It’s definitely more useful than just for editing photos :)
What a shrewd and nifty technique! Looks really quite chic and cool and at the same time, very elegant too! xx
Love this – and great idea for the planning. Helps me massively as I’m planning to do something similar, but of course not so simple as it’s on one of the slopey walls, which is why I’mve probably not done it yet. Now I’ve got some tips, I may even give it a go x
Do it!!! Honestly — it would be much easier to plan it out like this than just go in, all guns blazing :)