
Quick View of What You'll Find on This Page
Want to Know How to Make Stickers with Cricut? Then Read This…
I’ve had my Cricut Maker for four years now and — hand on heart — it’s one of the best Christmas presents I’ve ever been given! Having the ability to create all kinds of beautiful things at home with such ease is a joy. I never get tired of it. From creating papercuts to etched glass, there are so many cool projects to try out. But one of the first things I wanted to know when I first had my Maker was how to make stickers with Cricut.
I watched lots of YouTube tutorials (and read lots of blog posts) but felt that a lot of them were for crafters who already knew what they were doing! I literally didn’t know one end of the machine to the other to begin with. So, with that in mind, for anyone who is new to Cricut and wants to know how to make stickers with Cricut, this is for you.
Materials Needed to Make Stickers with Cricut
I’ve compiled a little list of the things you’ll need to begin making stickers with your Cricut. There are probably other things too, but this is what I use.
- Cricut Machine: OK — this is obvious, but I thought I’d include it! This can be any model of Cricut, such as the Cricut Explore or Maker.
- Cricut Design Space: This cloud-based software is used to create and customize your sticker designs. Cricut Joy has a simpler app, to help you create quick projects.
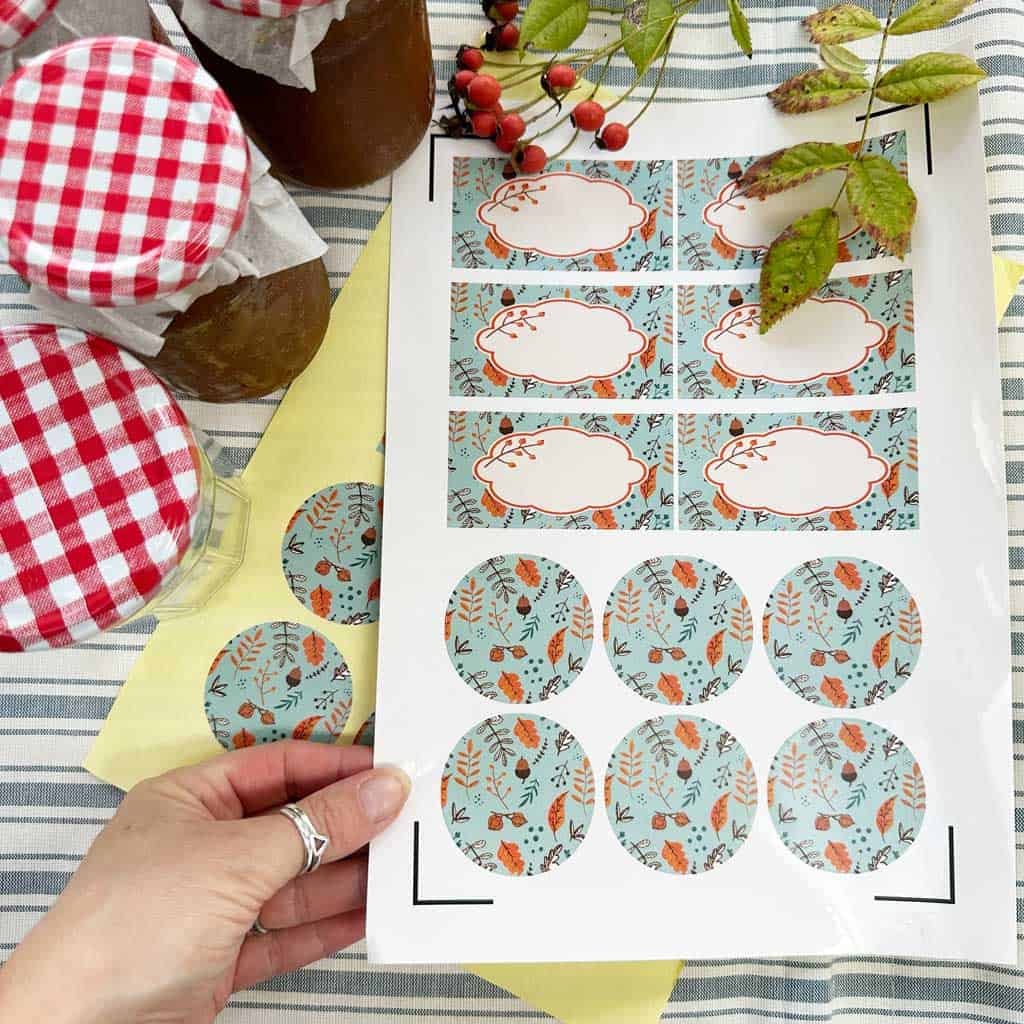
- Sticker Paper or Vinyl: Choose a material suitable for your project. Sticker paper is great for planner stickers or jam labels, while vinyl is more durable and great for outdoor applications.
- Printer: If you’re creating print then cut stickers, using printable sticker paper, you’ll also need a printer to print your designs.
- Cutting Mat: Choose the appropriate mat for your chosen material (a standard grip mat works for most sticker materials). You can use the Cricut branded cutting mat or cheaper versions from Amazon. I bought a six pack of NICAPA mats with four different grips back in 2020 and they’re still going strong.
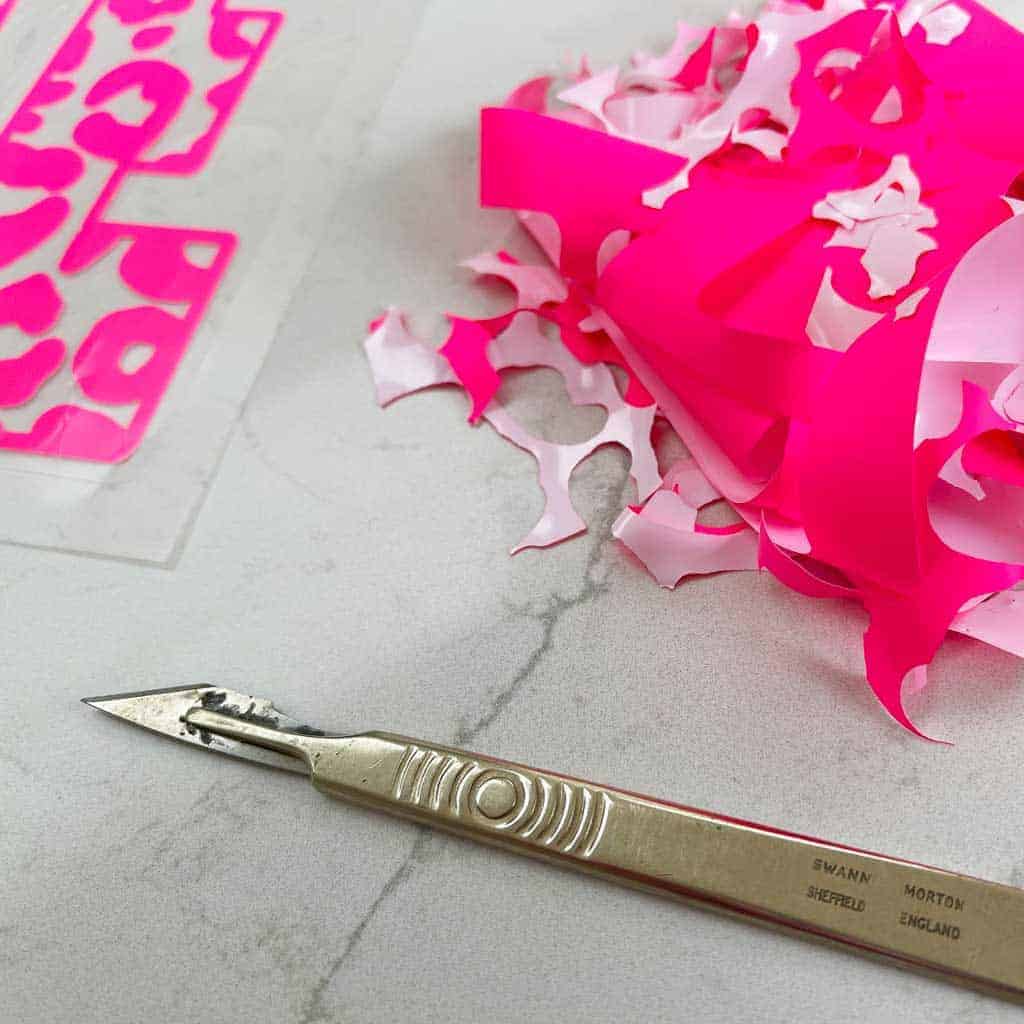
- Weeding Tool: These are used to remove excess material after cutting. A word of wisdom here: Unlike the non-branded cutting mats that are every bit as good as the Cricut ones, I bought a non-branded set of weeding tools — also off Amazon.
And they were hopeless. The Cricut weeding tools are really worth the money. Plus my trusty old scalpel.
What is Cricut Design Space and How Does it Work?
All Cricut machines use a free cloud-based software called Cricut Design Space. You can use it to choose exactly which shapes or images to cut or draw. Plus all of the other functions your Cricut is capable of.
It automatically determines how much pressure to use (based on each specific material you are using) so there’s no need to make alterations to your machine.
You can upload your own images and fonts. Or use the library images and fonts in Cricut Design Space but you’ll need to pay for Cricut Access to do this.
I’ve never paid the subscription charges — so I don’t know how useful Cricut Access is. I prefer to create my own designs in Photoshop or Illustrator and upload them to the Design Space.
If you don’t have the capabilities to create your own designs outside of Cricut, I can imagine it’s a great asset! Plus, I know there are loads of ready-made projects on there.
All of my Cricut designs are available to download for free on The Listed Home. There are free SVGs, PNGs, label and sticker designs. Simply sign up to my newsletter and download your files.

Step-by-Step Guide: How to Make Homemade Stickers with Cricut
These are exactly the kind of simple instructions I needed when I first had my Cricut.
There are so many tutorials online but a lot of them are YouTube videos. I just wanted simple, written instructions to follow!! Hopefully this will help someone who’s looking for similar.
Design Your Stickers
- Open Cricut Design Space on your computer or mobile device.
- Create your sticker designs from scratch in Design Space, using the software’s design tools. Or upload ready-made sticker designs.
- Adjust the size of your designs based on your preferences.
Prepare Your Material
- Place your sticker paper or vinyl onto the Cricut cutting mat. Make sure the material is well-adhered to the mat. You can use a Cricut brayer for this but I have a lino ink roller that works just as well.
Connect Your Cricut Machine
- Connect your Cricut machine to your computer (or device) using a USB cable or via Bluetooth.
Send the Design to Cricut
- Follow the on-screen instructions in Cricut Design Space to send your design to the Cricut machine.
Set Material and Load the Mat
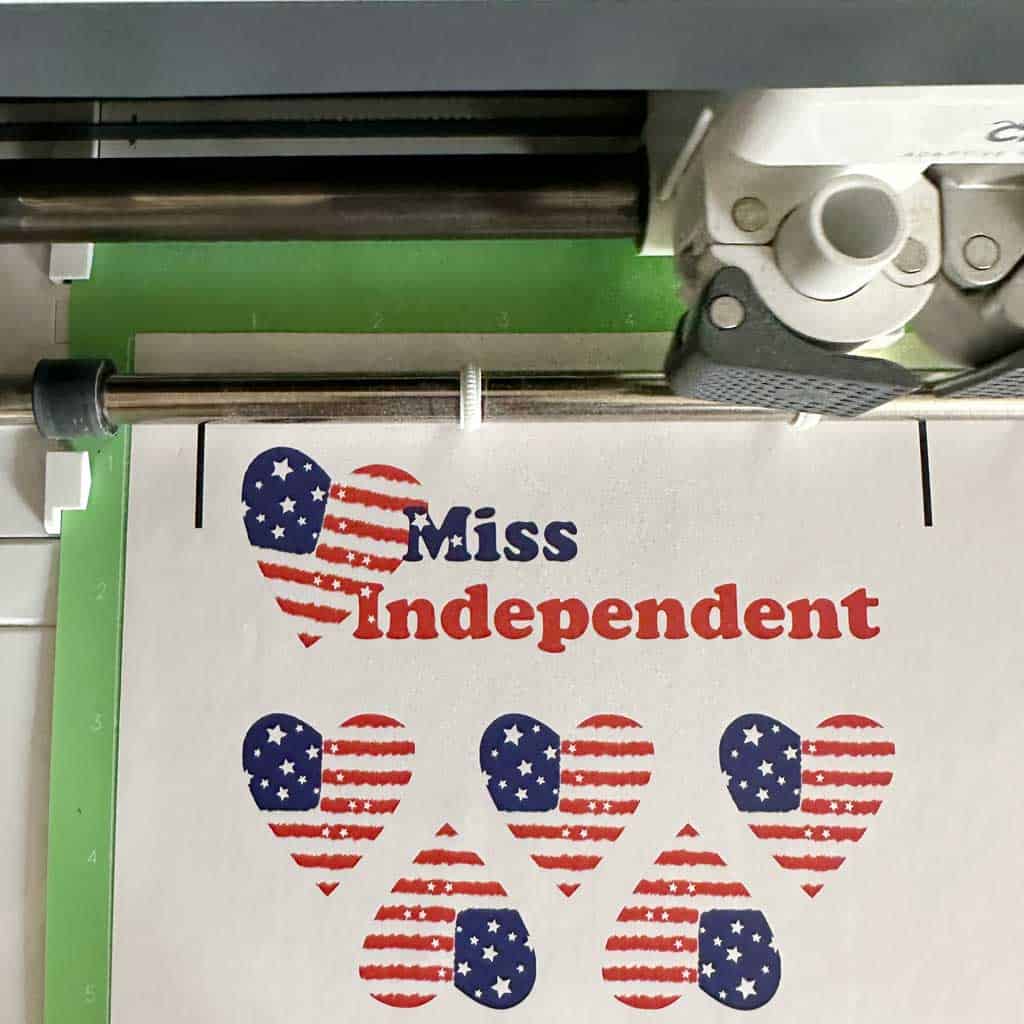
- In Cricut Design Space, select the appropriate material setting for your sticker paper or vinyl. For my sticker paper I use the ‘Washi’ setting, which doesn’t cut through the backing paper. It only cuts the sticky top layer.
- Load the cutting mat into the Cricut machine and press the ‘Load’ button.
Cut Your Stickers
- Press the flashing ‘Go’ button on the Cricut machine to begin cutting your stickers. The machine will follow the design you created in Design Space.
- Weed the Stickers and Remove from the Mat:
- Once cutting is complete, carefully remove your sticker sheet. You can do this a couple of ways.
- Remove the excess material first (this process is also known as ‘weeding’) using a weeding tool. Leave only the desired sticker shapes on the mat, then carefully peel them off individually.
- Or if you’ve got a sheet full of stickers or labels and want to keep them on their backing paper, carefully peel the entire sheet off, then just peel off the excess afterwards, leaving the stickers behind on the backing paper.
- Apply Transfer Tape (Optional):
- If you’re working with individual stickers or intricate designs, you may use transfer tape to transfer them to the desired surface easily.
- Apply Your Stickers:
- Now for the fun bit! Apply your stickers on planners, notebooks, laptops, water bottles, or any other surfaces that you feel need a bit of prettying up!
Remember to follow the specific instructions for your Cricut machine model and the type of material you’re using. The process may vary slightly depending on your equipment and materials.
Feel free to download my designs! I’d love to see how you use them.

Caro Davies is a former art-director turned writer and content-creator, and editor behind UK lifestyle blog The Listed Home. She writes about home-related topics, from interiors and DIY to food and craft. The Listed Home has been featured in various publications, including Ideal Home, Grazia, and Homes & Antiques magazines.
