Part 4 of ‘Operation She Shed’ — and this time round I’m talking about boarding and insulating.
Now, I warn you, this isn’t going to be the sexiest post in the world. The pictures are not the best quality and the content is more function than form.
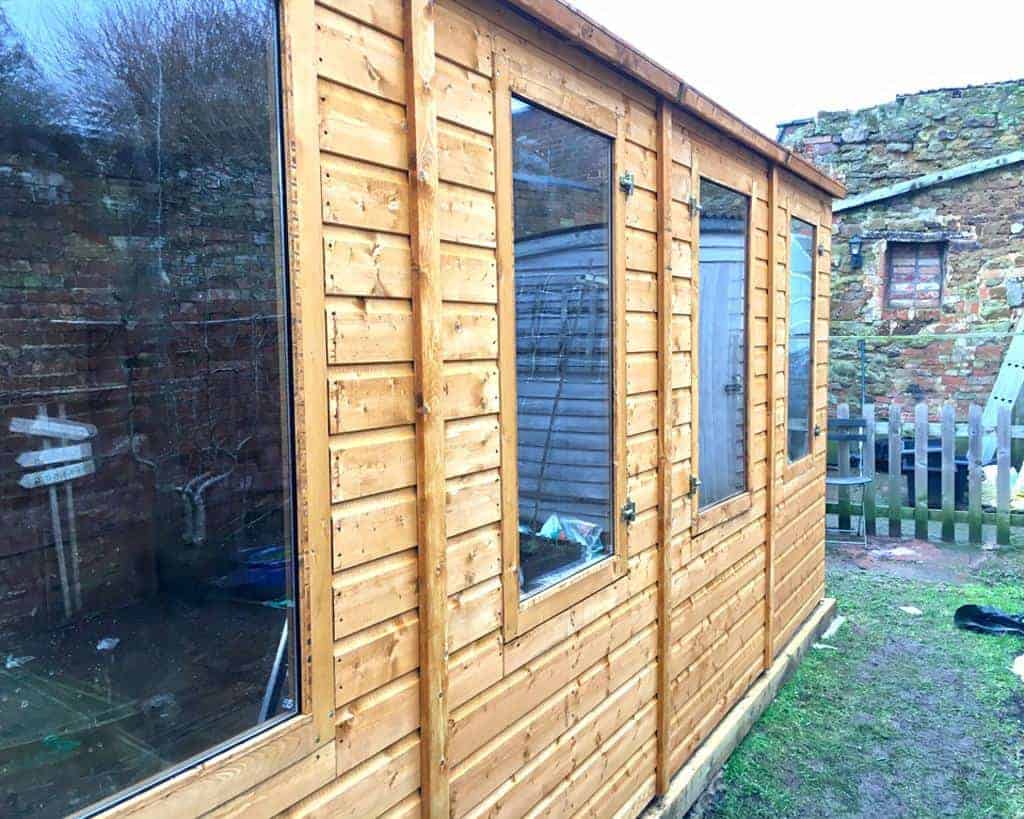
That said, I never intended to just show a finished garden office, so it’s important to show the ‘before’ as well as the ‘after’.
Plus I really wanted to show all the work that has gone into creating my she-shed and demonstrate that you can create an amazing garden building from scratch — without having to to buy a very expensive off the peg version.
In my last post we’d just erected the structure.
It was a very basic once it was up it and looked, essentially, like a very large garden shed.
Which it was.
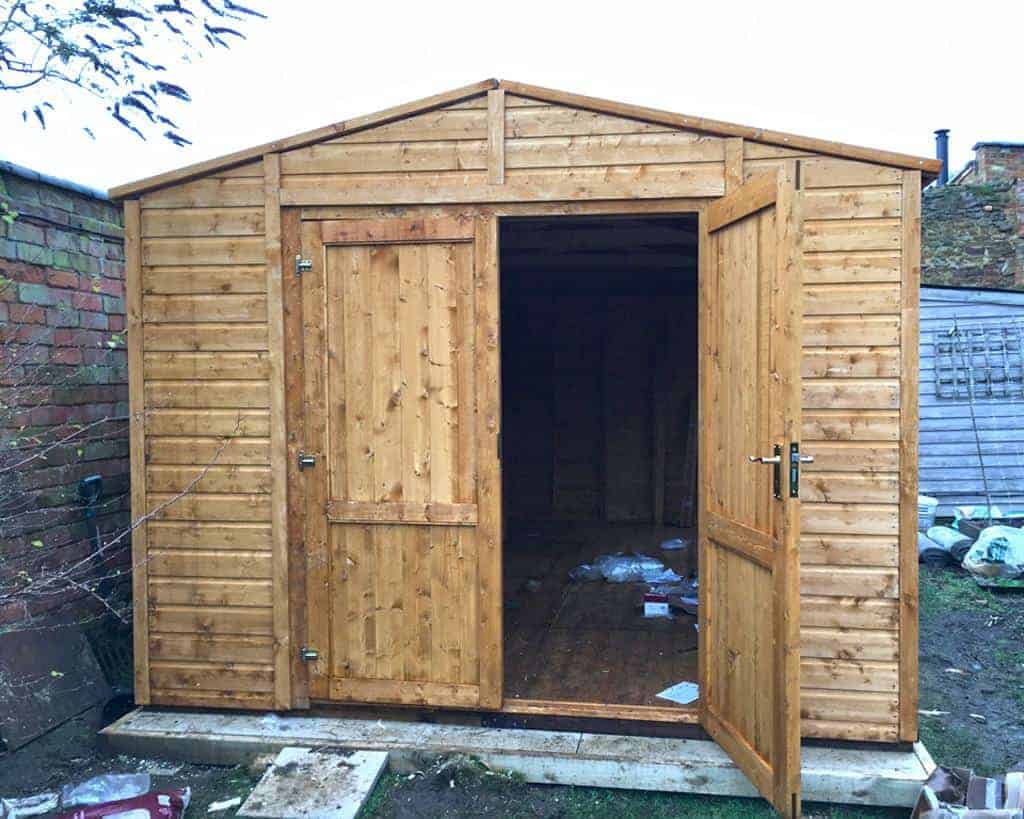
But to take it to the next level — away from your common or garden shed to garden office — requires a little bit more than a lick of paint.
Quick View of What You'll Find on This Page
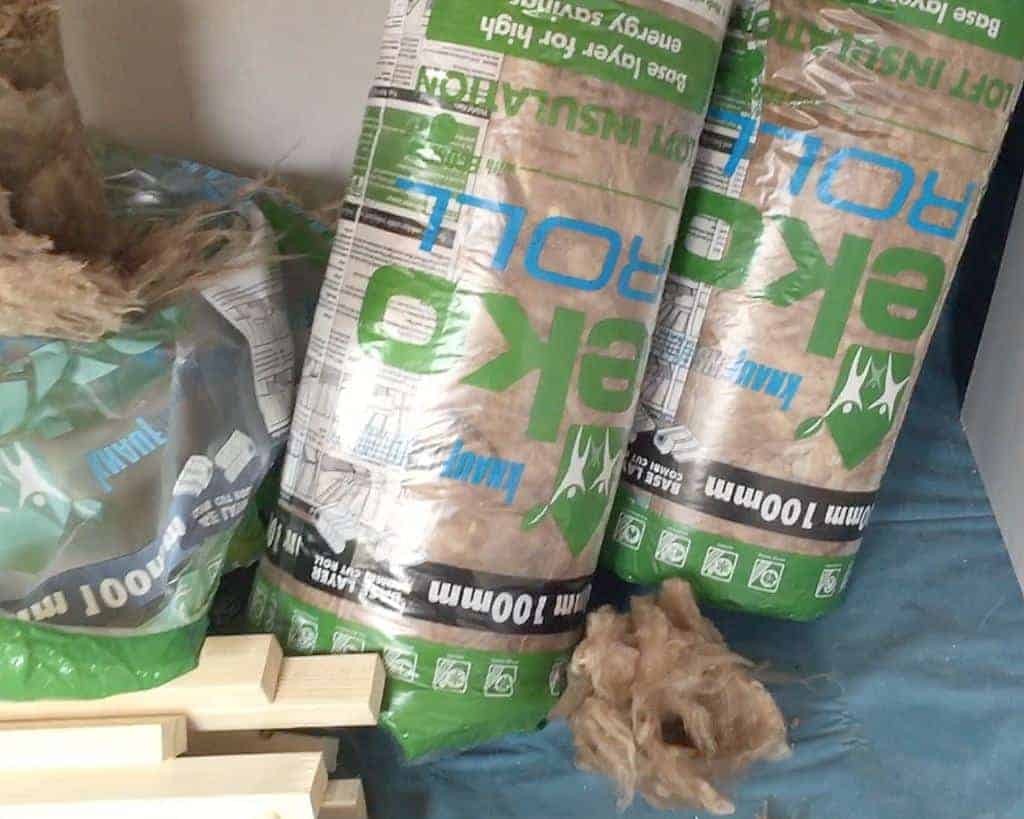
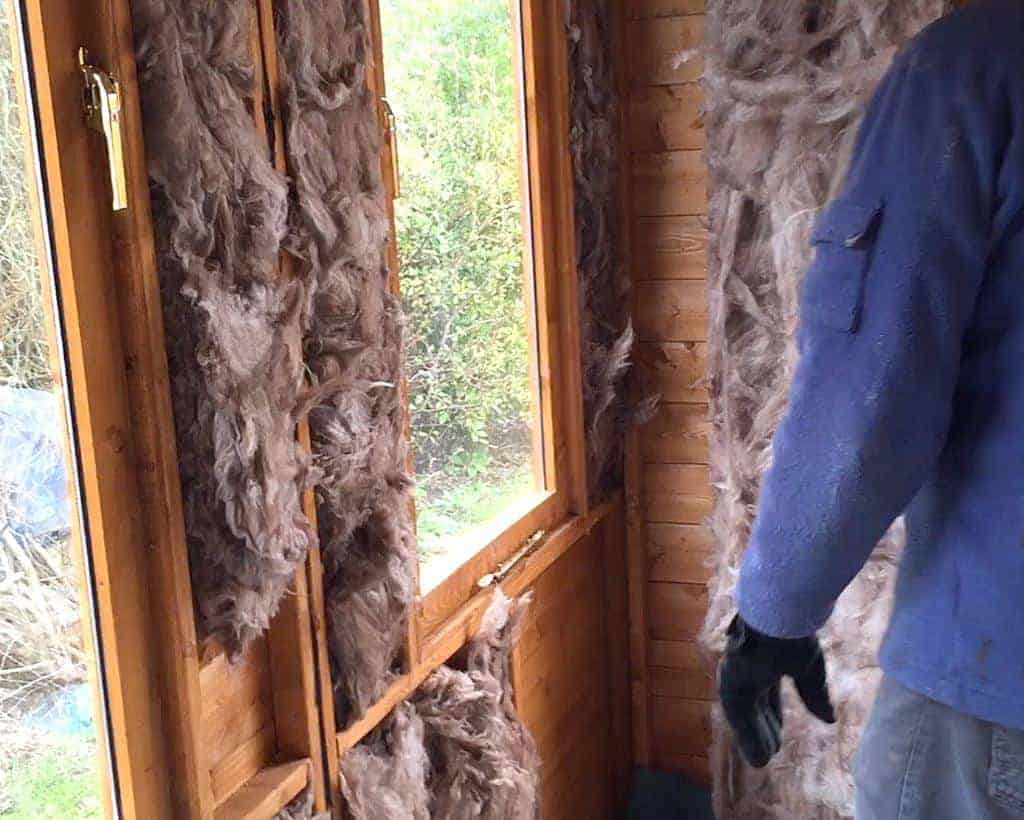
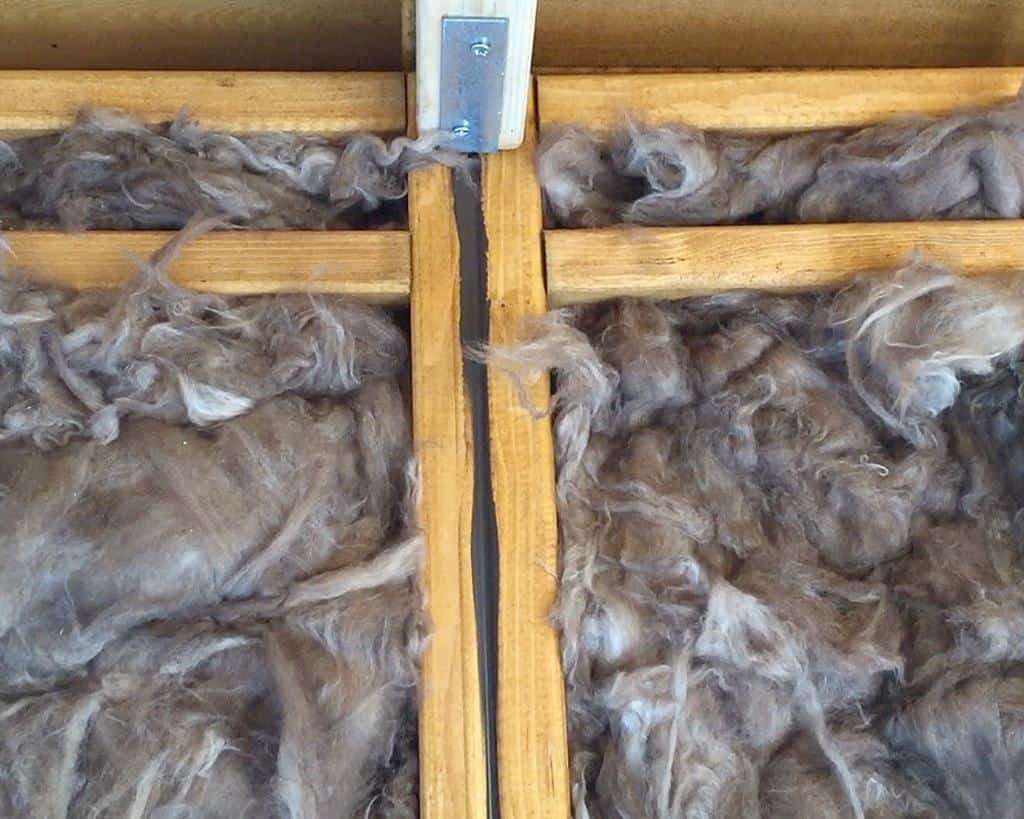
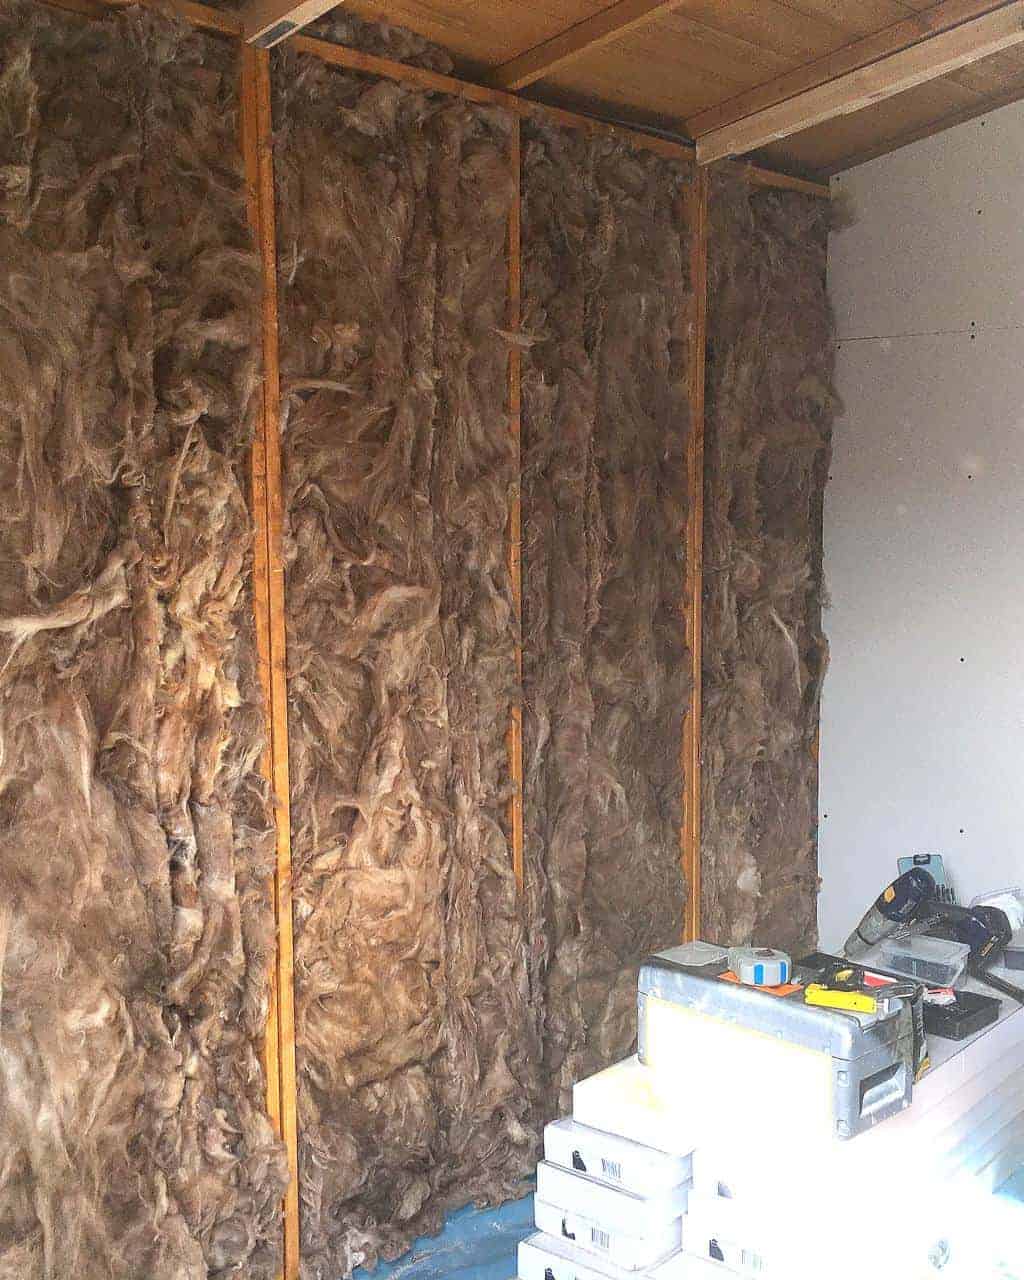
First task: insulating.
We used the same kind of insulation that is used in lofts; it almost looks like the inside of a teddy bear — a thick woolly material — and can be used to line the walls and ceiling.
It came in huge rolls and could be used in whole sheets — for larger areas — or torn off, to pack into the smaller recesses of the shed walls and ceiling.
As the interior of the shed was already in sections, it made it a little easier to work, as we already had a frame in place.
Mr D used mastic on all the joints, to ensure that the shed will keep nice and watertight.
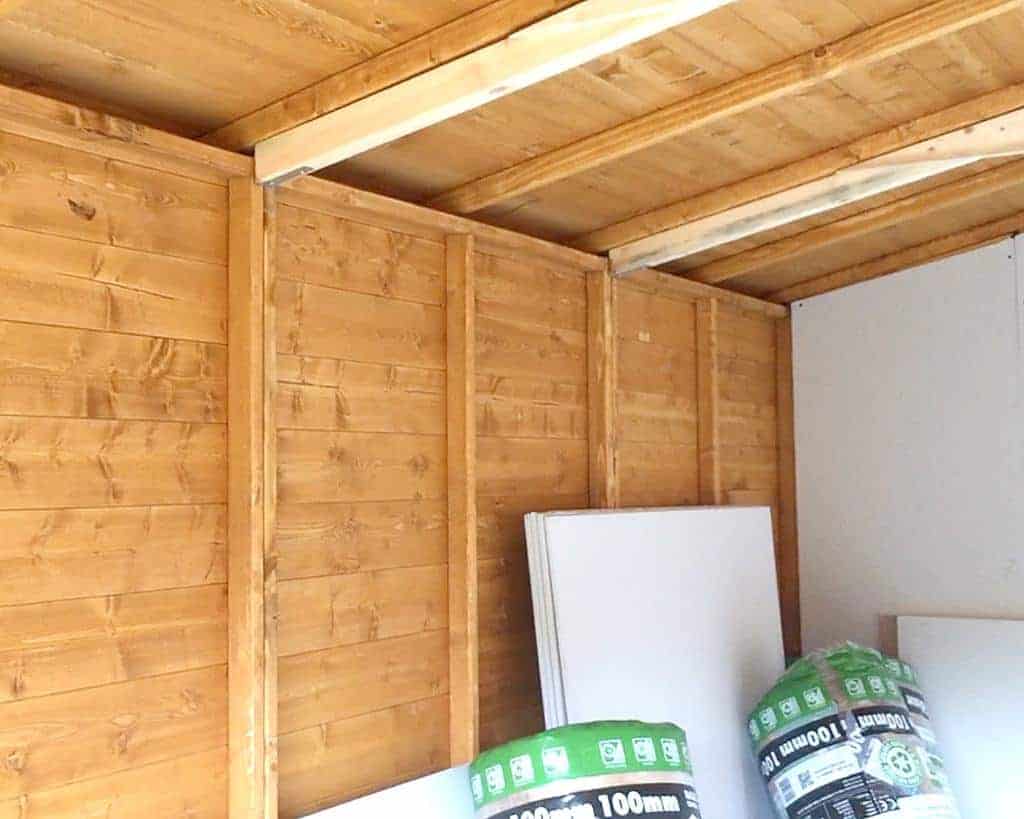
Then he packed each section between the joists with the rockwool, until the walls and ceiling had been totally covered. We got through 5 or 6 rolls for the whole building — including the ceiling.
Worth wearing a mask for this job too — the fibres fly about and get all over the place.
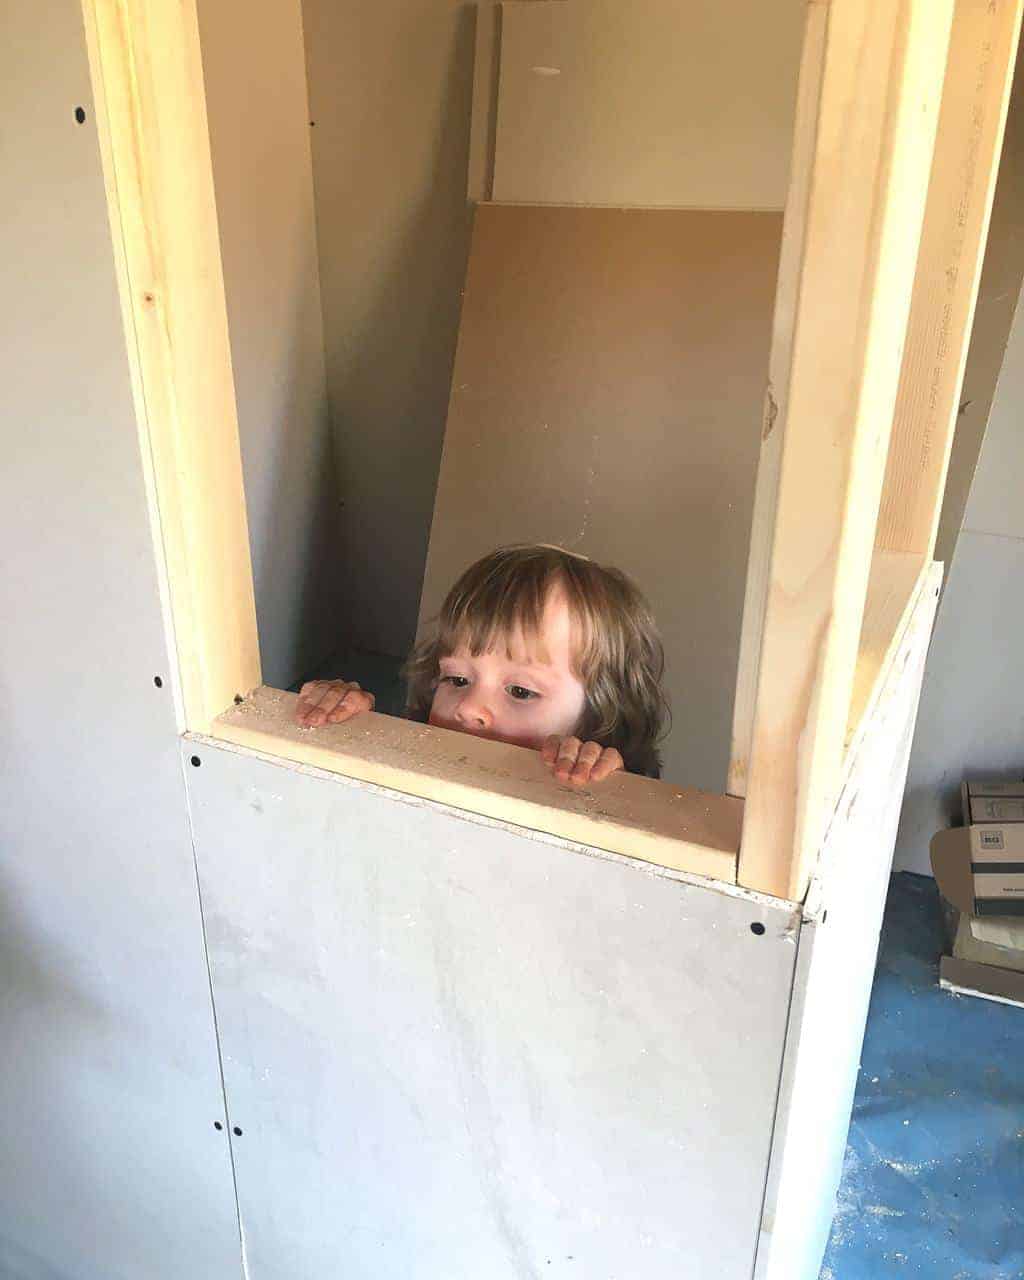
Second task: boarding.
Once all the areas between the joists had been packed out with the insulation, Richard began to screw plasterboard sheets over the top.
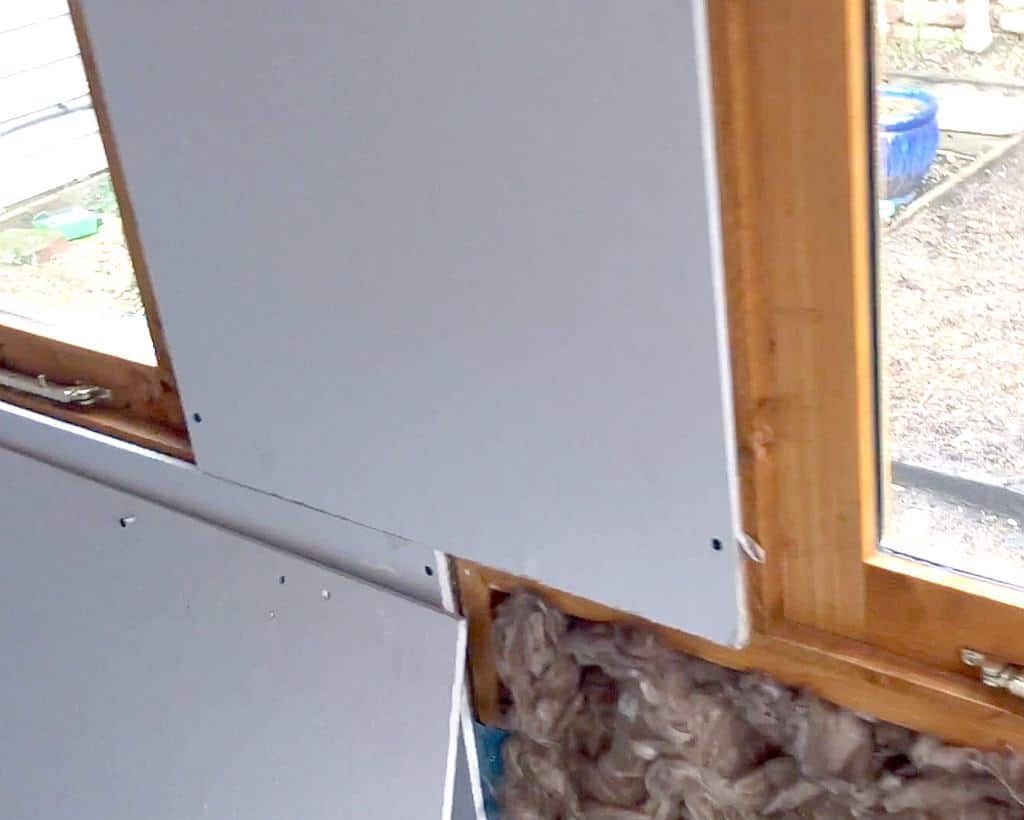
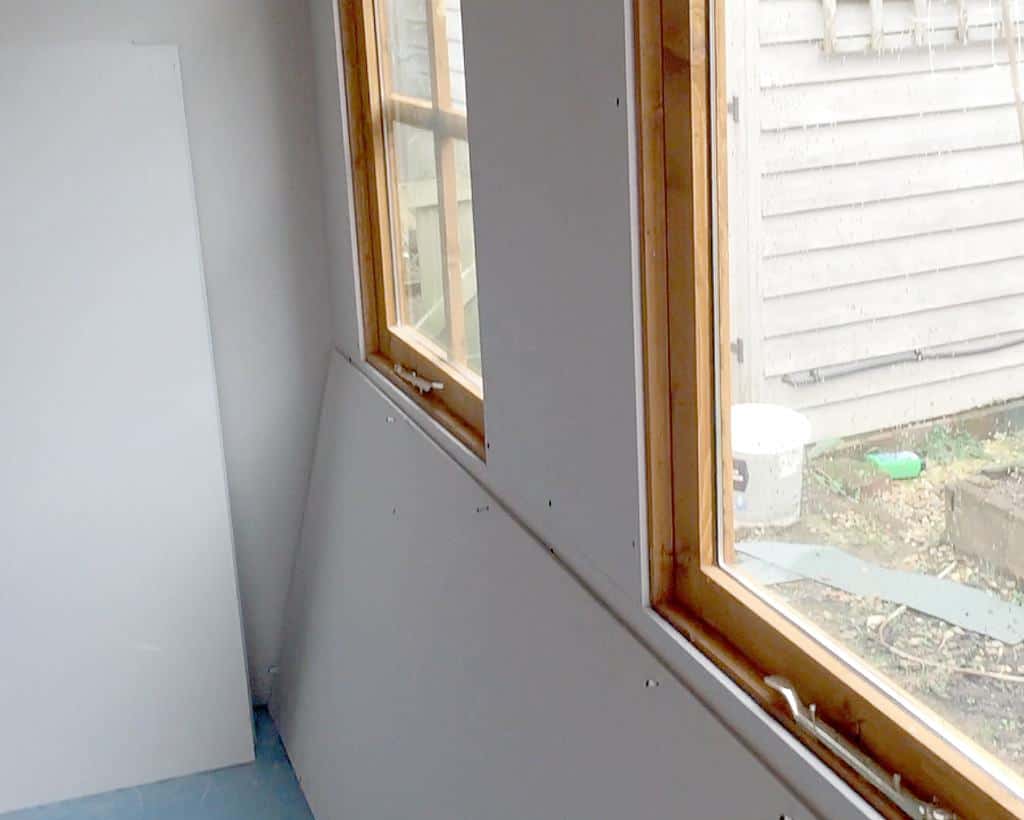
He did this until the entire shed was boarded and insulated.
It was a fairly labour and time intensive process; I would imagine that if you got a man in, it would be done over a couple of days — but as it was just him (with me ‘helping’) it took a couple of full weekends and a few evenings as well.


So there we have it.
Not the most glamorous piece I’ve ever posted but I’m so keen to show the whole process. Personally I never think that a ‘before and after’ shot is quite as interesting as seeing something in full swing; warts and all.
I also created a little film to show how we got on.
Enormous thanks to the fab team at B&Q for working with me on our ‘She-Shed’ project — and being so incredibly patient! All of the supplies that we used to complete the shed build can be bought either online or in your local B&Q store.
This is a collaborative post but all thoughts, words and images — as ever — are entirely my own.

Caro Davies is a former art-director turned writer and content-creator, and editor behind UK lifestyle blog The Listed Home. She writes about home-related topics, from interiors and DIY to food and craft. The Listed Home has been featured in various publications, including Ideal Home, Grazia, and Homes & Antiques magazines.
- Caro Davies
- Caro Davies
- Caro Davies
- Caro Davies
- Caro Davies
- Caro Davies
- Caro Davies
- Caro Davies
- Caro Davies
- Caro Davies
- Caro Davies
- Caro Davies
- Caro Davies
- Caro Davies
- Caro Davies
- Caro Davies
- Caro Davies
- Caro Davies
- Caro Davies
- Caro Davies
- Caro Davies
- Caro Davies
- Caro Davies
- Caro Davies
- Caro Davies
- Caro Davies
- Caro Davies
- Caro Davies
- Caro Davies
- Caro Davies
- Caro Davies
- Caro Davies
- Caro Davies
- Caro Davies
- Caro Davies
- Caro Davies
- Caro Davies
- Caro Davies
- Caro Davies
- Caro Davies
- Caro Davies
- Caro Davies
- Caro Davies
- Caro Davies
- Caro Davies
- Caro Davies
- Caro Davies
- Caro Davies
- Caro Davies
- Caro Davies
- Caro Davies
- Caro Davies
- Caro Davies
- Caro Davies
- Caro Davies
- Caro Davies
- Caro Davies
- Caro Davies
- Caro Davies
- Caro Davies
- Caro Davies
- Caro Davies
- Caro Davies
- Caro Davies
- Caro Davies
- Caro Davies
- Caro Davies
- Caro Davies
- Caro Davies
- Caro Davies
- Caro Davies
- Caro Davies
- Caro Davies
- Caro Davies
- Caro Davies
- Caro Davies
- Caro Davies
- Caro Davies
- Caro Davies
- Caro Davies
- Caro Davies
- Caro Davies
- Caro Davies
- Caro Davies
- Caro Davies
- Caro Davies
- Caro Davies
- Caro Davies
- Caro Davies
- Caro Davies
- Caro Davies
- Caro Davies
- Caro Davies
- Caro Davies
- Caro Davies
- Caro Davies
- Caro Davies
- Caro Davies
- Caro Davies
- Caro Davies
- Caro Davies
- Caro Davies
- Caro Davies
- Caro Davies
- Caro Davies
- Caro Davies
- Caro Davies
- Caro Davies
- Caro Davies
- Caro Davies
- Caro Davies
- Caro Davies
- Caro Davies
- Caro Davies
- Caro Davies
- Caro Davies
- Caro Davies
- Caro Davies
- Caro Davies
- Caro Davies
- Caro Davies
- Caro Davies
- Caro Davies
- Caro Davies
- Caro Davies
- Caro Davies
- Caro Davies
- Caro Davies
- Caro Davies
- Caro Davies
- Caro Davies
- Caro Davies
- Caro Davies
- Caro Davies
- Caro Davies
- Caro Davies
- Caro Davies
- Caro Davies
- Caro Davies
- Caro Davies
- Caro Davies
- Caro Davies
- Caro Davies
- Caro Davies
- Caro Davies
- Caro Davies
- Caro Davies
- Caro Davies
- Caro Davies
- Caro Davies
- Caro Davies
- Caro Davies
- Caro Davies
- Caro Davies
- Caro Davies
- Caro Davies
- Caro Davies
- Caro Davies
- Caro Davies
- Caro Davies
- Caro Davies
- Caro Davies
- Caro Davies
- Caro Davies
- Caro Davies
- Caro Davies
- Caro Davies
- Caro Davies
- Caro Davies
- Caro Davies
- Caro Davies
- Caro Davies
- Caro Davies
- Caro Davies
- Caro Davies
- Caro Davies
- Caro Davies
- Caro Davies
- Caro Davies
- Caro Davies
- Caro Davies
- Caro Davies
- Caro Davies
- Caro Davies
- Caro Davies
- Caro Davies
- Caro Davies
- Caro Davies
- Caro Davies
- Caro Davies
- Caro Davies
- Caro Davies
- Caro Davies
- Caro Davies
- Caro Davies
- Caro Davies
- Caro Davies
- Caro Davies
- Caro Davies
- Caro Davies
- Caro Davies
- Caro Davies
- Caro Davies
- Caro Davies
- Caro Davies
- Caro Davies
- Caro Davies
- Caro Davies
- Caro Davies
- Caro Davies
- Caro Davies
- Caro Davies
- Caro Davies
- Caro Davies
- Caro Davies
- Caro Davies
- Caro Davies
- Caro Davies
- Caro Davies
- Caro Davies
- Caro Davies
- Caro Davies
- Caro Davies
- Caro Davies
- Caro Davies
- Caro Davies
- Caro Davies
- Caro Davies
- Caro Davies
- Caro Davies
- Caro Davies
- Caro Davies
- Caro Davies
- Caro Davies
- Caro Davies
- Caro Davies
- Caro Davies
- Caro Davies
- Caro Davies
- Caro Davies
- Caro Davies
- Caro Davies

Oh wow, you guys really are doing everything yourselves, that is amazing! Such hard work, it will be really satisfying when it’s done. PS it really does look like teddy bear fluff! xx
#HomeEtc
We literally did do it all ourselves!! Apart from the electrics (we’re not that brave — or stupid!!) :)
Wow it’s looking fab! Loved this post. Makes me wish my garden wasn’t the size of a postage stamp and I could have a lovely space of my own!
Can’t wait for the next instalment xxx
#HomeEtc
I’m so grateful for it — honestly — sounds dramatic but it’s transformed my life!! :)
This is looking just wonderful. I can’t wait to see the final reveal!
It’s changed a lot since then. Still got a bit to do but starting to look AMAZING!!!!! :)
Nice of you to share how to properly insulate your sheds. Totally awesome.
The interior of you shed look great
I need to do a similar project
Ive read conflicting views about using plasterboard in a insulated shed
May I ask why you chose plasterboard as opposed to say plywood
Many thanks
Hello! Thanks for your message. I just wanted it to look as ‘room-like’ as possible; and to treat it exactly as you would a room. It seems to be holding up OK :)