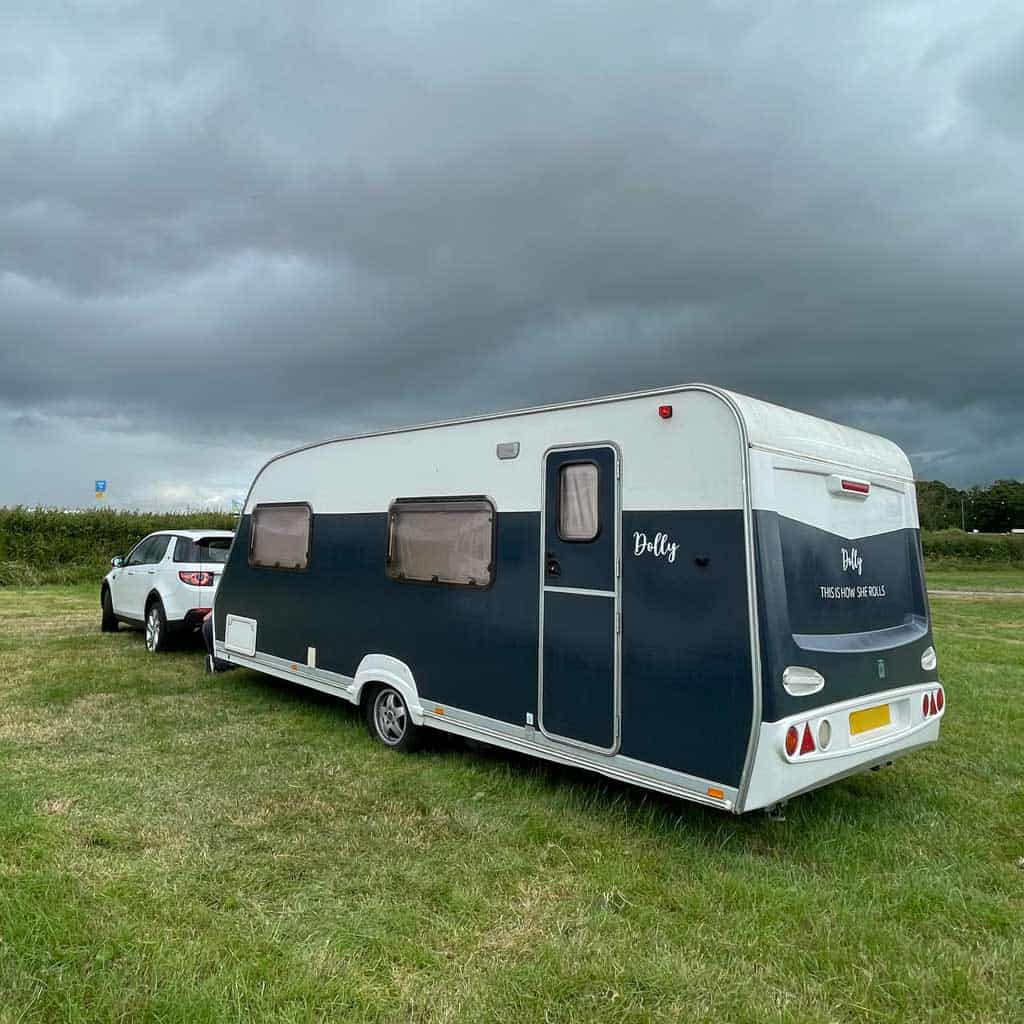
Although a lot of die-hard campers and caravanners have already taken their vans out this year, we’re still yet to go camping in Dolly. Although we’re going away in a few week’s time, so will be going through the spring caravan checklist, before we embark on our first adventure.
I thought I’d share our checklist here, in case you might find it useful.
Quick View of What You'll Find on This Page
Spring Checklist For a Touring Caravan
My tips for buying a second hand caravan have lots of checks you can run on your caravan; including how to spot damp. And how to check your hitch and handbrake.
But this is the list we go through every new caravanning season, to ensure Dolly is good to go and ready for camping adventures.
Spring Caravan Checklist for the Exterior
- Inspect the caravan’s exterior, looking for signs of damage from winter weather or other issues.
- Check the tires for wear and ensure that they are inflated to the recommended pressure. The legal minimum tread depth for tyres on your trailer or caravan is 1.6mm.
- Inspect the hitch and coupling for damage and make sure it’s securely attached.
- Check the brakes to ensure that they are in good working order. This may require taking your van for a short test drive, to ensure that the brakes are working as they should.
- Check all the exterior lights and ensure that the brake lights and indicators work, when hooked up to your towing vehicle.
Spring Caravan Checklist for the Interior
- On opening up the van for the first time since the winter, check for any signs of damp. We have got a damp meter for this. It was a relatively cheap outlay but gives peace of mind. Damp can damage the interior of your caravan, leading to mildew and structural issues. Check for signs of dampness in corners, under seats, around windows, and in any hidden spaces. Also, inspect the roof and walls for water ingress, particularly after a harsh (or particularly wet) winter.
- Check the gas system to ensure that all appliances are functioning correctly.
- Check Appliances: Ensure that all appliances, including the stove, oven, fridge, and heating system, are working correctly.
- Inspect the gas bottles — and replace them if necessary. Ensure that gas hoses are in good condition and not damaged.
- Check the electricals carefully, including the battery, charger, and all lights. Make sure that all fuses are in good condition, and replace any that are blown.
- Make sure you’ve got a full and working Powder Fire Extinguisher.
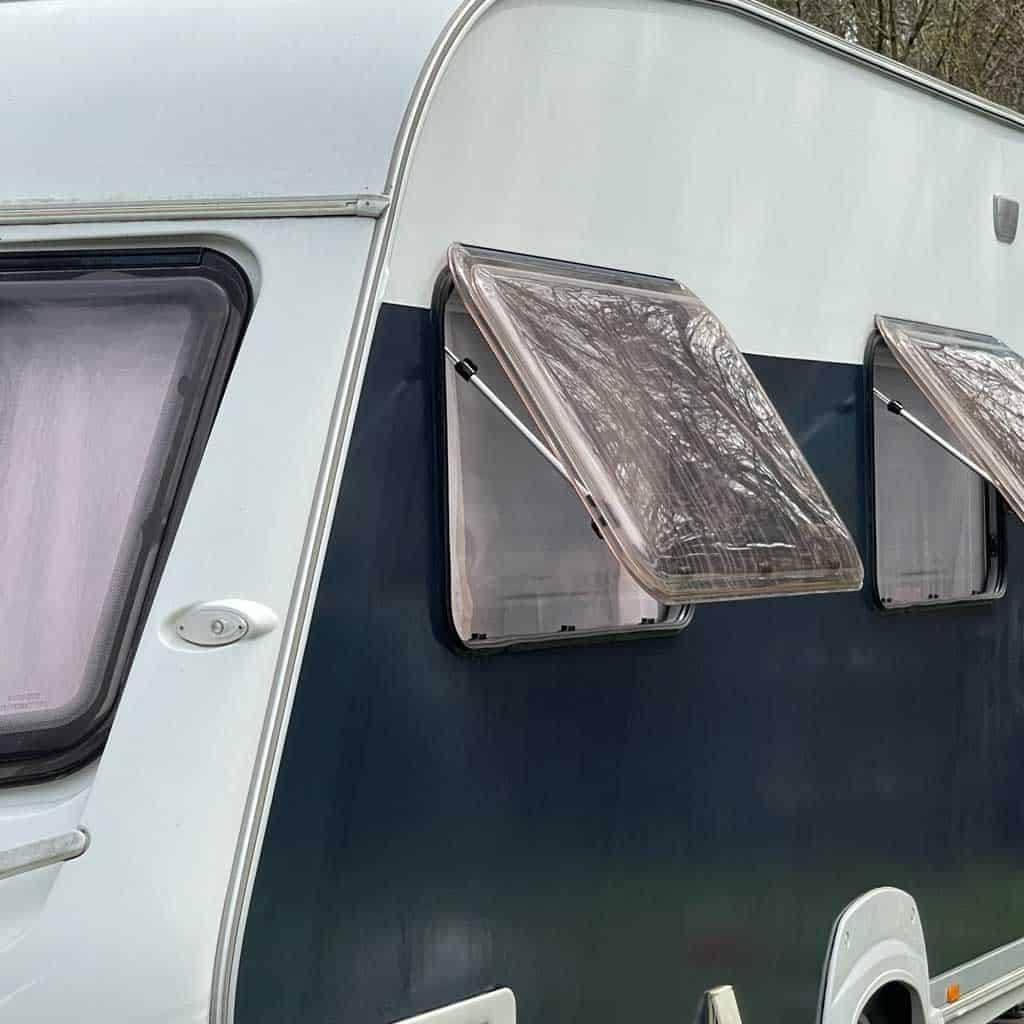
- Make sure that all vents are clear of any blockages. Proper ventilation will help prevent condensation and dampness.
- Check the water system: inspect the system for leaks and flush out any stale water that may have been sitting in the system over the winter.
Fill the water tank and check for leaks. Check the water heater, to make sure it’s working correctly. Also, check that the pump is working correctly and the water is flowing as it should. - If your caravan has a bathroom, make sure everything is clean and in working order. Check that the shower drains properly, and the toilet flushes as expected.
- Make sure your safety equipment is in good working order. Ensure that the smoke detector and fire extinguisher are all functioning correctly. Check the expiry dates where applicable. Make sure you have a carbon monoxide detector fitted also, and check this each new camping season.
A Couple of Last Things To Remember
- Clean the caravan thoroughly, including the upholstery, curtains, and carpets.
Open all windows and vents to air out the caravan and remove any stale odours that may have built up over the winter. - Touch up any paint chips on cupboards — check out my tips for painting caravan cupboards.
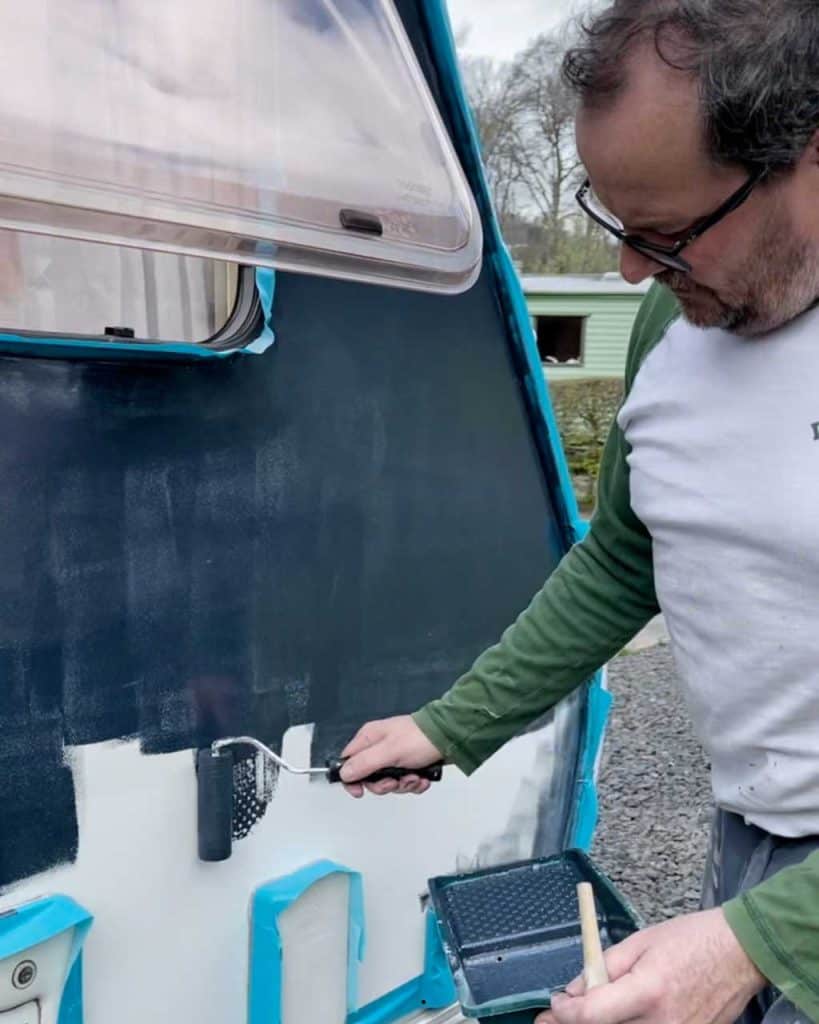
And give the van a little spruce up if you’re feeling like a change. You can wallpaper a caravan interior — or even paint the exterior of your van — if you fancy a change.
Follow these steps, to ensure that your touring caravan is roadworthy — and all set for the new camping season.
Happy camping!

Caro Davies is a former art-director turned writer and content-creator, and editor behind UK lifestyle blog The Listed Home. She writes about home-related topics, from interiors and DIY to food and craft. The Listed Home has been featured in various publications, including Ideal Home, Grazia, and Homes & Antiques magazines.
