Quick View of What You'll Find on This Page
Want to Make a Simple DIY Easter Bunny Garland?
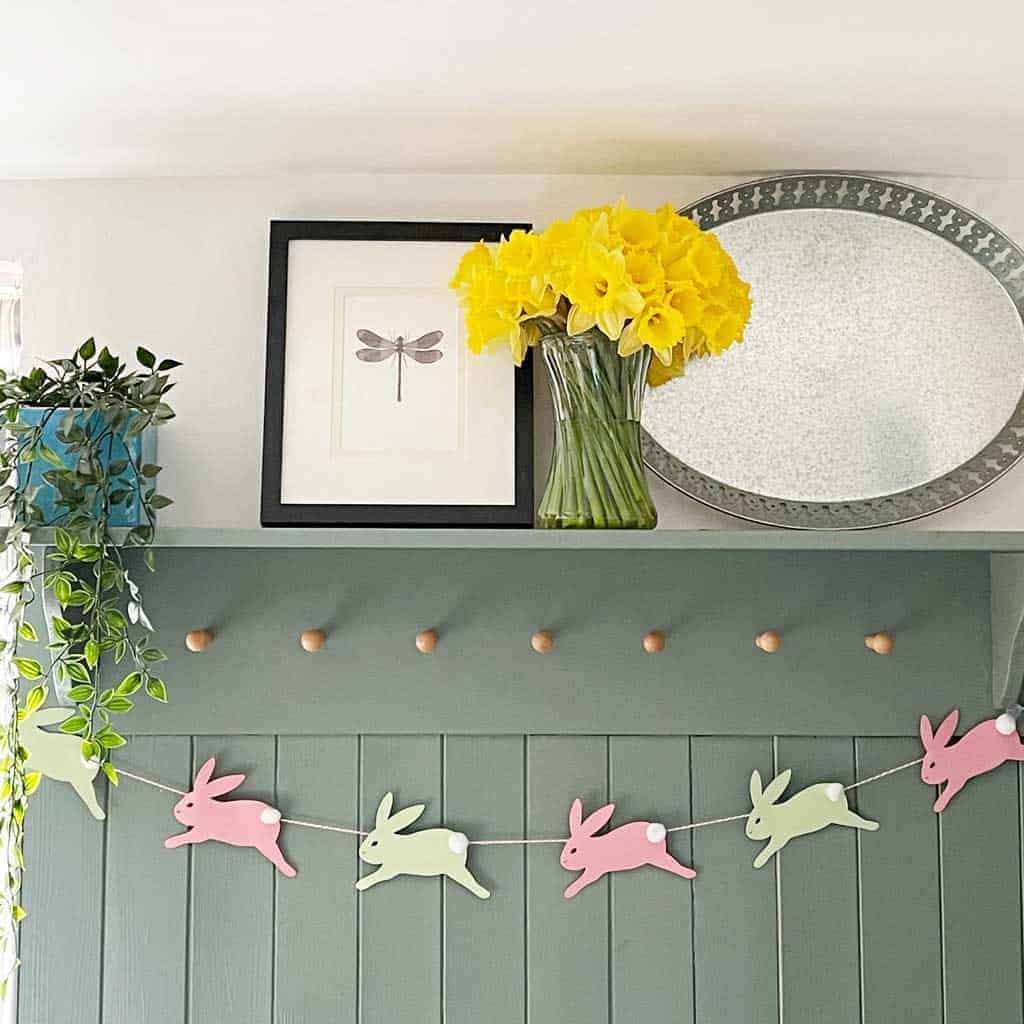
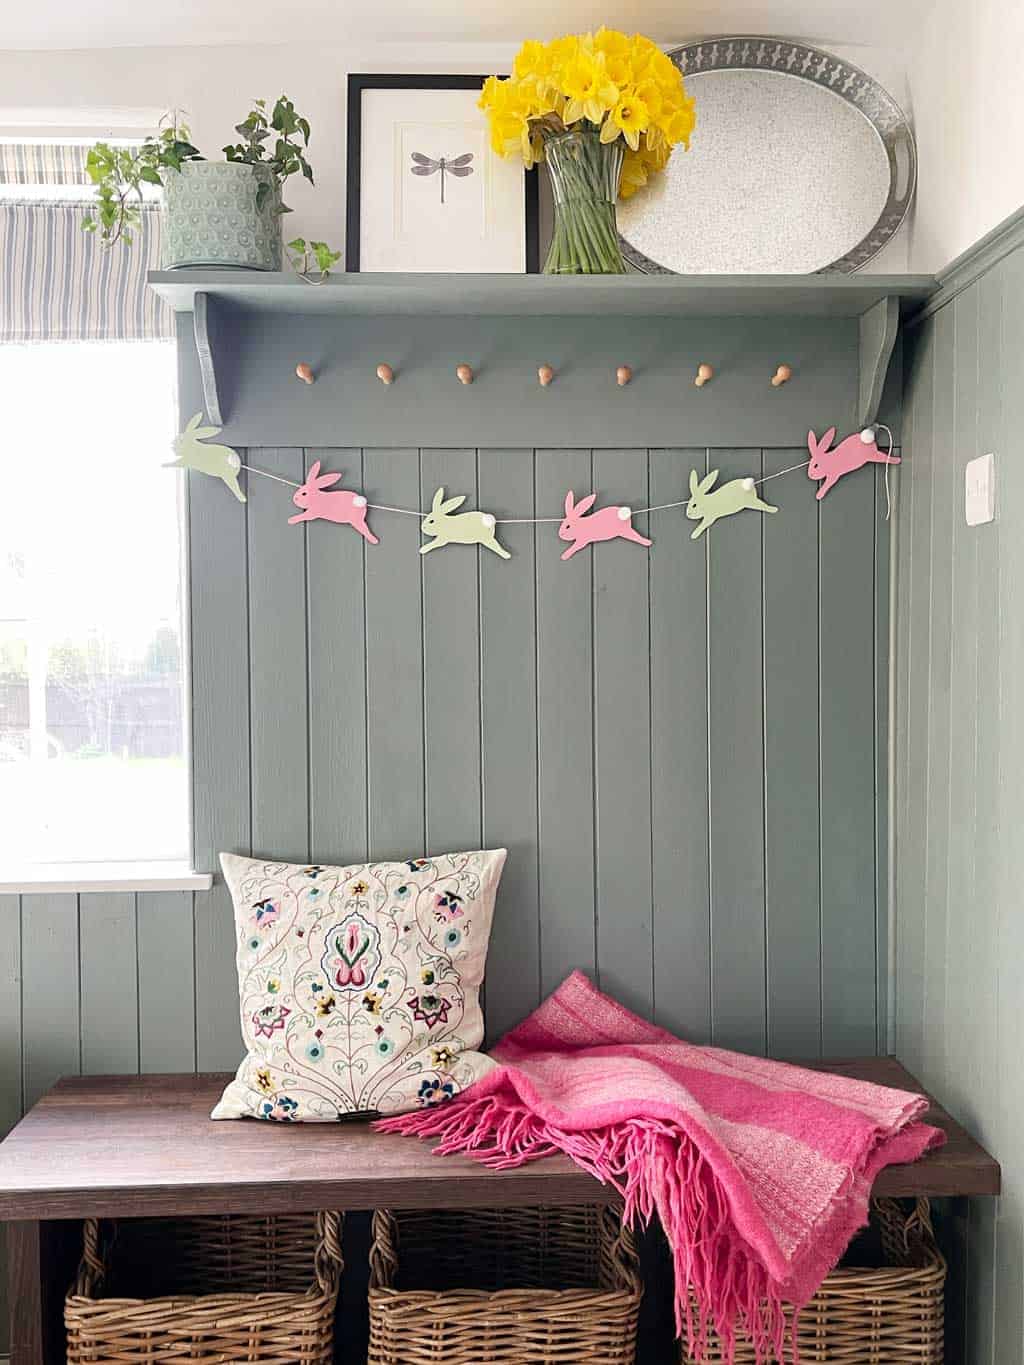
Everywhere I go, people seem to be talking about spring. And namely where is it?! Everywhere is still so cold and grey. I have made a spring door wreath and that little pop of colour makes all the difference! So I thought I’d brighten the place up by making a simple DIY bunny garland for Easter. I digitised my template and created a free bunny png file for you to make one too.
How Do You Make a Bunny Garland?
Making this bunny garland is so simple.
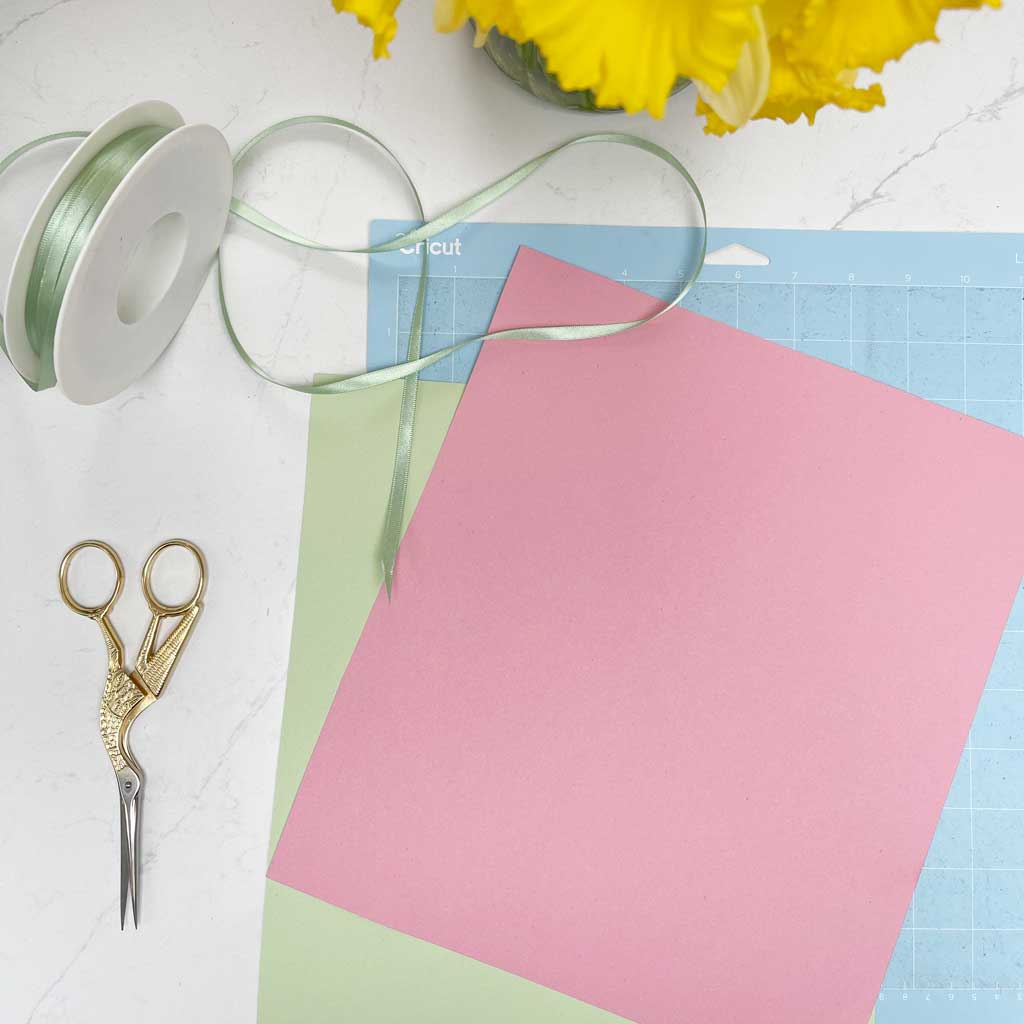
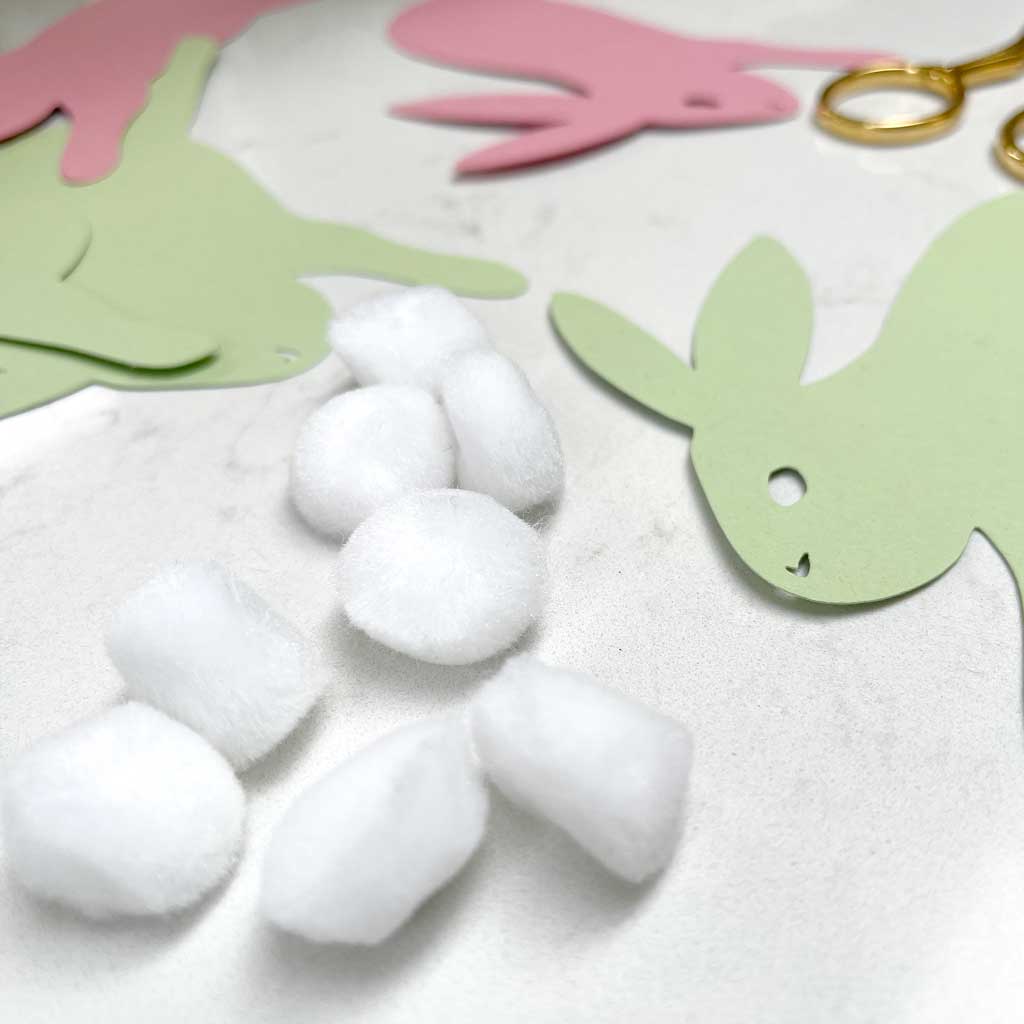
You just need card-stock, string and tiny pom poms (or cotton wall balls) for the tails.
If you have a crafting machine — such as a Cricut or Silhouette — you can load the bunny png file and cut it on the machine. And if not — do not fear — you can trace the bunny template onto your card and cut the bunny shapes by hand!
How I Created The Bunny PNG File
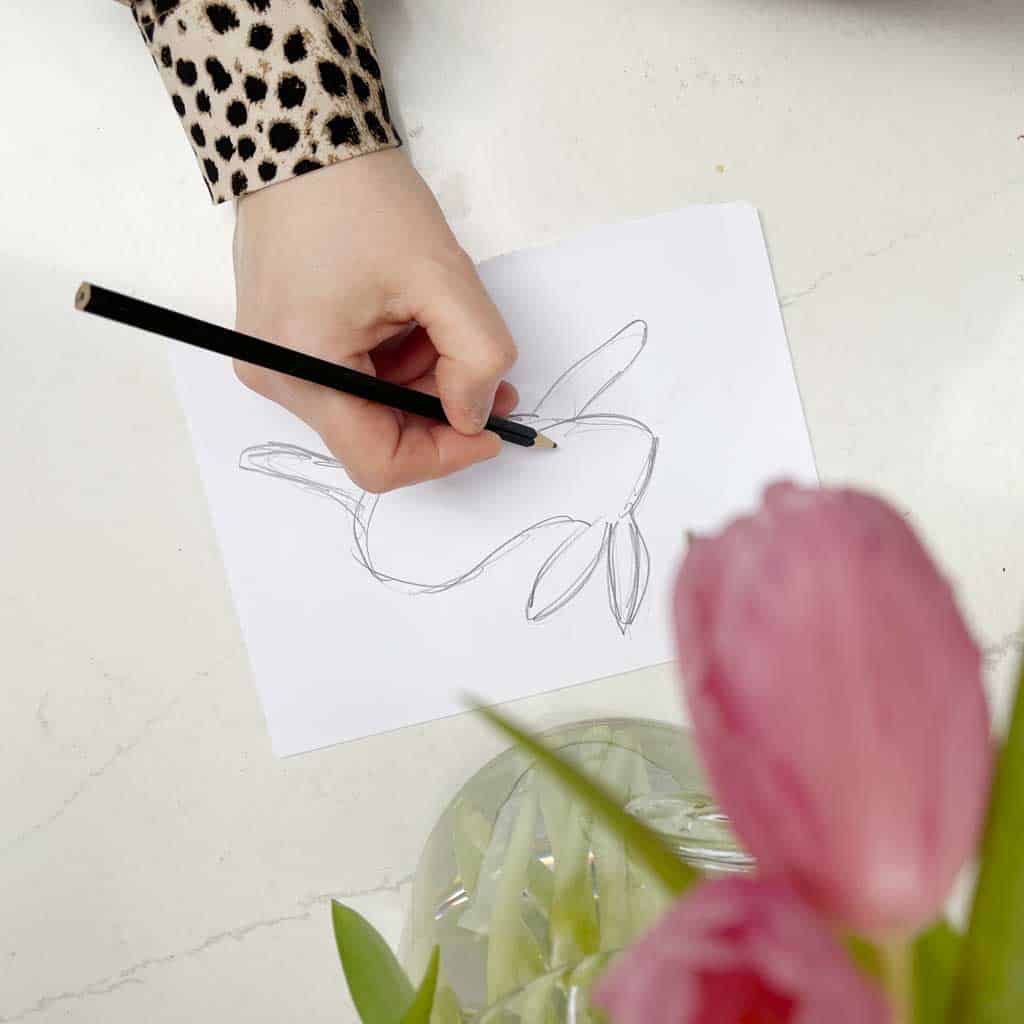
To make the bunny PNG file, I started off by drawing a simple bunny template, just with pencil and paper, then digitised it in Adobe Illustrator.
It’s a program that I’ve used for decades now; I’ve always used it to create logos for work, but since I’ve been using my Cricut, I’ve found that it’s a brilliant way of creating my cut files too.
Once I’d turned my bunny drawing into a digital file I uploaded it to Cricut design space.
But as I said above — don’t worry if you don’t have a crafting machine — you can just use the shape as a tracing template and cut out by hand.
How To Make Simple DIY Easter Bunny Garland With The Cricut Maker
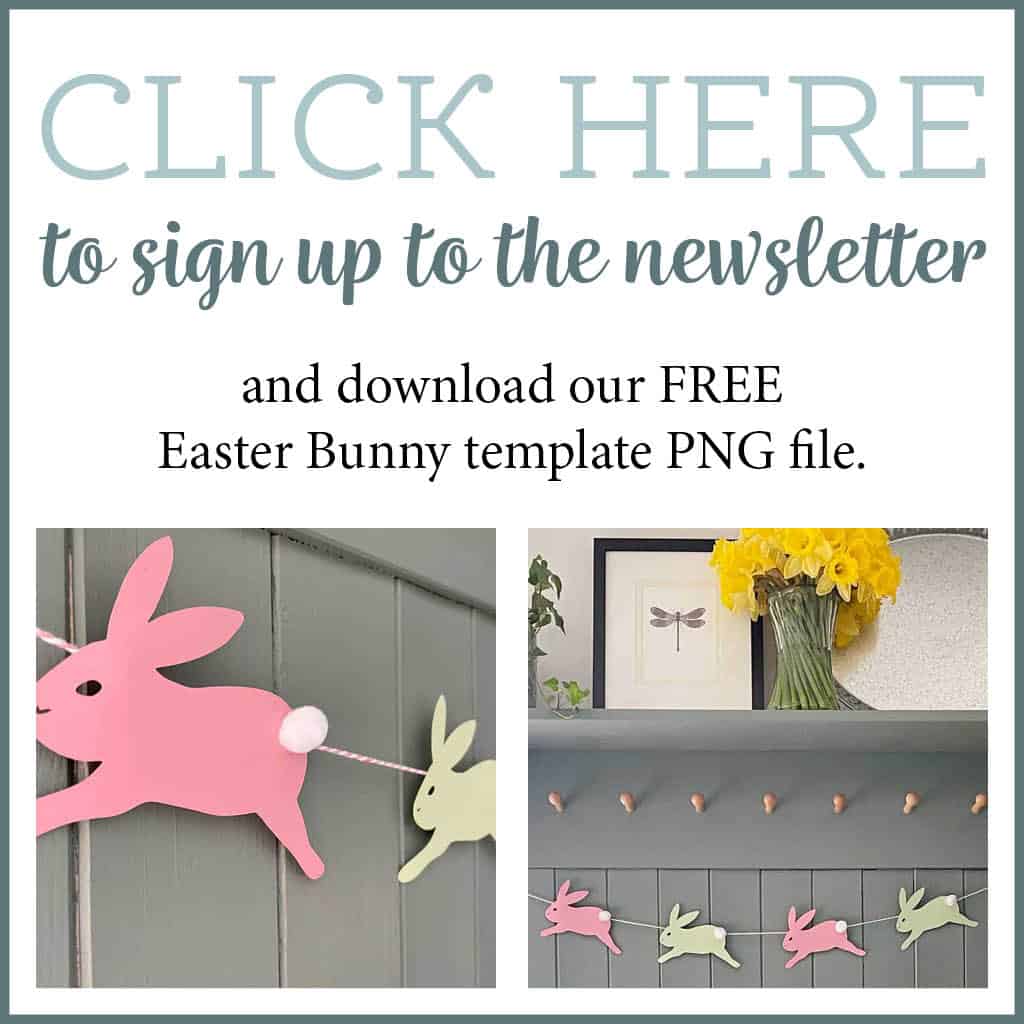
1. Download my free Easter bunny png file.
2. Start a new project in the Cricut Design Space and click ‘Upload’ to import your free Easter bunny png file.
You can either drag and drop them into the box or browse and select from your computer.
3. Next, choose the ‘Simple’ option. And click continue — then continue again — to take the bunny shape into the Design Space.
4. Select the ‘Cut Image, then press ‘Upload’ to take the bunny design into the Design Space.
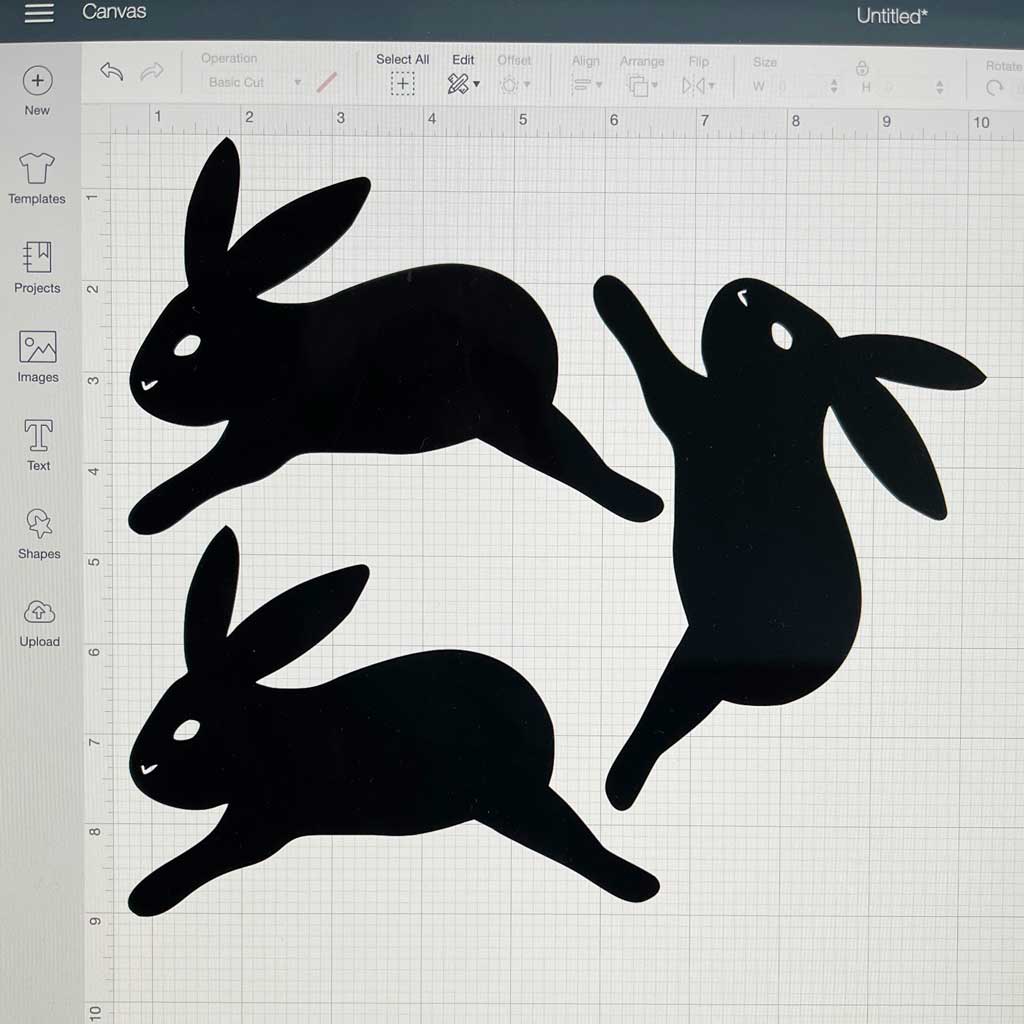
5. Resize the bunny shape to the size you’d like it. At this point I duplicated the image, and rotated one of the shapes, so I could fit more on my cutting mat.
You can make the bunnies as big or small as you want, depending on what you’re going to make.
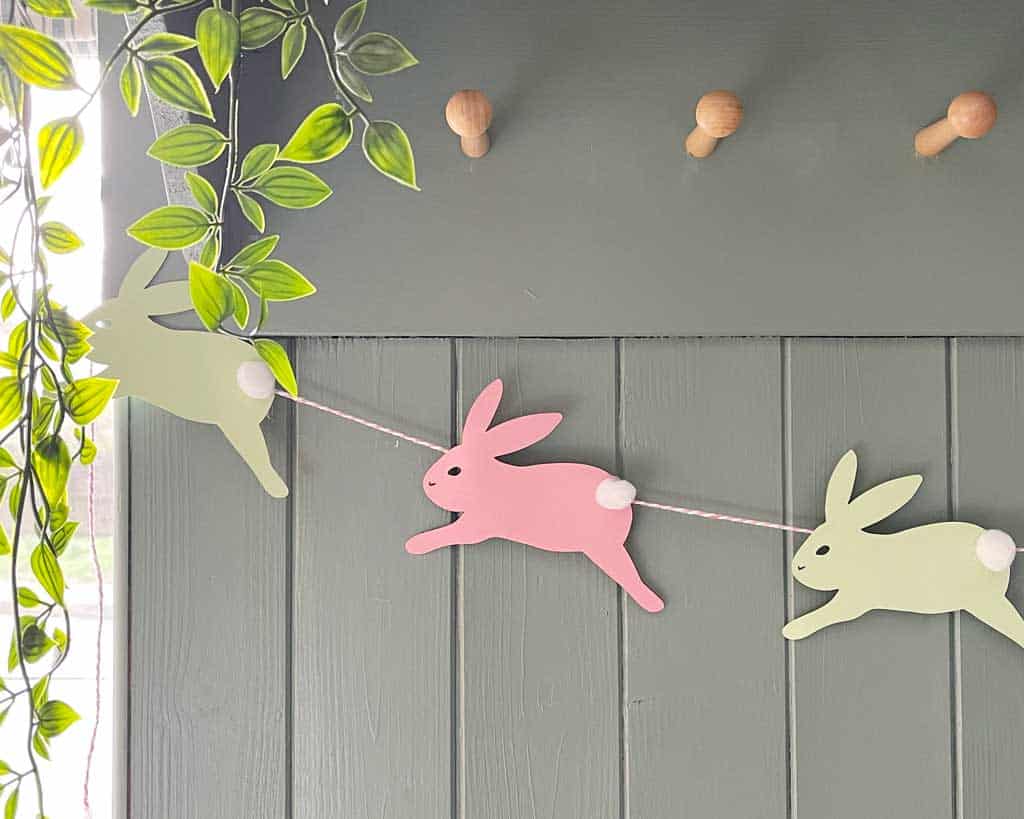
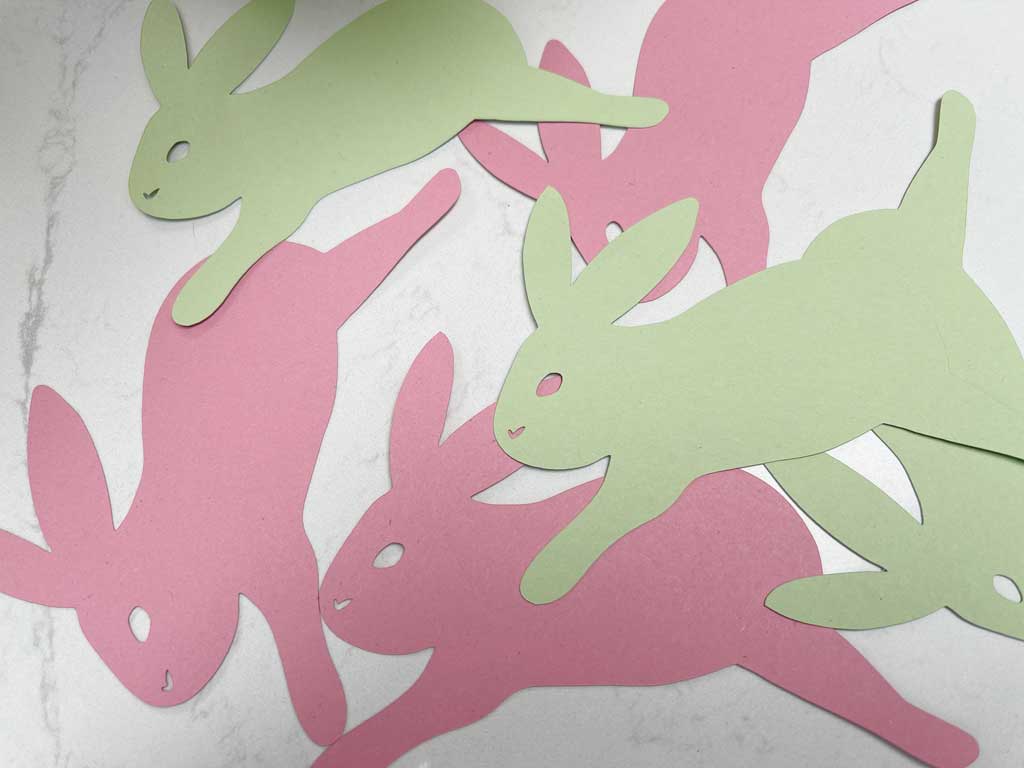
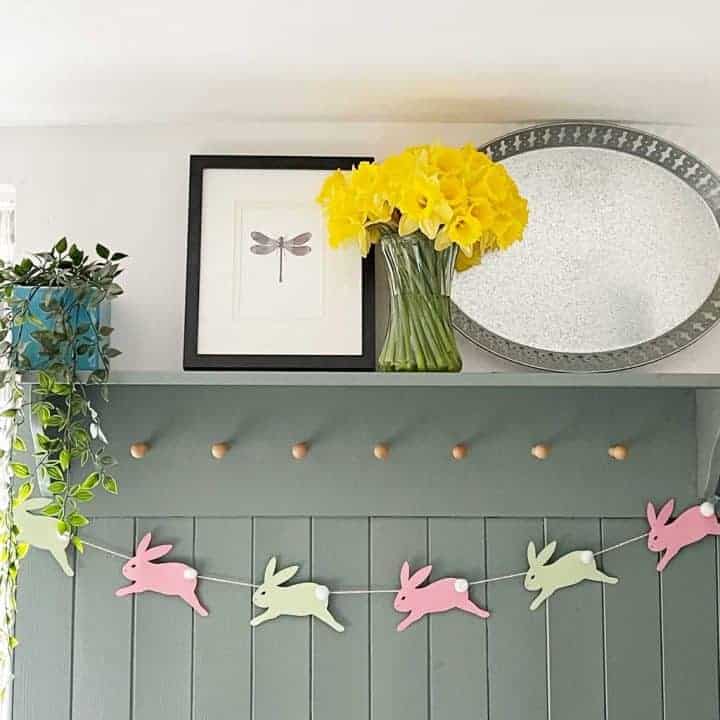
For my simple DIY easter bunny garland, I cut 3 bunnies from pink card and 3 from green — each shape was just over 6 inches wide.
6. When you’re happy with the size etc, click the green ‘Make It’ button and away you go!

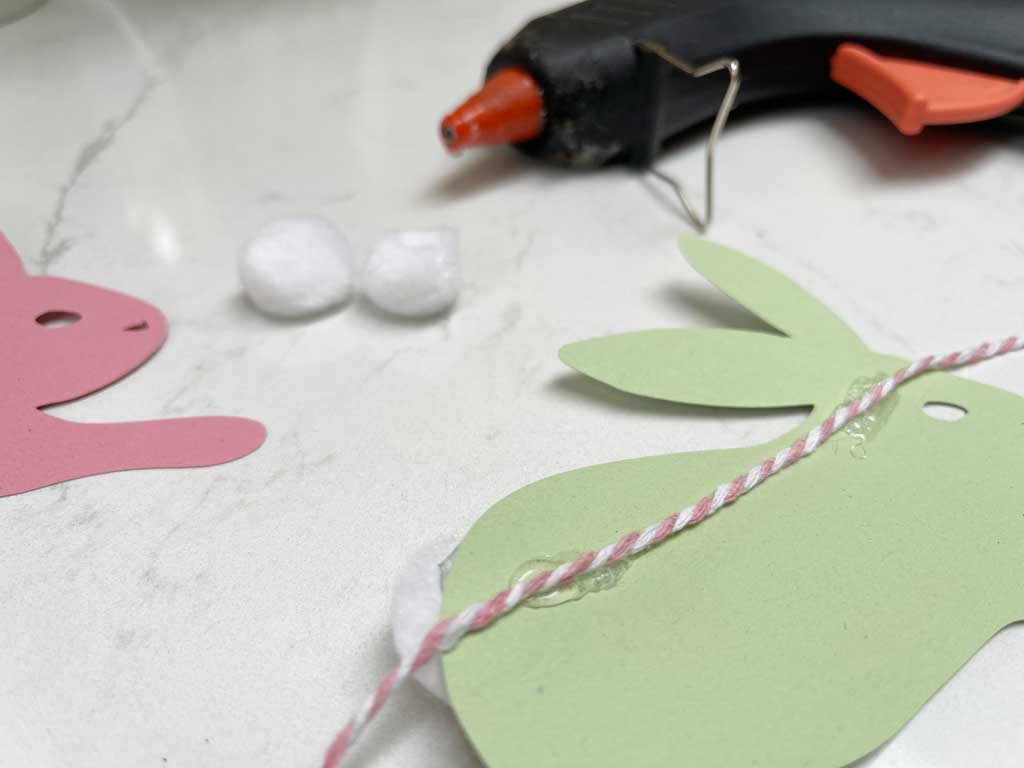
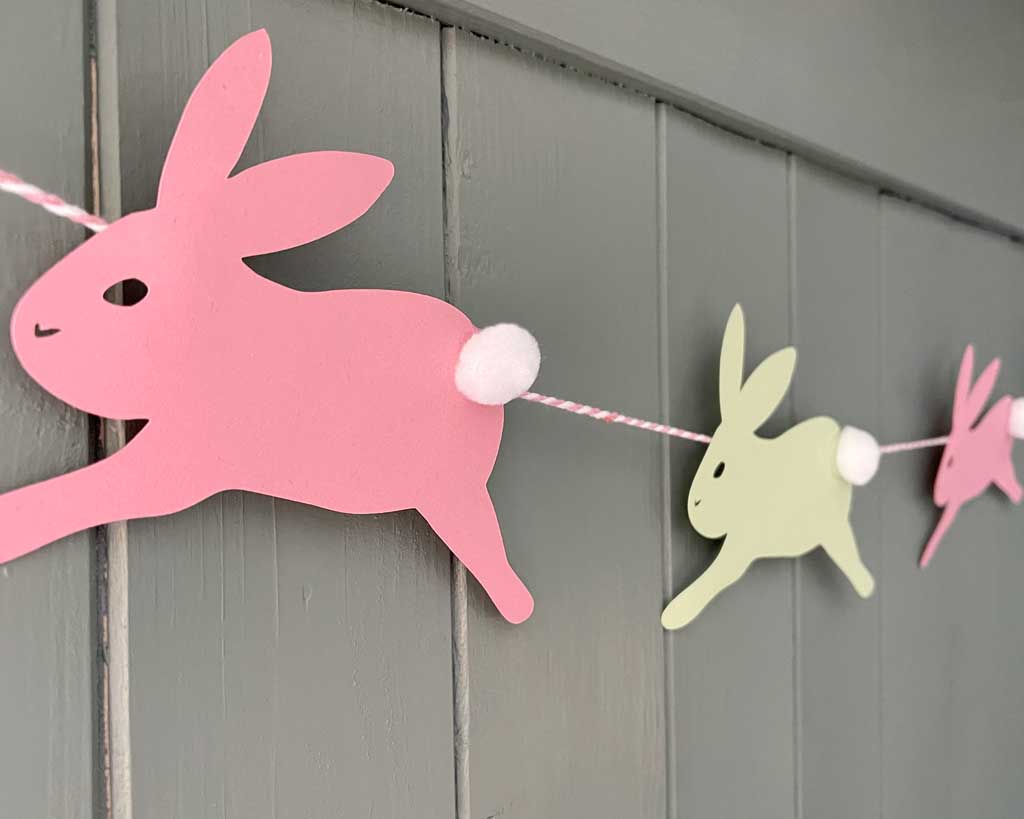
7. When all of your Easter bunnies have been cut out, you can glue string — or ribbon — on the back of each shape, to secure them.
When I made my Halloween banner garland last year, I created holes for the string to go through, and if you wanted to, I guess you could do the same for this project.
I prefer the look of this Easter garland without added holes, so I dotted a little glue on the back of each shape to secure the string.
How Do You Make an Easter Bunny Tail
If you are feeling really crafty, you can make an easter bunny tail by creating your own pom poms.
We’ve made loads of pom pom creations over the years; everything from a pom pom wreath to a pom pom trimmed blanket.
Creating your own pom poms is really fun — and very satisfying! You can make them using cardboard (or the fork method). But we make ours using a pom pom maker.
You can read all about how we do it in this tutorial.
Alternatively for this DIY bunny garland, you could use shop ready made pom poms, as I have done here. Or even cotton wool balls would work well too.

I love pom pom crafts!
But for this, I think the ready made craft pom poms are perfect.
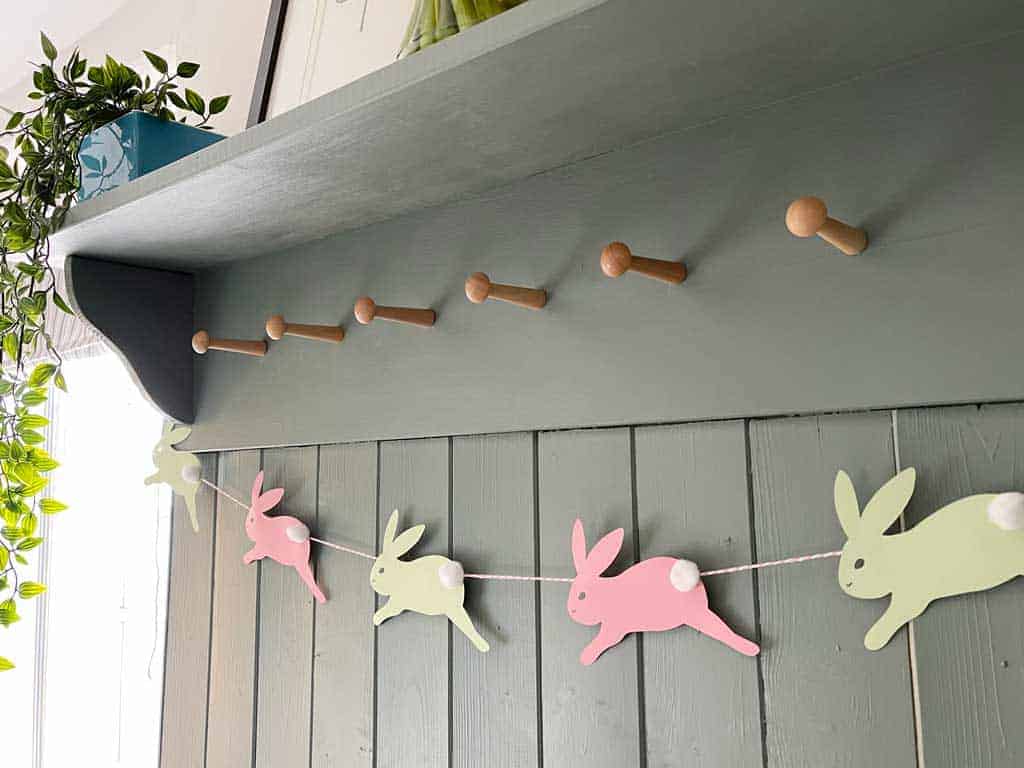
A Simple DIY Easter Bunny Garland With Pom Pom Tails
Fancy making a simple DIY Easter bunny garland? I've drawn a cute Easter bunny for you to use in your projects; use it on the Cricut or cut by hand! Simple!
Materials
- Thin Card
- String or Ribbon
- Ready made pom poms
Tools
- Scissors
- Hot Glue Gun/Glue Sticks
- Cricut Maker (this is optional)
Instructions
- Download the free Easter bunny png file.
- Start a new project in the Cricut Design Space and click 'Upload' to import your free Easter bunny png file.
- Next, choose the 'Simple' option. And click continue — then continue again — to take the bunny shape into the Design Space.
- Select the 'Cut Image, then press 'Upload' to take the bunny design into the Design Space.
- Resize the bunny shape to the size you'd like it. At this point I duplicated the image, and rotated one of the shapes, so I could fit more on my cutting mat.
You can make the bunnies as big or small as you want, depending on what you're going to make.
I cut 3 bunnies from pink card and 3 from green — each shape was just over 6 inches wide. - When you're happy with the size etc, click the green 'Make It' button and away you go!
- When all of your Easter bunnies have been cut out, you can glue string — or ribbon — on the back of each shape, to secure them
- Finally, add little craft pom poms to the bottom of each bunny, in place of a tail!
Notes
When I made my Halloween banner garland last year, I created holes for the garland string to go through, and if you wanted to, I guess you could do the same for this project.
I prefer the look of this Easter garland without added holes though.
Other Uses For My Free Bunny PNG
There are so many other ways you could use my bunny PNG file in your crafts.
Instead of plain card you could use pretty patterns — or even make a fabric garland!
And now Cricut have just launched their new mug press, you could even use the shape to create a mug design for Easter!
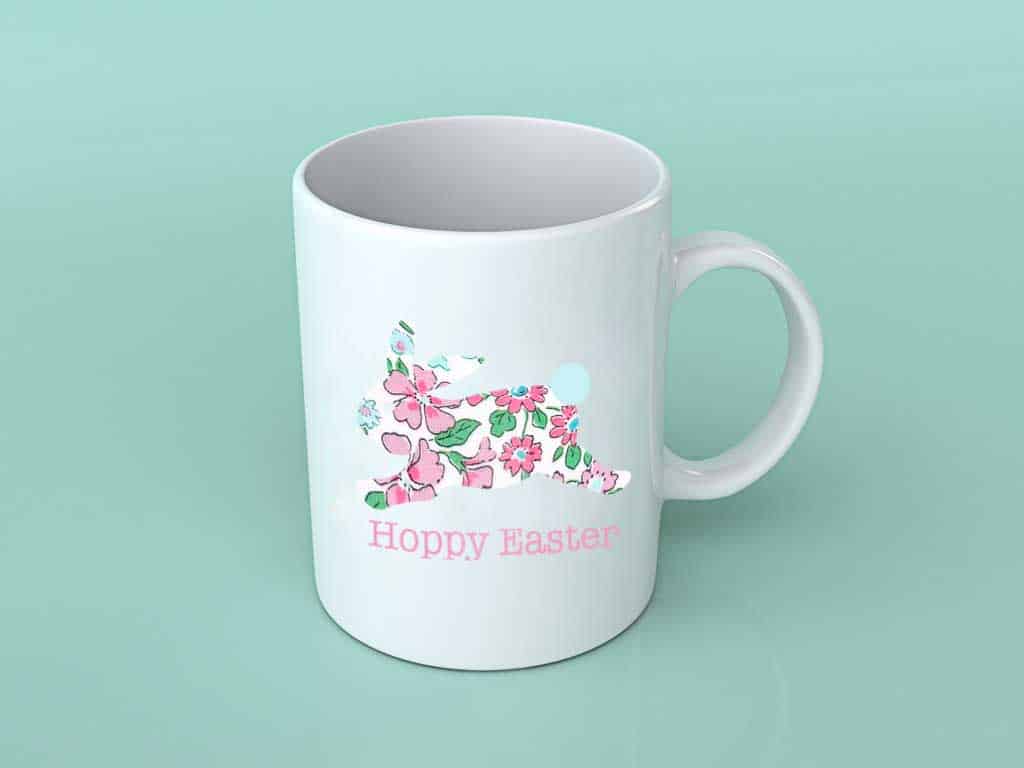
Whether you make a DIY Easter bunny garland, a mug or even use the image for a card, I hope you enjoy creating with it!
Easter decorations are so lovely to make at home.
It’s a great time of year to get crafty — and the kids love getting involved too.
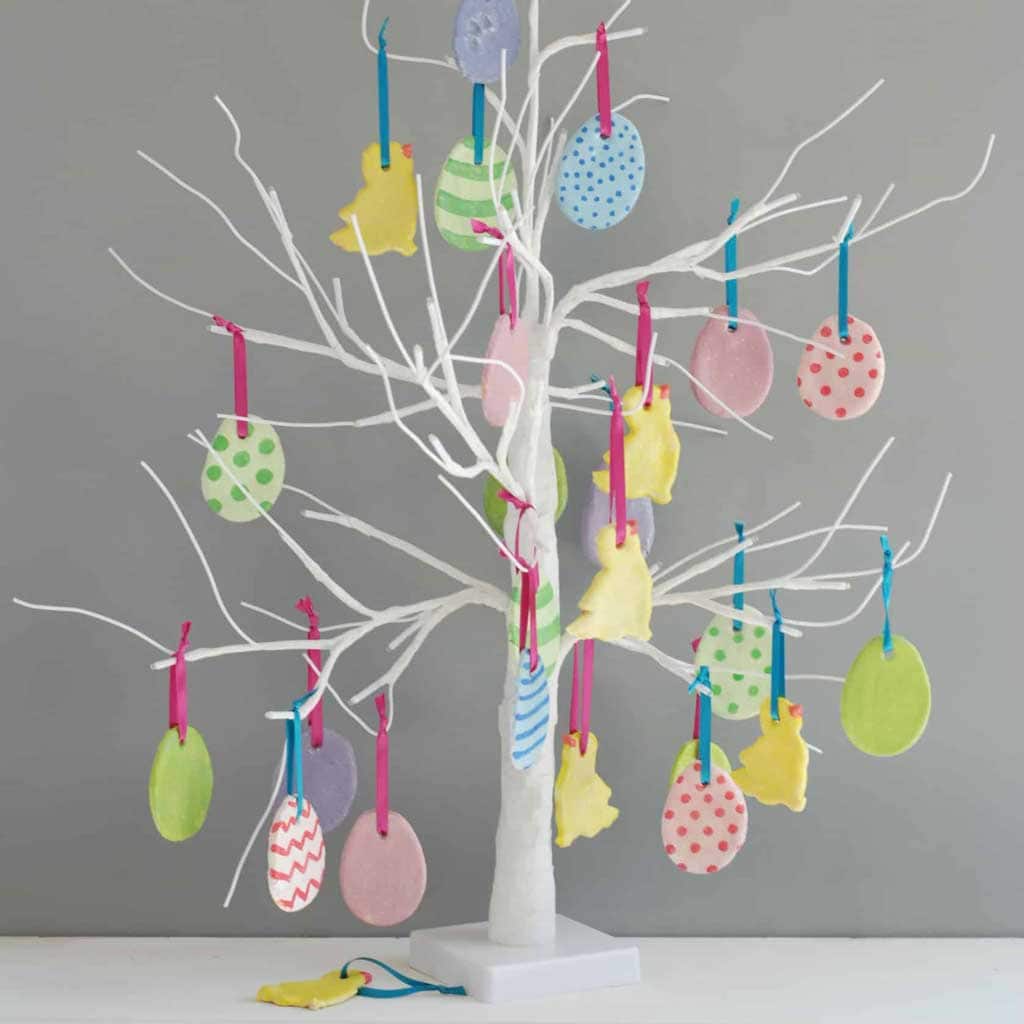
We created salt dough Easter ornaments years ago and they still look great and come out year after year. Plus my spring front door wreath is always a welcome sight after the greyness of winter.
Download The Easter Bunny PNG File
Some More Easter Posts You May Like
Looking for more Easter related content? Check out these posts below.

Caro Davies is a former art-director turned writer and content-creator, and editor behind UK lifestyle blog The Listed Home. She writes about home-related topics, from interiors and DIY to food and craft. The Listed Home has been featured in various publications, including Ideal Home, Grazia, and Homes & Antiques magazines.

This is so sweet, it looks lovely!
Danielle | thereluctantblogger.co.uk
Thanks so much Danielle — so kind of you x
These are so cute! I have to try to make them with my daughter
They’re so simple to make :)