Quick View of What You'll Find on This Page
Painting Cabinets To Update Your Kitchen
When you’re updating your home, renovating a kitchen can be one of the most costly expenses. Believe me, I should know! But when you break it down, a lot of the cost of kitchen refurbishment is actually to do with replacing cupboards. Good quality cupboards are costly, but replacing them can also then trigger a chain reaction; the need to replace worktops, making it a significant undertaking and extremely expensive. Painting cupboards is a great budget-friendly solution to updating your kitchen without breaking the bank
The Benefits of Painting Kitchen Cabinets Rather Than Replacing
If you don’t have the budget to buy a brand new kitchen, painting kitchen cabinets is a practical and budget-friendly alternative for several reasons:
- Time: Painting cupboards will be much faster than replacing them. Cabinet replacement involves demolition, installation, and potentially altering the kitchen layout, which can result in a more extended and disruptive renovation period. Painting, on the other hand, can be completed relatively quickly.
- Cost: Painting cabinets is significantly less expensive than replacing them during a home renovation. It allows you to update aesthetics and achieve a fresh look without the high cost of purchasing brand new cabinets.
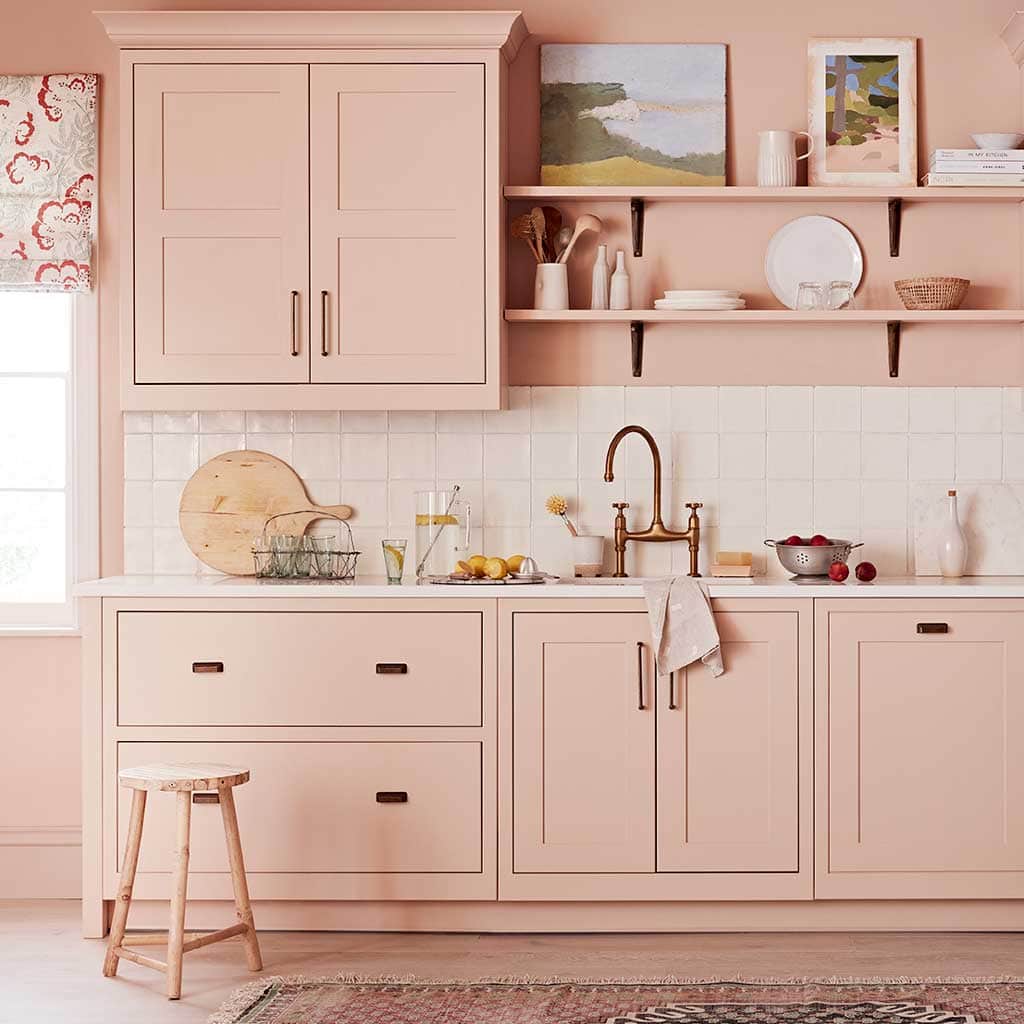
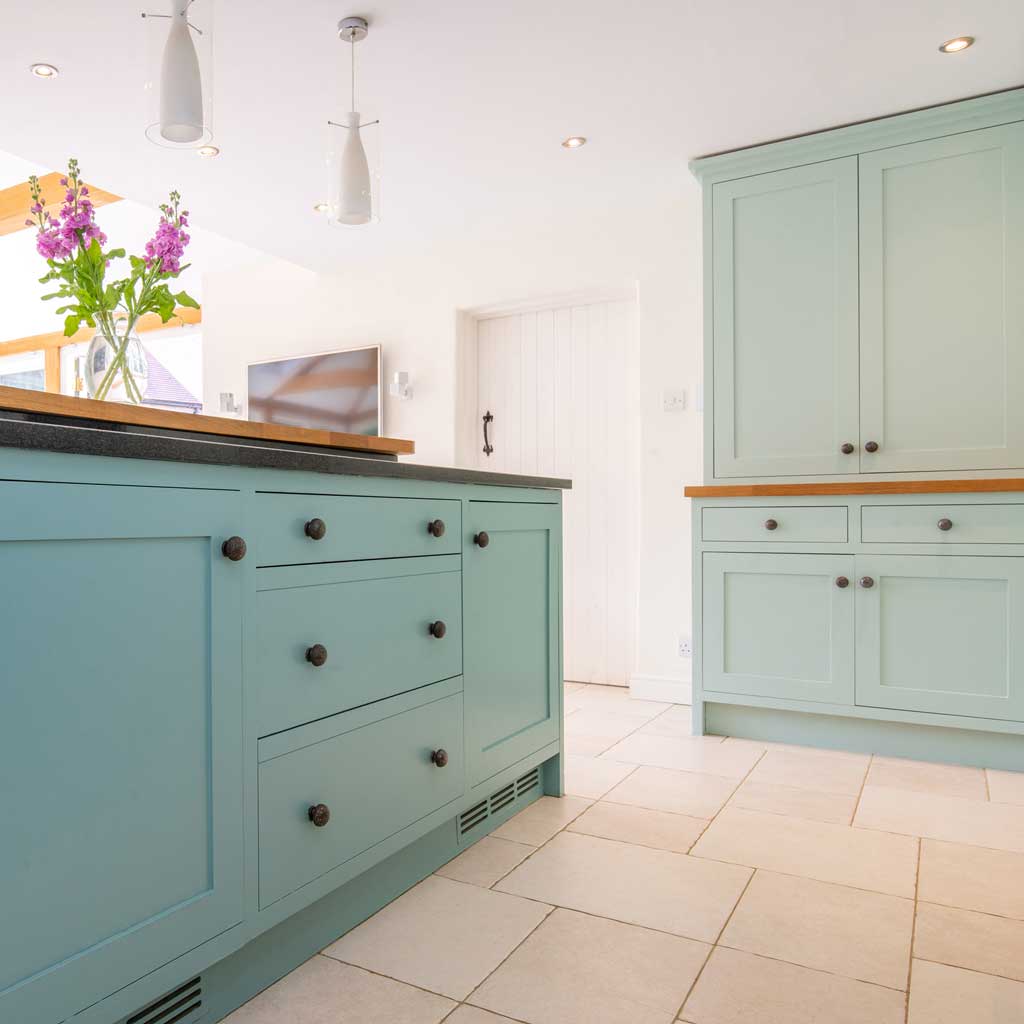
- Taste: Painting allows you to create something to your taste. You can use various paint colours and finishes to achieve the desired look, whether classic white, a bold colour, or a trendy two-tone scheme.
- Less disruption: Cabinet replacement shuts down the entire kitchen, making cooking challenging. Painting cabinets is less invasive, minimizing disruption to your daily routine.
- Extends the lifespan of your kitchen: If your cabinets are in good structural condition but have a worn or outdated appearance, painting can help extend their lifespan and keep them functional. It’s a great way to preserve the quality of well-built cabinets without the expense of replacement.
- Sustainable: Reusing existing cabinets by painting them is an eco-friendly option. It reduces the demand for new materials and the energy required to manufacture and transport them, contributing to a more sustainable approach to kitchen remodelling.
Apart from painting, you can also reface cabinets, which involves replacing the doors for a more updated look and painting or applying veneer to the cabinet frames to match the doors.
What Type of Cabinets Do You Have?
There are various different types of kitchen cabinets. These depend on the age of your home or the previous owner’s tastes, You may find you have a mixture of various types of cabinets in your kitchen.
The most common types of cupboards you will encounter are:
- MDF (Medium-Density Fiberboard): MDF cabinets are made from wood fibres and resin, compressed to create a dense, smooth surface. They are often used for painted cabinet doors because they offer a consistent finish.
- Solid Wood Cabinets: Hardwood species such as oak, maple, or cherry are some of the most popular wood used to build cabinets – especially a few decades ago. They have their beauty with their natural and warm appearance, but with time and wear and tear, they can look dated.
- Plywood Cupboards: Most of the cabinets built in recent years use plywood. They are solid and resistant to warping, as well as cost-effective. They can either be painted or have a wood veneer or melamine finish.

Supplies You Need To Paint Cabinets
Obviously, the exact materials needed for the project will depend on the type of cabinets you have. But the following tools and materials are a good starting point.
Degreaser
Before you begin painting, all the cabinets will need to be cleaned. Use a degreaser like sugarsoap to remove grime, dust, and grease build-up on the cabinets.
Sanding Supplies
Sanding will remove the previous protective coats on the cabinets before you begin priming and painting. Medium-grit sanding blocks work well. Liquid Sandpaper is also a great option if you want a quicker technique.
Primer
Unless I’m keeping a natural wood finish, I’d always use a primer when I’m painting cabinets or other furniture. The primer you pick for the project is key and depends on the material and previous finish of the cabinet.
I prefer Zinsser Bin 123 for my painting projects, which means I don’t need to sand the surface before priming! This saves such a lot of time.
If you paint laminate cabinets, generally speaking a shellac-based primer is your best choice. It grips the smooth surface, creating good adhesion between the cabinet and the paint. But, again, Zinsser Bin 123 is a water based primer; much easier to wash off brushes and kinder to the environment. It’s unrivalled on melamine and laminate cabinets.
When painting unfinished cabinets, you can use any primer that seals wood.
If you’re painting previously stained hardwood or veneer cabinets, use a stain-blocking wood primer or an oil-based primer.
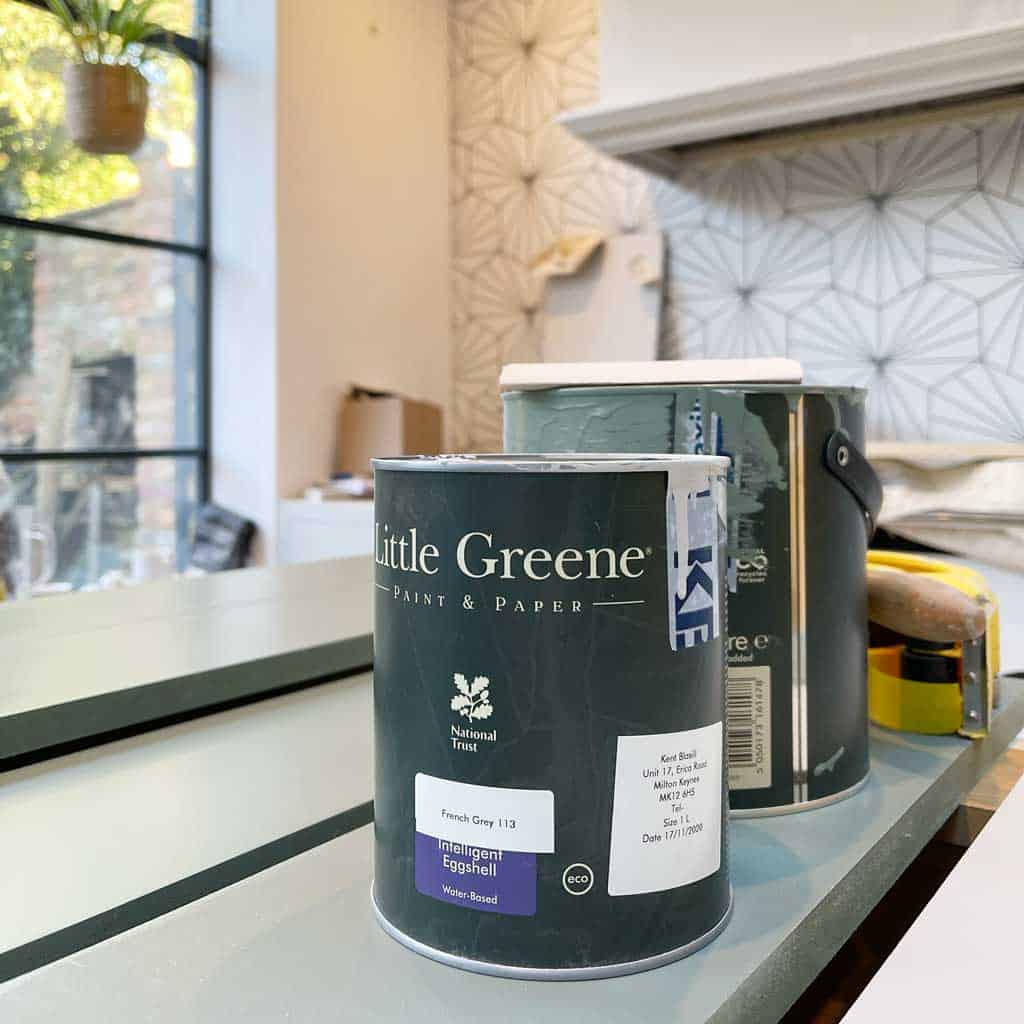
Paint
The quality of the paint will not only make the most significant difference in the final finish of the painted cabinets but will also affect how well they hold up to use.
While you can use oil-based, latex, or milk paint on the cabinets, it is highly recommended to use cabinet paint. This paint usually has a longer dry time and better flow, allowing for the paint to level and prevent brushstrokes. The best part is the soap and water clean-up. Once it dries, it is also extremely durable.
Painting Tools
The main tools you will need for painting cabinets are a good quality synthetic bristle angles brush and a mohair roller or a paint sprayer.
The mohair roller works great for a smooth finish if painting by hand. Using a paint sprayer will need some extra preparation, but it makes the entire process super quick.
Other Tools
In addition to the above, you might also like to use:
- Dust sheets, to protect the are you’re working in.
- Masking tape to cover up any areas that do not need to be painted.
- A paint bucket or paint tray.
- Gloves to protect your hands.
- Tack cloths to clean up sanding dust.
- Cleaning cloths to help wipe off drips and hands; baby wipes work wonderfully for this.
Preparing Cabinets for Painting
The first step to preparing your cabinets for painting is to remove the doors and drawers from the frames. Also, remove any hardware attached to the doors, drawer fronts, and hinges. Be sure to label all of these to keep track.
If you will not reuse the hinges, use wood filler to fill the screw holes. New hinges will require new holes.
Next, clean the door and the frame using a cleaning cloth dipped in mild soapy water. If the grime and build-up don’t come off, use a TSP (Trisodium Phosphate) solution to remove it and then rinse with clean water.
If the cabinet has an old protective coating, give a light sanding using medium grit sandpaper. Liquid sandpaper is a great quick option as well. If you paint laminate cabinets and use the shellac-based primer, you need a quick roughening up.
When using a paint sprayer, cover all the visible surfaces you do not want to get paint on with a plastic drop cloth. If you are using a brush and roller, you only need to cover the floor.
How To Paint Kitchen Cabinets
Apply at least two coats of primer using a roller or a paint sprayer. You may need three coats, depending on the colour of the old cabinets. Sand between each coat with fine-grit sandpaper and wipe off all the dust before proceeding to the next coat.
Once the primer is dry, apply one coat of paint using either a roller or a paint sprayer. Once dry, sand lightly using fine-grit sandpaper, wipe off all the dust, and then apply a second coat of paint.
To paint the doors, lay them flat on risers and paint them. Start with painting the back of the doors. Once that has dried, you can move to the front of the doors.
To paint the drawers, lay them on the back with the drawer front flat and facing up. Paint the drawer front, the edges, and also the inside. You want to be careful not to get the paint on the drawer slides or the drawer box. Painter’s tape is a great way to ensure it doesn’t happen.
Once painted, allow the cabinet frames and the doors to dry completely. The drying time depends on environmental factors such as humidity and temperature. The fingernail test is the best way to check if the paint is completely cured – in an inconspicuous area, press your fingernail to see if it dents the paint. If it doesn’t, the paint is dry, and the cabinets are ready to be put back together.
Painting cabinets can seem like a long and tedious process, but the beautiful freshly painted cabinets and the cost savings make it completely worth it. The best part is that once you get tired of the colour of your kitchen cabinets, you now know precisely how to change it!
Once all the doors and hardware are reassembled, the cabinets and, hence, the kitchen will have a completely new look and be ready to be the centre of the home.

Anika Gandhi
Anika Gandhi is the founder ofAnika’s DIY Life, where she shares projects and tutorials to inspire and empower beginner DIYers and woodworkers to use power tools and confidently build anything they can imagine. She has been featured on NBC, The Family Handyman, Popular Woodworking, FDMC Magazine, HGTV.com, DIYnetwork.com, Apartment Therapy, Domino Magazine, and more.
