Quick View of What You'll Find on This Page
DIY Home Projects
Since the rise of platforms like Pinterest, TikTok, Instagram and YouTube, DIY home projects have never been more popular. Social media platforms play a massive role in this, as these days, inspiration and creative ideas for home improvement and home decor are everywhere. The #diyhomeproject on TikTok alone has amassed 1.4 billion views as of May 2023.
The popularity and reach of DIY content on social media platforms has created a vast library of handy tips, and tutorials. Perfect for anyone who fancies taking on a project in their own home.
But, while social media can provide loads of resources for DIY enthusiasts; it can also become overwhelming, especially for those new to home improvement projects.
The trick is to start with a smaller project and gradually build up your skills and confidence. Here are eight simple DIY home projects to transform your space.
1. Put Up Some Shelves
Putting up shelves is a great starter project.
There are lots of different types of shelves to choose from: floating, bracket-supported, or wall-mounted shelving units.
Simply buy the brackets and wood board for bracket-supported shelves at a DIY store. They can be easily installed by screwing the brackets into studs and attaching the wood board to the brackets.
Floating shelf brackets can also be bought in stores, but you can quickly build your DIY floating shelves with simple power tools like a saw, power drill, and nail gun.
Shelves come in various sizes, styles, and materials, allowing you to choose options that complement your existing decor and suit your needs.
Use them to organise books, display decorative items, or create a functional storage solution. The best part is you can customise them to fit your unique requirements by building them yourself.
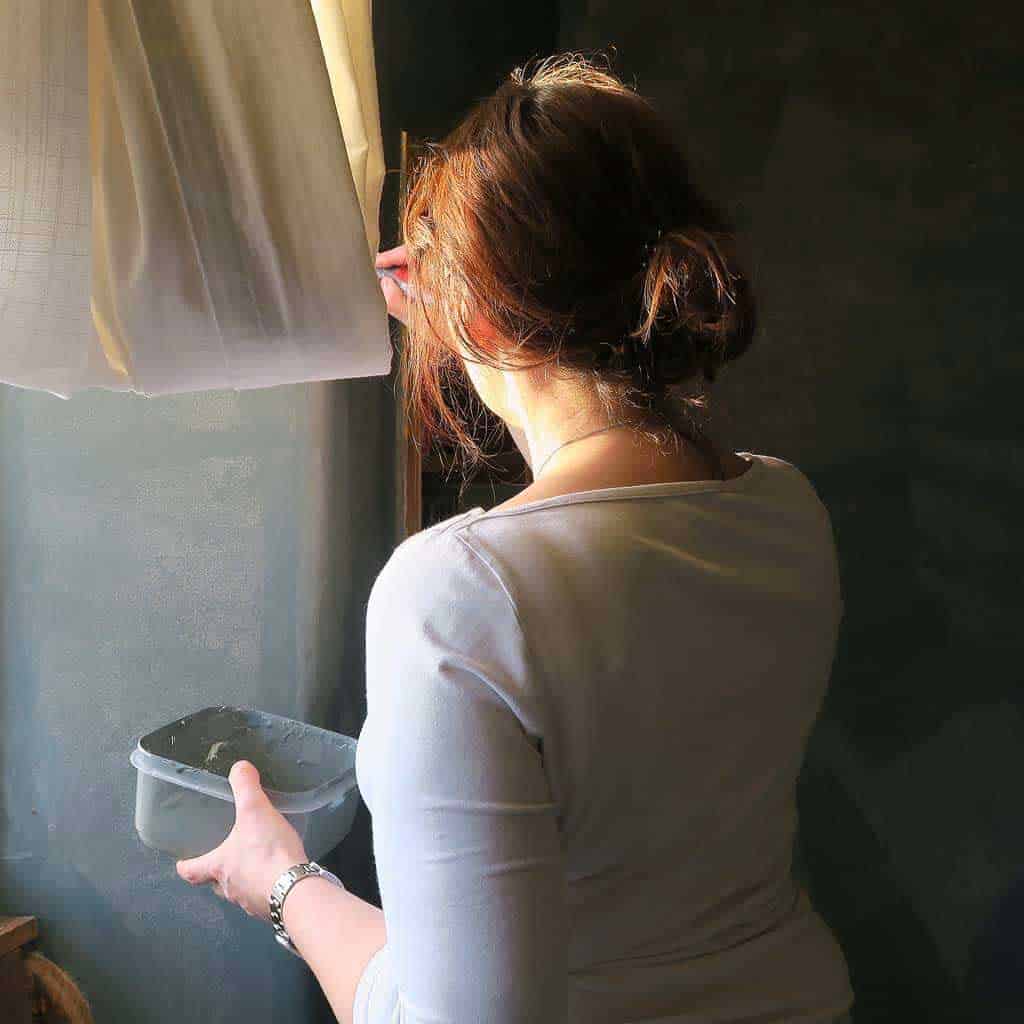
2. Give Your Kitchen Cabinets a Makeover
Giving your kitchen a little kitchen makeover can have an instant impact.
The simplest way to update kitchen cabinets is by changing the handles or knobs. Change the colour and size or switch from knobs to pulls. Hardware is like jewellery for cabinets, it’s surprising how much impact they have.
You don’t have to spend a fortune either. You can buy relatively cheap brass and bronze handles, and age the brass and bronze yourself using a really simple method.
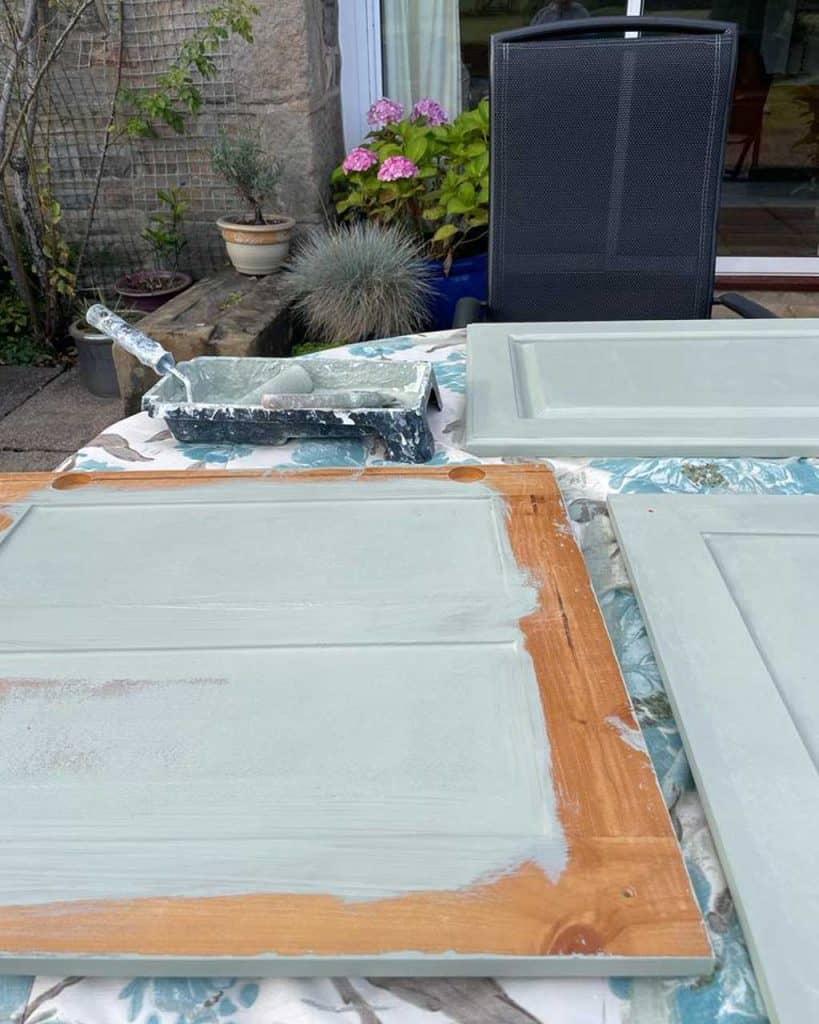
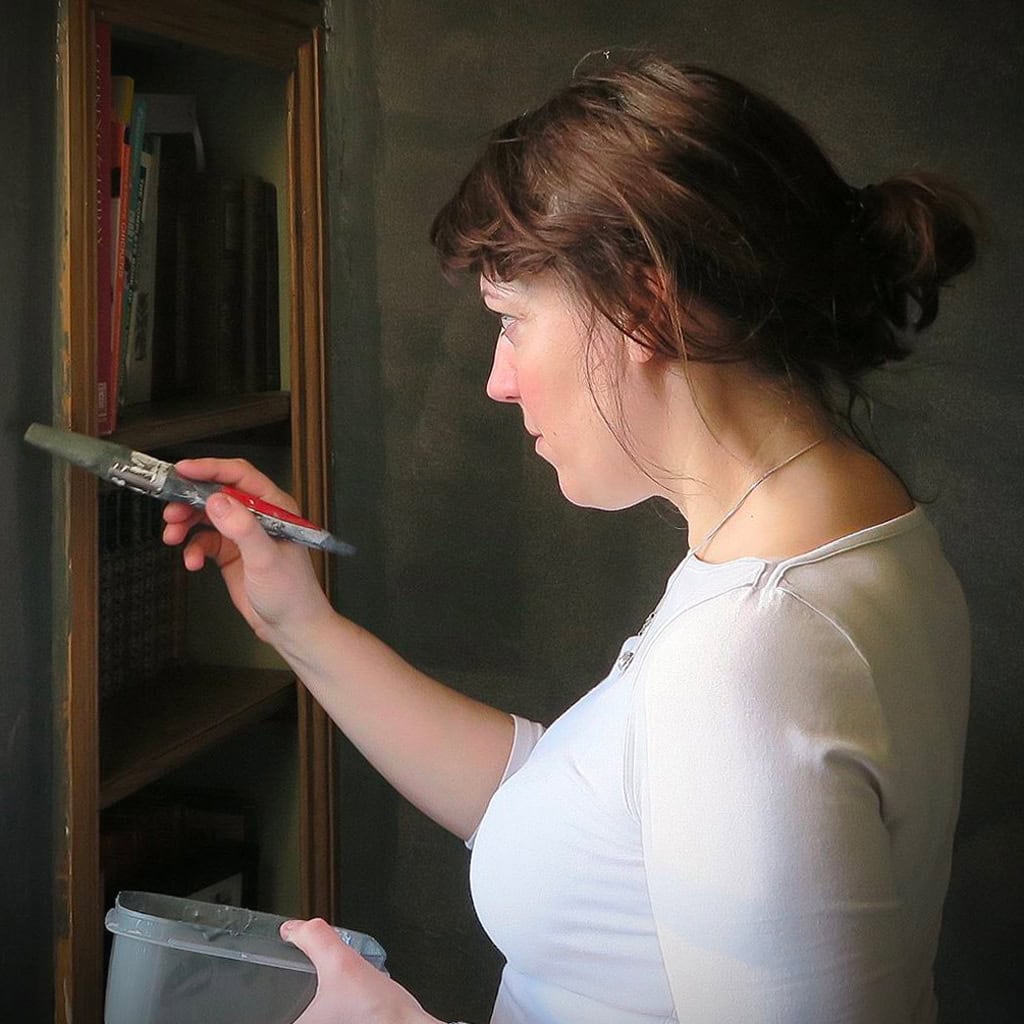
If you want to take it a step further, consider painting your cabinets. Painting kitchen cabinets is an easy and rewarding beginner project that can instantly update and transform the look of your kitchen. Instead of investing in costly new cabinets, a fresh coat of paint can breathe new life into your space and give it a unique vibe.
How To Paint Your Cabinets:
- Take off the cabinet doors and drawer fronts. Remove the hardware. Make sure you label everything to keep track of them.
- Wash everything down thoroughly with sugar soap, then rinse to remove the build-up of grease, dirt, and grime.
- Use sandpaper to prepare the surface and give a ‘key’ for painting.
- Apply a primer to the cabinet frame and the doors. I like to use Zinsser Bull’s Eye 123.
- Then give the units two coats of paint in the colour of your choice. To make the process faster, you can use a paint sprayer.
- Once dry, put the doors back on the cabinets and add new hardware.
When finished, you won’t believe it is the same kitchen you started with!
3. Paint a Wall
Painting an accent wall is one of the easiest DIY projects you can attempt. Here is a quick guide:
- Protect the adjoining walls with masking tape.
- Clean the wall by removing any dust (you can also use sugar soap if the walls feel greasy).
- Repair imperfections with filler.
- Apply primer if necessary, depending on the previous coating sheen and colour.
- Paint the wall by cutting in around the edges with a small brush and roll the paint on the rest. Starting on top and working downwards in small overlapping strokes is best.
- Apply 2-3 coats of paint for a uniform and velvety finish.
Patience and attention to detail are key when painting a wall, working systematically, taking time, and letting the paint dry between coats for the best results. You can easily change the colour if you need to change the look of a room.
Using colour is a great way to change the look and feel of a space without significant upheaval or cost. Whether pink is your go to shade — or you fancy painting your kitchen in a calming sage green — the power of paint is not to be underestimated.
Painting an entire room sets its mood. But if you want a powerful impact, painting a single accent wall can create a focal point by drawing attention and adding depth.
4. Add Wall Panelling
Adding some wall panelling can completely change the look and feel of a room. It allows you to personalise your space and add architectural interest. It serves as a focal point, drawing attention and creating a sense of depth and dimension, and adds texture, elegance, and a custom look to your space.
There are several ways to create an accent wall.
Simple ‘board and batten’ panelling is the simplest to start with.
Use vertical strips of MDF attached to the wall at an even spacing. Picture frame moulding creates a classic and timeless look with rectangular or square frames on the wall. For a more modern and contemporary look, use geometric patterns with trim involving squares, hexagons, etc., to create unique, eye-catching designs.
You can accomplish accent walls with two basic tools – a saw and a nail gun.
Here is a quick guide to making an accent wall using trim:
- Decide the pattern and calculate the dimension and placement of the trim pieces.
- Measure and cut the trim, ensuring accurate angles and lengths. You can even get this cut for you at the DIY store.
- Install the trim to the wall using a construction adhesive and brad nailer. Use a level to ensure straight and proper alignment.
- Fill gaps with caulk and holes with wood filler, then paint in your chosen colour.
You can also create faux panelling using wooden moulding. This is really simple to do and the finished result can transform a space.
Whether you choose a simple design or a more intricate pattern, an accent wall with trim showcases your style. It enhances the visual impact of your room and showcases your creativity.
5. Install Laminate Flooring
Replacing flooring can feel like an intimidating task. But, these days, with click and lock laminate and vinyl plank flooring, it has become much easier as a DIY home project.
Tale your time and the result will be durable and attractive flooring without requiring extensive demolition or a complex installation. It comes in a wide range of styles, colours, and textures, allowing homeowners to choose a design that suits their taste and complements their existing decor.
Vinyl plank flooring is known for its durability, making it an excellent choice for high-traffic areas such as kitchens, bathrooms, and entryways. It is resistant to scratches, stains, and water damage, making it ideal for homes with pets, children, or an active lifestyle.
Installing vinyl plank flooring is easy, with a click-and-lock mechanism that allows the planks to fit together seamlessly. This eliminates the need for adhesives or specialised tools, making it a beginner-friendly project. Depending on the size of the room and the level of preparation required, you can complete a vinyl plank flooring project within a few days.
One of the significant advantages of vinyl plank flooring is its ability to be installed directly over existing floors. This saves the hassle and expense of removing old flooring materials, such as tiles or laminate. Whether you have outdated linoleum, worn-out hardwood, or even concrete, vinyl plank flooring can provide a fresh, new look without demolition.

6. Update Your Garage Floor with Resin
Epoxy resin creates a tough layer that resists stains, chemicals, oil spills, and moisture. It’s perfect for protecting a concrete floor. It forms a tough, glossy, and easy-to-clean coating that comes in various colours and finishes.
It is easy to apply, requiring basic cleaning and preparation and using a roller or brush. You can pick up a kit containing all the necessary products at a home improvement store.
Before starting an epoxy coating project, follow the manufacturer’s instructions carefully and adequately prepare the concrete surface. Remember to wear protective clothing, gloves, and eyewear when working with epoxy, and work in a well-ventilated area. These precautions will help you achieve the best results and ensure a successful epoxy coating on your garage floor.
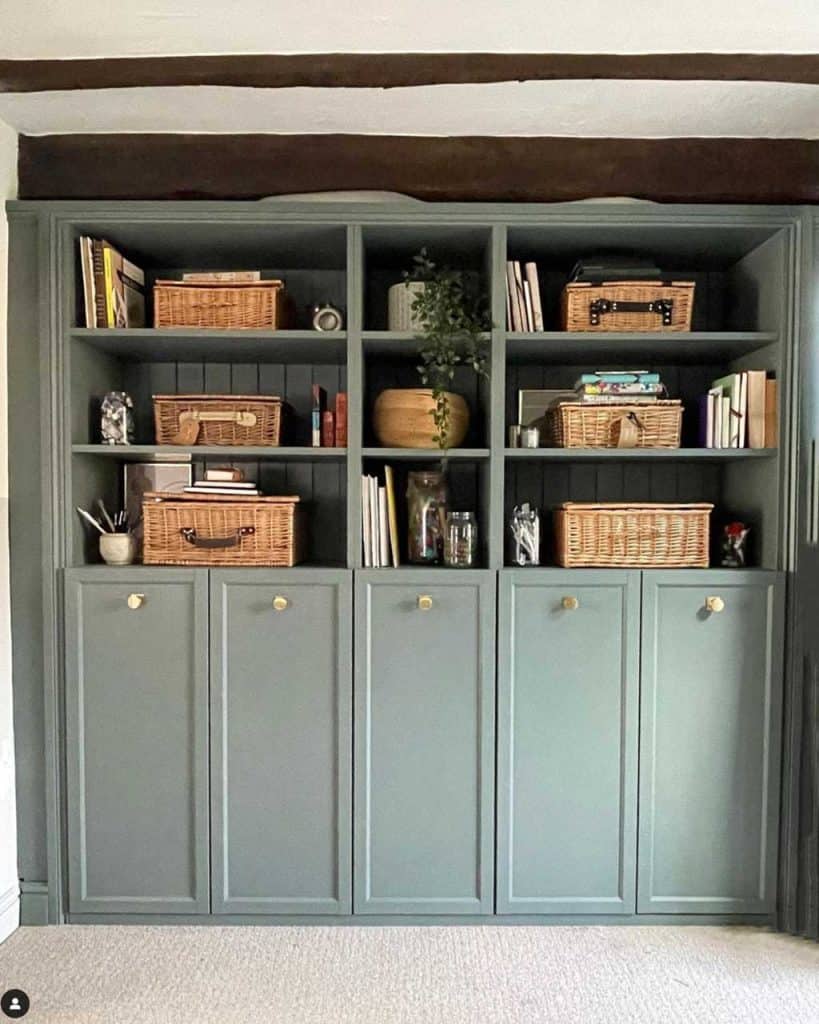
7. Create a Built-in Unit
Building a custom wardrobe or built-in unit is a fantastic and beginner-friendly home project to help organise your space more efficiently. Whether you have a small wardrobe or a large walk-in wardrobe, customising it to your needs allows you to maximise storage and create a functional and organised area.
Building your closet organiser may sound like a huge undertaking, but it is not only a cost-effective solution but also very straightforward. You can purchase a modular closet system that needs to be assembled or build one from scratch using plywood.
Building from scratch gives you the most flexibility in design and budget. Creating a custom closet using plywood requires simple woodworking knowledge. It can be accomplished with simple power tools – a power drill, a circular saw, and a couple of other small jigs.
It takes a few accurate measurements, cutting the plywood, and assembling it to build the custom closet of your choice in just a few days.
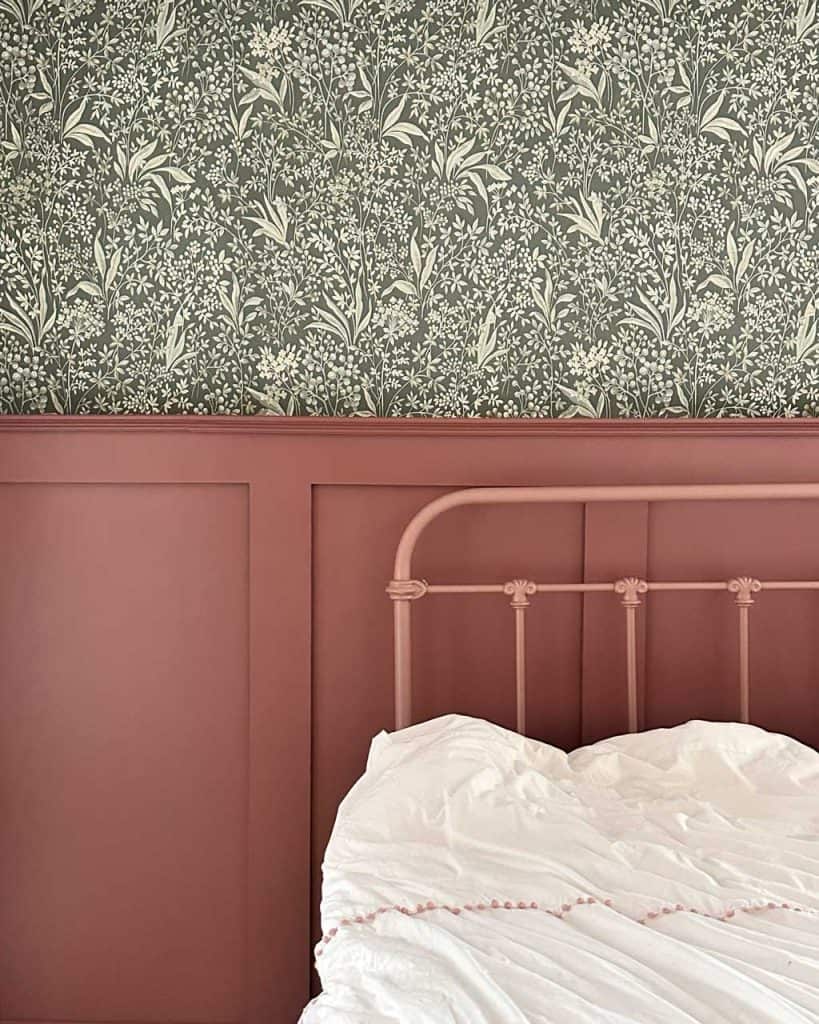
8. Try Your Hand at Wallpapering
Wallpapering might feel like a daunting task but it really isn’t that hard! Especially if you live in a new build — or a house with nice straight walls. Wallpapering a single, feature wall can be a great way to add visual interest. Here’s a step-by-step guide on how to wallpaper a feature wall:
- Measure the width and height of the wall to determine how much wallpaper you’ll need before ordering,
- Make sure the wall is clean and free from any dust, grease, or debris. If necessary, repair any cracks or holes and sand down.
- If your wallpaper requires adhesive, follow the manufacturer’s instructions to mix and apply the paste. Either to the wall — or to the back of the wallpaper.
- Start in the centre of the wall and use a plumb-line to work out the vertical. Then carefully position the first strip of wallpaper, making sure it is level and aligned with the plumb line — not the ceiling. Use a wallpaper brush to smooth out any air bubbles and ensure the wallpaper adheres firmly to the wall.
- Continue hanging additional strips of wallpaper, working out to the edges of the wall. Make sure you match the pattern and butt up the edges of the paper to create a seamless look. Use a sponge to gently wipe away any excess adhesive that may squeeze out from between the seams.
- Once your wallpaper strips are in place and the adhesive has dried, use a sharp utility knife or wallpaper trimming tool to carefully trim away any excess wallpaper along the edges and around any switches and sockets.
Remember to take your time and follow the manufacturer’s instructions for the specific type of wallpaper you’re using to ensure the best results.
Transform Your Space With These Simple DIY Home Projects
While these projects vary in complexity, these easy DIY home projects offer a range of options for beginners to dive into home improvement.
They are cost-effective alternatives to professional services, allowing you to save money while achieving impressive results.

Anika Gandhi
Anika Gandhi is the founder ofAnika’s DIY Life, where she shares projects and tutorials to inspire and empower beginner DIYers and woodworkers to use power tools and confidently build anything they can imagine. She has been featured on NBC, The Family Handyman, Popular Woodworking, FDMC Magazine, HGTV.com, DIYnetwork.com, Apartment Therapy, Domino Magazine, and more.
