Part 5 of Operation She Shed is all about painting the interior.
I said from the start that these posts weren’t going to be that sexy — and I wasn’t kidding — but in order to see the butterfly, you have to begin with a dull old chrysalis.
Or something like that.
Anyway. Just to put this post into context, we’d already boarded and insulated the shed — you can read about that here.
Because my She Shed is — as it’s name would suggest — a shed (and not a room in an actual house) we decided against having the walls professionally plastered.
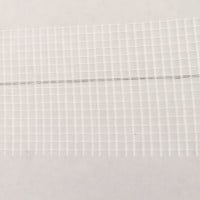
But in order to tidy up the joins and all the screw holes in the plasterboard — and make it look half decent — I used plasterboard tape.
It’s like a wide mesh self-adhesive tape — perfect for reinforcing joints and repairing cracks in plasterboard. You stick it over the fissures and then can use a filler to smooth over the mesh.
This is the perfect solution if you’re not going to skim over the walls with plaster.
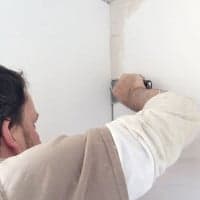
Once you’ve sanded it you can barely see where the joins once were, then you’re ready to paint.
I filled with my favourite filler. It’s called Toupret and is available from most trade centres; of all the fillers I’ve used over the years, this is the best I’ve come across. It was a recommendation from a professional painter and decorator — who used to live next door to us— and it’s amazing stuff. Once sanded back, you can get a really fantastic, smooth finish and when it’s painted it’s totally invisible.
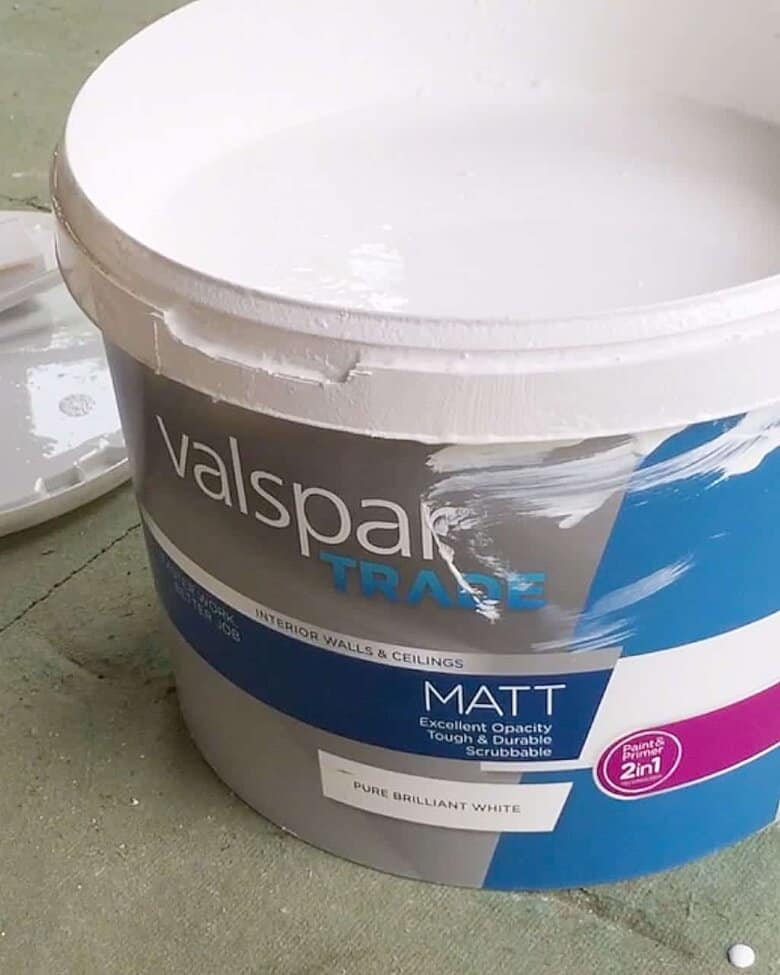
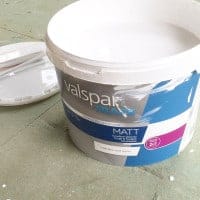
Once this had been done, we gave the entire inside of the shed a lick of paint with Valspar Trade Matt Emulsion for Walls and Ceilings; would highly recommend this — it was amazing quality — really thick — and the coverage was fantastic. Super opaque with barely the need for a second coat.
A good thing when you’ve got such a lot to do!
Quick View of What You'll Find on This Page
A Little Snapshot Of What We Did

From Dreams to Reality
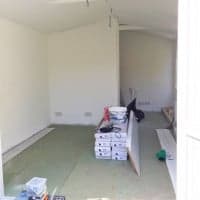
Incredible how different it looked once it had been painted.
No longer a shed but an actual solid room.
Needless to say, there was mucho celebrating once this part had been completed. After years of plotting and planning, in my head, I could really see what my She Shed was finally going to be like.
In real life.
I made a little film of our progress — pop and have a look if you’ve a spare coupe of minutes. It certainly shows a bit more of the scale of the building.

Enormous thanks to the fab team at B&Q for working with me on our ‘She-Shed’ project — and being so incredibly patient! Most of the supplies that we used to complete the shed build can be bought either online or in your local B&Q store.
This is a collaborative post but all thoughts, words and images — as ever — are entirely my own.

Caro Davies is a former art-director turned writer and content-creator, and editor behind UK lifestyle blog The Listed Home. She writes about home-related topics, from interiors and DIY to food and craft. The Listed Home has been featured in various publications, including Ideal Home, Grazia, and Homes & Antiques magazines.
