Now — apologies if you’re looking for an inspirational, design-led post, full of colour and style. You certainly won’t find it here!!! Inspiration, maybe, but certainly none of the others.
I wanted to document this she shed journey from start to finish and the build is not exactly what you’d call ‘pretty’.
Anyway, around this time last month, I wrote the first instalment of my quest to create the perfect garden office.
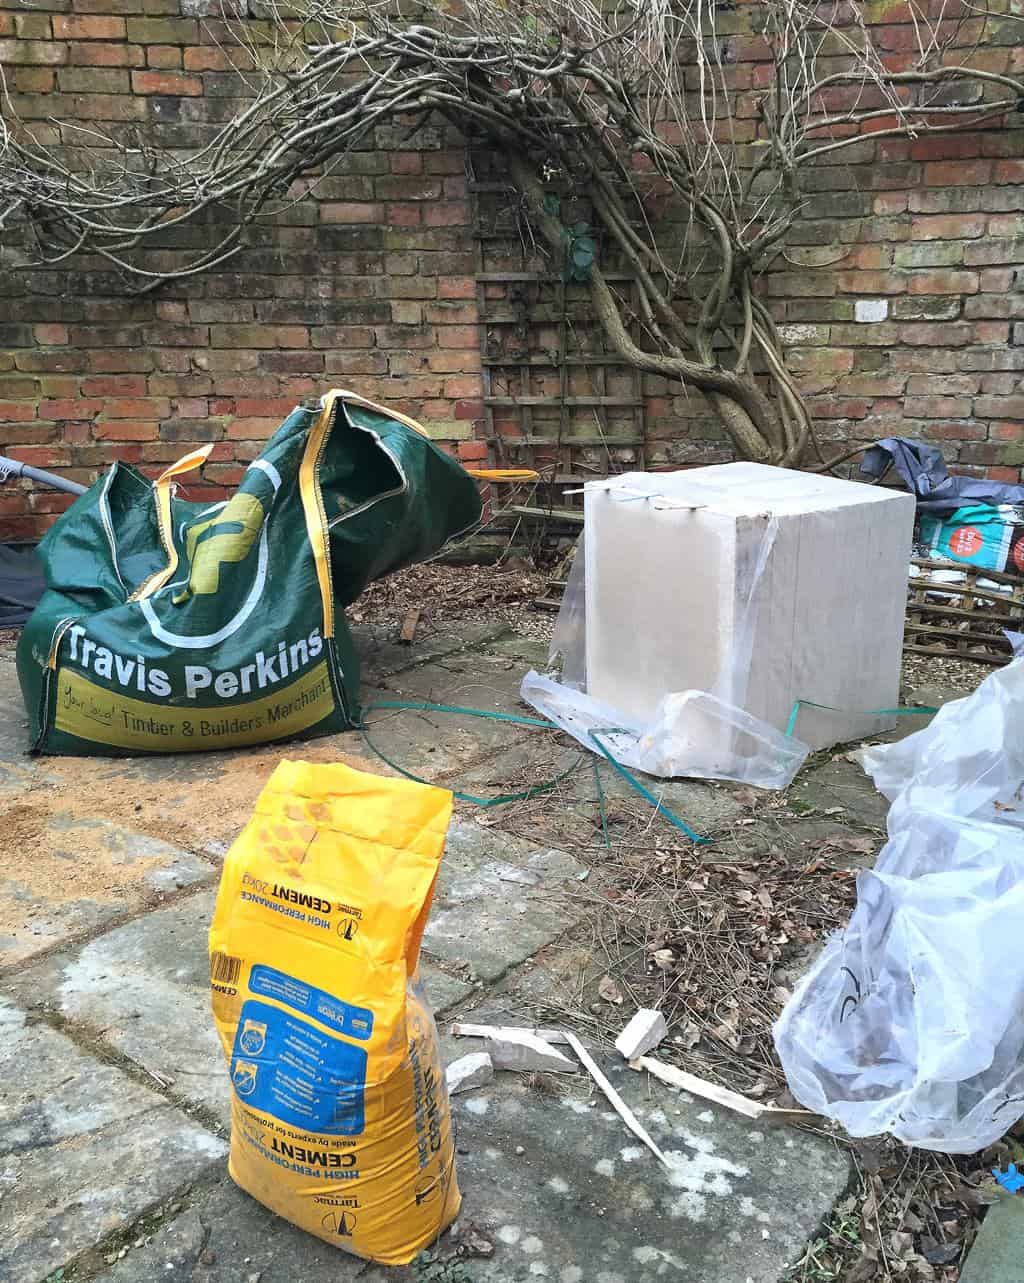
A rather un ‘office-y’ looking pile of flatpack garden shed had been delivered, back in January, and the next step was to create the perfect base to build it on.
We’d chosen the spot.
It was to be sited in the working end of one of the gardens, just in front of the chicken house, opposite the veggie plot.
So far, so good.
We’d decided to use concrete slabs — rather than a cement base — and the first step was to make a wooden frame to lay the slabs in*.
*The frame was sized so that whole slabs were used, rather than having to cut slabs in half. Much easier in the long-run to get your measurements right from the off!
Mr D picked up the timber from the builder’s merchants but we had a huge shipment of sharp sand — plus a couple of pallet loads of paving slabs — delivered on a lorry.
Such a good plan, given the fact they hoisted it all over the garden wall on a crane. I think if we’d tried to pick this up ourselves, it would have killed the suspension in our Landrover.
And Mr D’s back.
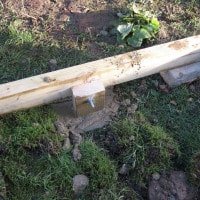
Typically the ground was really uneven on the plot, so one corner of the frame had to be raised.
My clever boy did this by digging two holes, underneath where the frame was going to sit, on the corner that needed to be raised.
Both holes were situated a couple of feet from the corner edge, directly under the frame. Then a length of timber was cemented into each hole; making sure they were absolutely vertical.
Once the concrete had set overnight, a hole was drilled through the post — and the timber frame — then the frame was secured to the post using coach bolts.

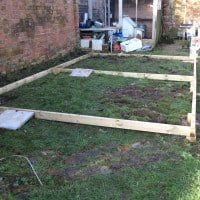
Once the frame was built, sharp sand was poured into the frame and levelled off.
And, finally, the paving slabs were laid on top, making sure that they were level with a spirit level, and tapped down with a soft mallet.
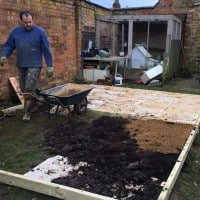


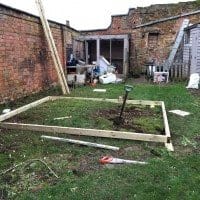
Once the whole base had been laid* my clever boy began putting together the wooden floor of the shed, which sat directly on top of the flag-stones.
I must just point out that the next picture only shows 3/4 of the base completed but my impatient boy couldn’t wait to start laying the wooden base!!
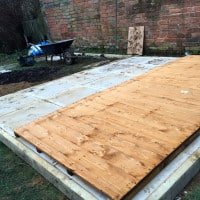
So that’s it. Flatpack ready, base complete.
All that was left to do next was build it.
PS — I’m going to be sharing updates on my garden office build over the coming months. Please join me on my journey — I can’t wait to share what I’ve been doing, here on my blog! xx

Caro Davies is a former art-director turned writer and content-creator, and editor behind UK lifestyle blog The Listed Home. She writes about home-related topics, from interiors and DIY to food and craft. The Listed Home has been featured in various publications, including Ideal Home, Grazia, and Homes & Antiques magazines.
